A Shea Butter Cuticle Cream Recipe

This is perhaps one of the simplest shea butter recipes out there.  While great for the cuticles, you can use this salve in many ways from extra thick hand lotion to a replacement for Vicks Vapor Rub, to a scalp treatment for dandruff. My favorite use this time of year is as a cuticle cream. Dry chapped winter hands are no fun, but unruly cuticles and hangnails are the difference between no fun and misery.

I keep a tin of this cream near the kitchen sink for use after washing dishes and I keep a tin in my purse so I can rub my fingers down before I slip on my gloves. Moisturizing beneath gloves is like magic, the heat from the gloves is like a heating cap, promoting deep moisturization resulting in silky skin.

This two ingredient shea butter cuticle cream recipe can be executed in five minutes!

Here's what you'll need:

1 teaspoon shea butter

5 drops eucalyptus essential oil

Here's what to do:

Melt your shea butter in a double boiler (or pyrex bowl placed inside a pot of boiling water).

Once a liquid has been formed, add five drops of the eucalyptus oil to your melted shea butter. Stir and pour into a 1/2 oz. metal tin.

You can cool and set your cuticle cream by placing it in the refrigerator for twenty minutes.


How to Make Deodorant using Shea and Lavender

I'm on a shea butter kick. I'm doing research for a project that will keep me busy for the next six weeks or so. To stock up my arsenal until my 30 pound bulk shipment arrives, I walked 10 blocks, over icy city streets and purchased a ten pound tub, which I laboriously carried back home (sans incident I'd like to brag). Having hunted and gathered, the games have begun!

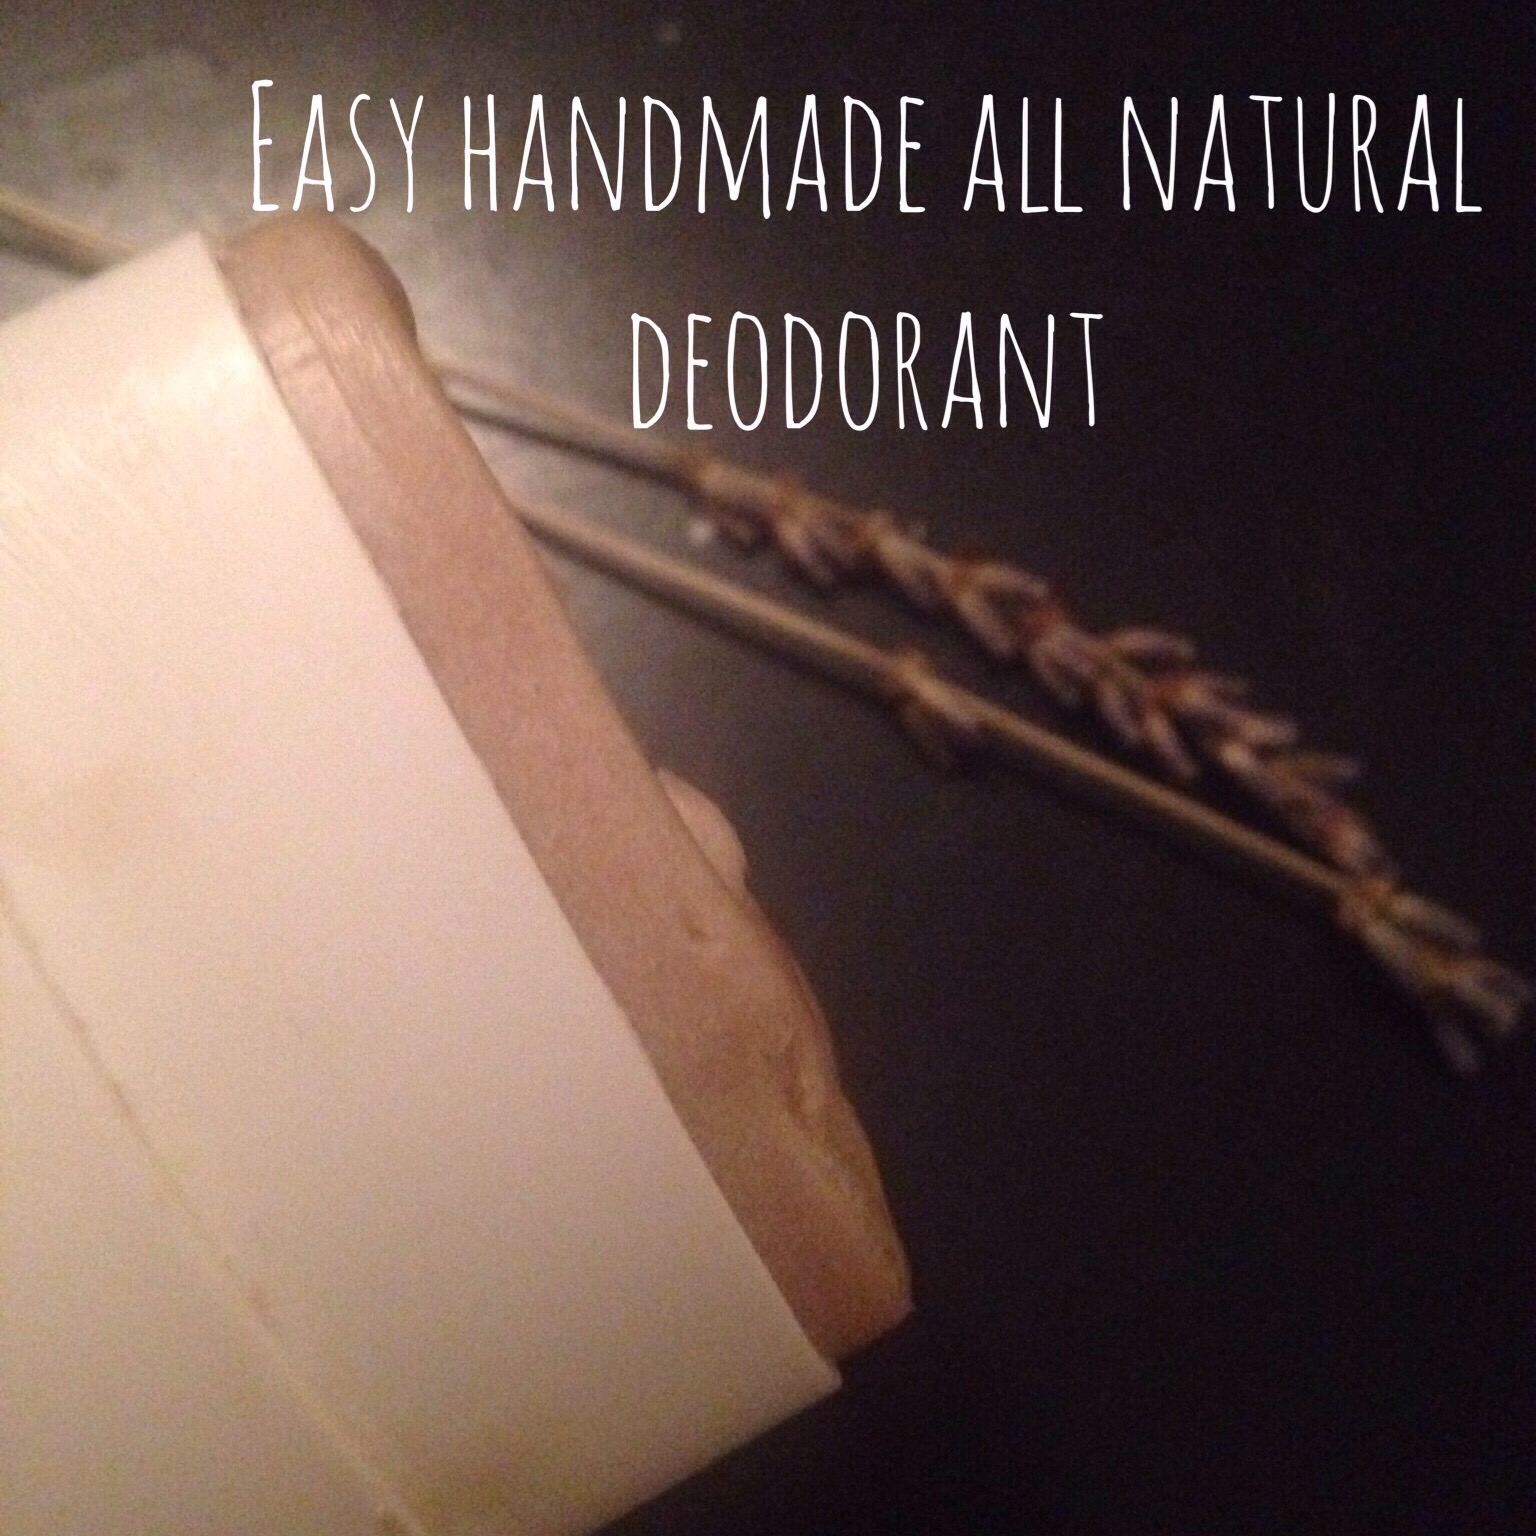
How to Make Deodorant using Shea and Lavender

The first thing I made today was deodorant. My husband has been complaining about the powdered deodorant that I usually make because it's messy when he carries it in his gym bag. Since I promised an alternative, I had to deliver. I found some old travel sized deodorant tubes lying around, emptied them out and made my own- completely organic, all natural, aromatic shea based deodorant. It was so EASY! I did the whole thing while balancing my seven month old on my left hip.

IMG_2555.JPG

This is a great deodorant for people with sensitive skin. It also works well if you've just shaved your arm pits and you don't want to experience that uncomfortable burning sensation that can accompany store bought chemical deodorants.

As a breastfeeding mama, I love this shea and lavender deodorant formula because I know my little guy isn't ingesting any harsh chemicals. Remember- what you put on your skin gets absorbed and can end up in your blood stream.

Here's my recipe:

1 teaspoon beeswax

5 teaspoons shea butter

2 teaspoons bentonite clay

15 drops lavender essential oil

10 drops cinnamon essential oil

1 teaspoon baking soda

1 teaspoon vitamin E

In a double boiler (or pyrex bowl inside a pot) melt your beeswax and shea together until a liquid is formed.

Add the vitamin E oil to the liquid and blend.

Add the bentonite clay and baking soda and mix. Note, when using bentonite clay, you don't want to use a metal spoon because metal reacts with the healing properties of bentonite. Use a wooden or plastic spoon.

IMG_2545.JPG

Add in your essential oils and mix until the liquid froths a bit and thickens.

Pour into empty deodorant tubes and VOILA!

IMG_2546.JPG


You can let the deodorant set in the refrigerator for an hour before introducing it to a room temperature environment, or you can set it out overnight at room temperature.

IMG_2551.JPG

It is that easy!

This recipe will fill about two tubes. One for home and one for the gym!

No-Yeast Cinnamon Buns With Almonds

This morning, I woke up in our house in Maryland to six shimmering inches of snow. I made myself a cup of Earl Grey tea and sat by the window. It was quite a sight.

Sunlight streamed through the loops of the naked trees and reflected brilliantly off of the snow bathing my kitchen in light.

How lucky I am, I thought to myself, to be inside and not out.

How lucky I am, to have this nice big kitchen, a full pantry, sleeping children and this wicked craving for sweet almonds and cinnamon buns.

I made myself another cup of tea and put my thinking cap on. I didn't have any yeast, or almond paste...but I did have sliced almonds and I could make cinnamon bun dough out of a drop biscuit variation since I didn't have yeast.

I put on my apron, I dusted off my measuring spoons, I listened to my nose and tasted, and came up with a batch of delectably moist almond cinnamon buns.

It was so easy. Here's what I did-

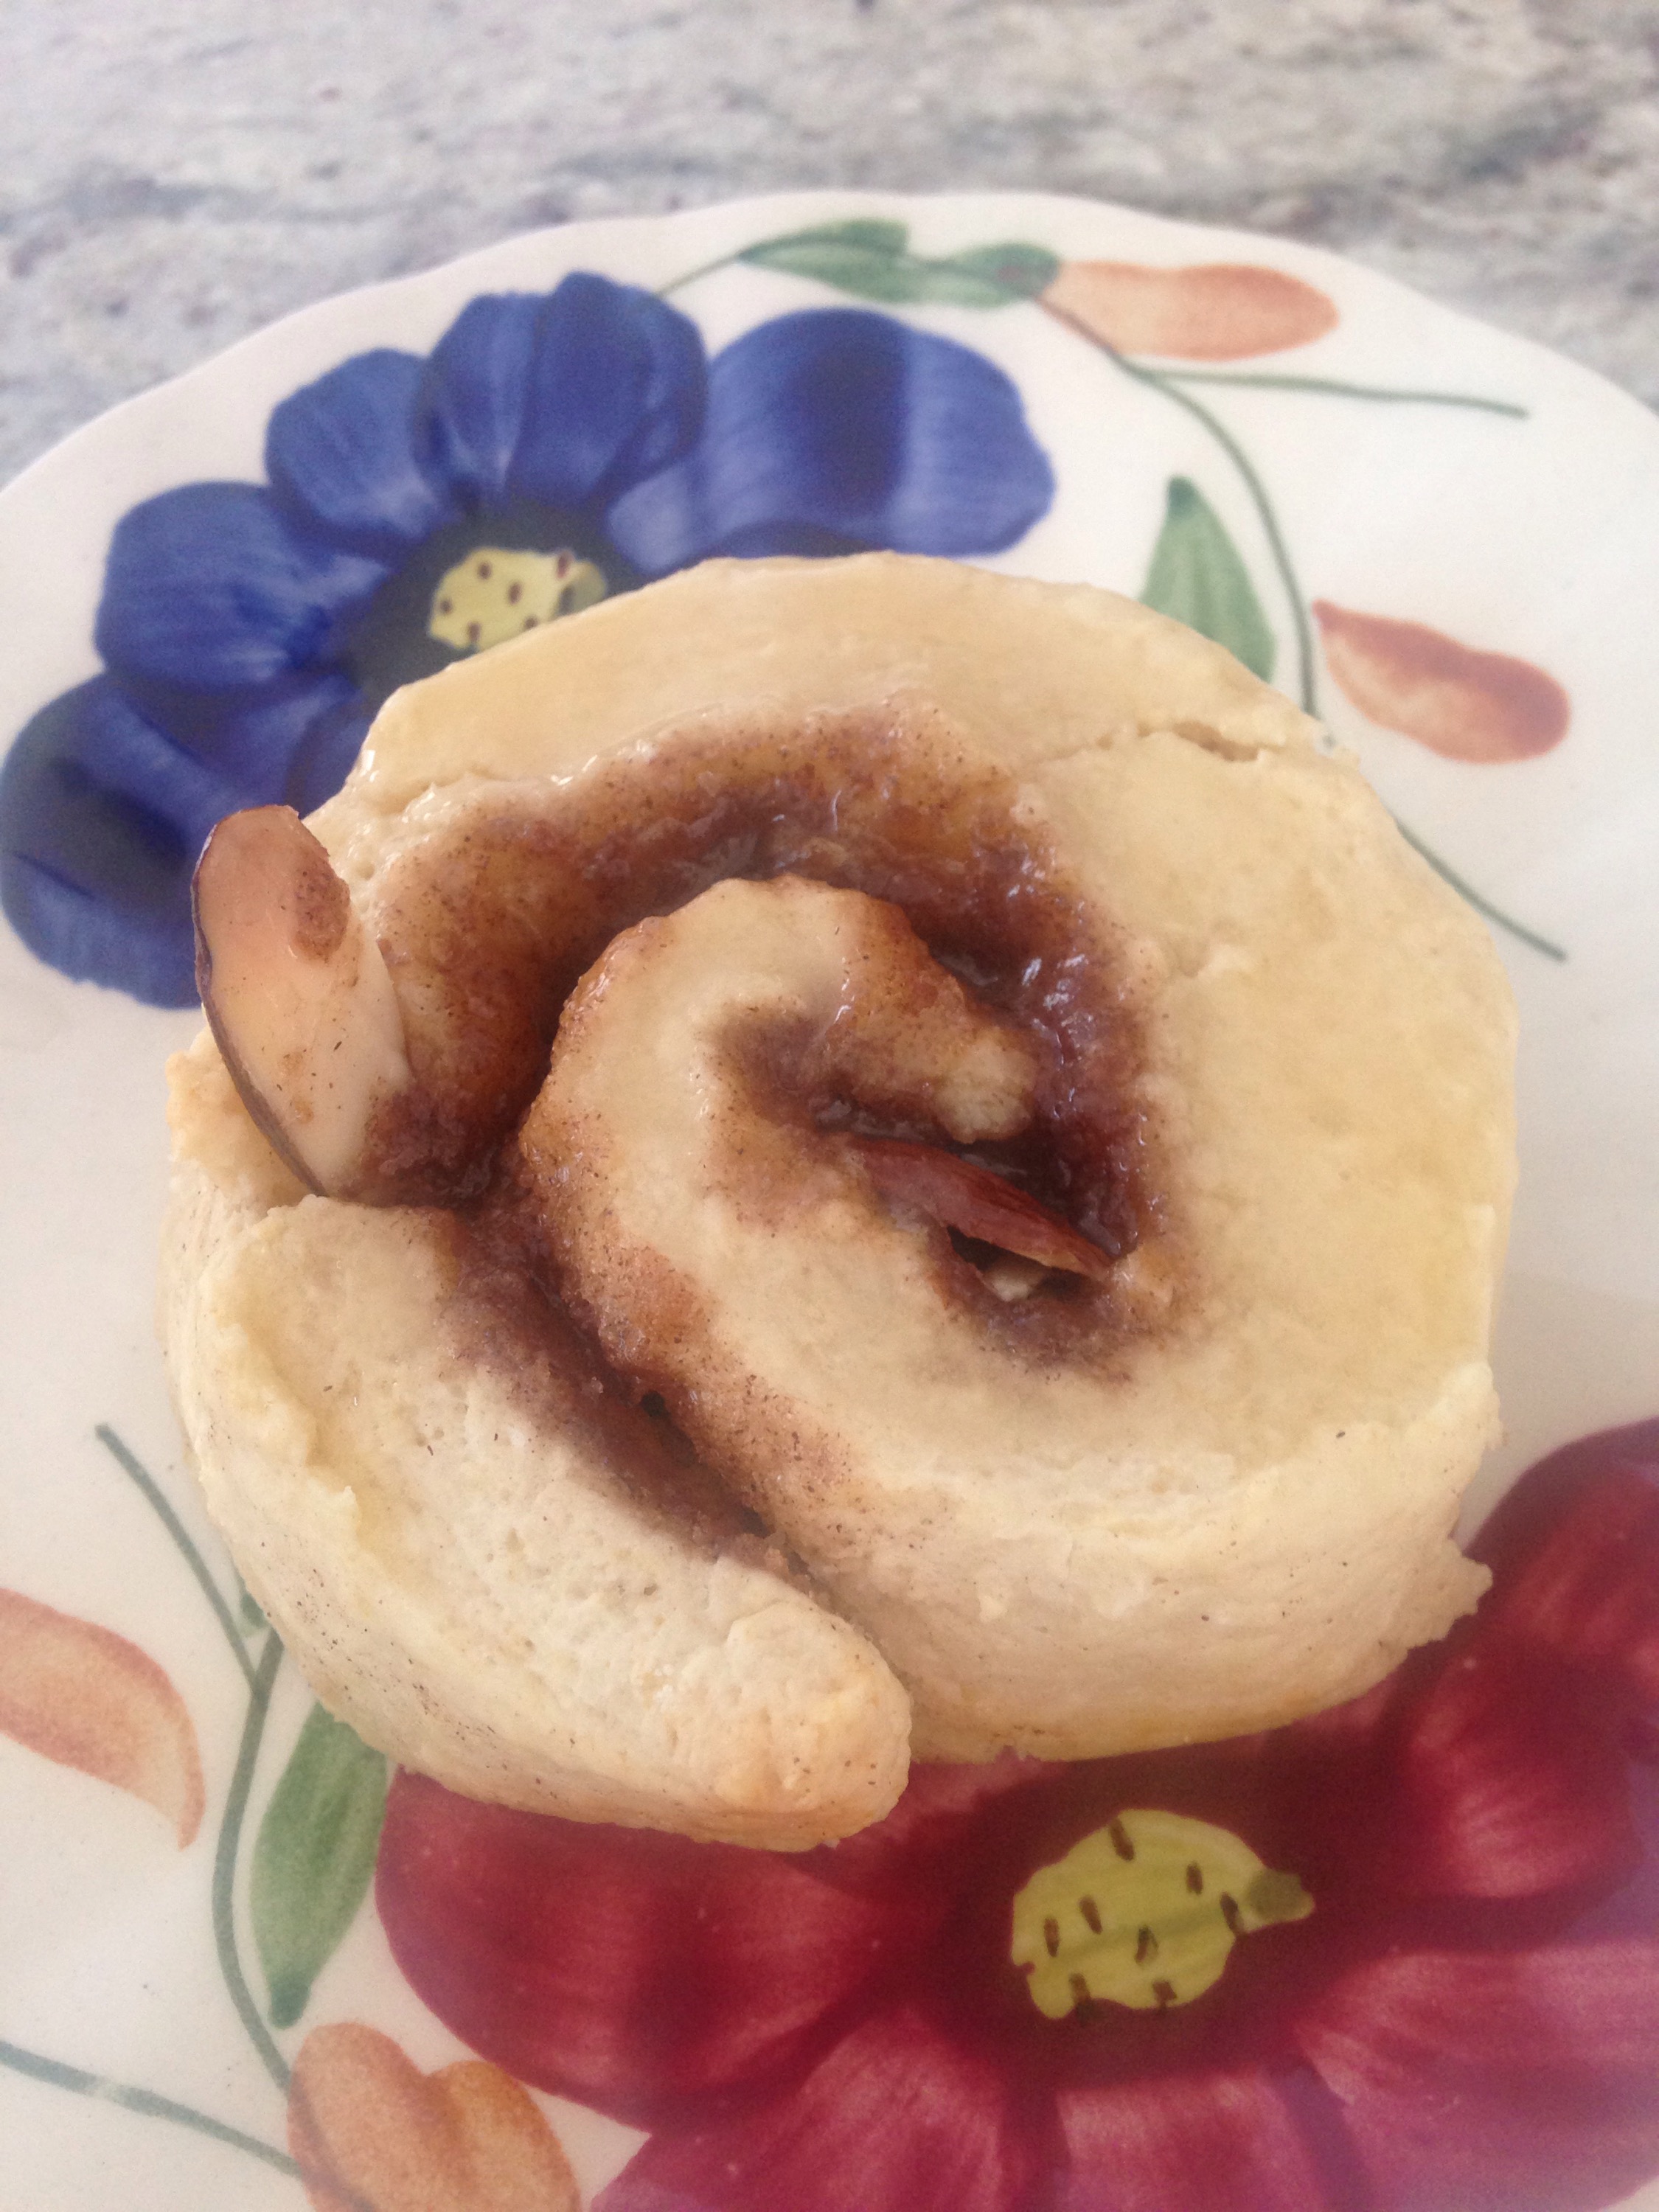
yeast free almond cinnamon buns

You'll need:

Dough

2 cups flour

2 tablespoons sugar

4 teaspoons baking powder

1/2 teaspoon salt

1 teaspoon almond extract

3 tablespoons unsalted butter

3/4 cup buttermilk

Filling

4 tablespoons butter

1 cup brown sugar

1/4 cup shaved almonds

3 teaspoons cinnamon

Glaze

1/2 cup powdered sugar

2 tablespoons butter

1 teaspoon vanilla extract

1 teaspoon milk

Here's what to do:

Preheat your oven to 375 degrees.

We'll begin with the dough.

In a large mixing bowl, combine your dry ingredients (flour, salt, baking powder, sugar). Once your dry ingredients have been mixed together, cut in your butter, using your hands to mix. Once the batter is flaky, add your milk and almond extract and blend until your batter forms a smooth dough. Set aside.

Time for the filling. In a small mixing bowl, combine your brown sugar, butter, almonds and cinnamon. Mix until a paste is formed. Set aside.

Return to your dough. It's time to roll it out. Using a rolling pin, you want to create a rectangle.

Pour your filing on top of the dough and then roll into a loaf and slice (about 2 inches thick).

Place your slices in a buttered 9x9 circular pan. You want to make sure you leave space between the buns because when they cook, they'll expand and rise.

IMG_2455.JPG

Cook for 20-25 minutes until lightly browned.

IMG_2457.JPG

While your cinnamon buns are cooking, it's time to whip up your glaze. In a bowl, mix your melted butter with your powdered sugar. Once a thick frosting is created, add the milk and vanilla extract and blend again until the glaze thins.

Once your cinnamon buns are ready, remove them from the oven and pour the glaze over the top.

Let the buns cool ten minutes before serving.

IMG_2467.JPG

Psssst... I know I normally post healthy recipes, but this time I didn't. This one is simply indulgent and good and that's all there is to it.

Packing Tips: Keep it Simple and Light this Winter!

Don't let the cold weather keep you indoors! Winter is a great time to travel. Not only are there usually great travel deals to take advantage of but winter travel, depending upon your destination, can mean fewer crowds and shorter waits.

When it comes to packing, especially clothing items, winter can present the opportunity to practice simplicity. Just because the weather is cold, doesn't mean you have to pack more. Winter travel is all about the use of layers and finding staple pieces that can be worn multiple ways.

Over packing opens the door to clutter. When your suitcase is cluttered:

a) It's heavy and unpleasant to tote around

b) It's disorganized and causes you stress and frustration whenever you have to open it to find clothes

c) You have no room for all the beautiful new seuveniers you'd like to bring home with you

NO BUENO!

When it comes to travel, keep it simple and keep it light! Here are some of my favorite accessories, toiletries and clothing ideas:

Winter Travel Clothing Essentials:

l-1


Simplicity is key here. A pair of leggings are essential because you can get multiple uses out of them. Leggings can be worn as pants, stockings, to that surprise yoga class or as long underwear. One pair of weather appropriate yet fashionable boots will be versatile enough for day and night, casual and dressy. A simple scarf can be worn around the neck, over the head (if the weather gets blustery) or can be used on the plane as a blanket. You don't need a giant shoulder bag when you travel, keep it simple and light with a sleek and all-purposed cross body satchel. An attractive statement tunic sweater can serve multiple uses as a dress and as a sweater for heavy layering. Keep jewelry simple, a pair of easy to coordinate earrings you can rock every day both day and night will ensure that jewelry doesn't get lost or tangled up in your travel pouch.

Travel Gadgets and Accessories: l-2


The fewer gadgets the better. The smaller the better. A dual purposed passport holder/wallet will take you far as will a sleek compression sleeve to protect your computer. Portable travel chargers are tiny, can slip inside your computer compression sleeve and are life savers. A small, single unit speaker dock for your smartphone can  make a good trip great.


Travel Carry On Toiletries: l-3


When it comes to hotel toiletries, you never know what you're going to get. To keep things familiar, yet light, I look for travel sized packs of brands I know and love. Since everything is travel sized, you can zip through check-in with a simple overhead bag and the smug knowledge that you've packed everything you need.

In terms of make-up, I keep it simple! Mascara, plus lip tint (that can double as cheek tint), plus a SPF concealer equals, easy, breezy and beautiful.

So go! Take that weekend trip, mini-break or full blown vacation. For your cold weather trip pack smart, not excessively.

6 Apps for Tourists in New York City

IMG_0302.jpg

New York is fast, it's vibrant, it's brassy, it's gritty, it's glamorous and it's artistic, but let's face it, if you're a visitor, it can be downright intimidating.IMG_0640 How to navigate, where to park, what to tip, to walk or try the subway? A visitor's list can scroll for miles.

Luckily, the following apps have come to the rescue. They've done the dirty work for you, so you can focus on living it up in New York!

6 Apps for Tourists in New York City:

1) HopStop: Need directions from your hotel to the Museum of Natural History and then down to the 9/11 Memorial? No problem, Hopstop has got you covered and will have you navigating the city like a local. Simply type in the address of your departing location and the address of your destination to receive step by step, easy to follow directions either by car, subway, bus or on foot. If you choose the subway option, you'll get a full report that takes into account track work, delays and the latest train schedule.

2) ParkWhiz: So you've decided to drive into the city, but you're nervous about street parking. Park whiz to the rescue! Find discounted parking garages in your desired neighborhood or in close proximity to a specific location. Whether you're looking to park your car for the weekend near your hotel, or simply need to have a secure parking spot by Rockefeller Center for three hours, Park Whiz will find a lot close to your destination and will conjure up a discounted price. No worries about feeding meters, getting towed, or getting dents or scrapes.

3) Uber: There are certain times where it's impossible to hail a taxi. Certain neighborhoods (ahem, Greenpoint, Brooklyn) tend to have fewer cabs and hailing one can be a time consuming fight. Let's not even get into the misery of hailing a cab in the rain, or howling wind, or freezing snow. With Uber, you can relax and summon a cab through your phone at your convenience. Be prepared for quick and easy door to door service. Call your cab the same moment you ask your waiter for the check, by the time you're finished paying, your cab should be outside waiting. Time spent awkwardly pacing the sidewalk with your arm outstretched- none.

4) Seamless: So you've spent the day walking through crowds, you're too exhausted and hungry to wait for a reservation to open up and you're tired of the same old room service from the restaurant in your hotel...time to order from Seamless. Simply type in your hotel's address and a list of participating restaurants will pop up. You can browse hundreds of fabulous, ethnically diverse menus and place an order from some of the most delicious restaurants in the city. Within 45 minutes (max) your food will arrive and yes, they deliver to hotels and hostels. Just because your opting for a night in, doesn't mean you need to settle. One of the greatest joys of New York is taking full advantage of the city's many culinary options. If you can crave it, someone will make it.

5) Exploration Dining: Not sure how to score last minute reservations or even where to eat, Exploration Dining is a mobile concierge service designed to solve that problem. Browse hundreds of dishes from local restaurants, find what inspires you and make reservations (if needed) directly from your phone. Just like that, you're in! Bon Appetit.

6) RelayRides: Leaving your car behind while you take your New York vacation? Make money with your car by participating in RelayRides! Say what? Break even on that gorgeous handbag you saw at Macy's by using RelayRides. RelayRides is a car sharing service that will pay you, to rent your car while you're gone. They take care of insurance and the legalities, you get to make money while you travel. Since your car will just be sitting there, you might as well let it serve someone else and bring home some bacon.

IMG_4009 So there you have it, six apps that will help with the logistics of your next trip to New York, so you can focus on more pressing concerns such as which museums to visit, what shoes to buy and what shows to see. IMG_7781 Mmmmmm.... Concrete jungle where dreams are made!

Honey Sweet Cornbread

I have a mild obsession with quick breads. Not a week goes by where I don't make at least three batches of batches of biscuits or cornbread or loaf bread. Sweet, savory, plain, loaded, I can't get enough of these versitile delicious breads. Carbaholics Anonymous- come and get me. I'm so guilty!

My "retirement" dream, and I'm putting this down because recording your dreams is the first step to realizing them is to open a cafe/bakery featuring the many quick bread variations that I've fallen in love with.

In the meantime, I'll keep working, refining and recording those recipes here.

Today's recipe for Honey Sweet Cornbread is a sweet and flavorful cornbread. Sweetened with honey and coconut palm sugar, you get a robust sweetness while keeping the glycemic index relatively low. The pepper, nutmeg and cardamom provide subtle, layered secondary flavors, while the olive oil and almond milk absorb the sweetness in a nutty earthiness. Long story short, it all just works!

Your result is a sweet, aromatic cornbread, that is crisp around the edges and moist in the center that pairs perfectly with your favorite savory chili or a light fruity jam.

IMG_2370.JPG

Here's what you need:

1 cup yellow cornmeal 1 cup all purpose flour 1 tablespoon baking powder 1/3 cup coconut palm sugar 1 teaspoon sea salt 1/2 teaspoon finely ground cardamom 1/2 teaspoon nutmeg 1/8 teaspoon coarsely ground peppercorns 1 cup unsweetened almond milk* 2 large eggs 1/3 cup extra virgin olive oil 1/3 cup raw honey 2 teaspoons pure vanilla extract

*Feel free to substitute your milk of choice. Almond gives this recipe a rich nutty flavor.

**This recipe is great for those with milk allergies or lactose sensitivity.

Here's what to do:

Preheat your oven to 375 degrees. You're going to use the lower rack, so it's probably easiest to adjust it prior to turning on the heat.

In a large mixing bowl, combine your dry ingredients (cornmeal, flour, baking powder, sugar, sea salt, nutmeg, cardamom, peppercorns).

In a small mixing bowl, gently beat the milk, olive oil, vanilla and eggs with a whisk. Once uniform, pour the mixture into the dry ingredient bowl.

Make sure your honey is soft. Raw honey, if stored near a window can stiffen which makes it difficult to work with.

I like to drop my raw honey in the center of the bowl. Using a mixing spoon and some elbow grease, I mix the batter until smooth.

It will smell wonderful!

Go ahead and take a deep breath. Enjoy what you've created so far.

I like to work with round cooking pans, but the shape doesn't matter. Use what you've got.

Before pouring in the batter, I use canola oil to coat the pan.

Spread your batter evenly, then place the pan in the oven for twenty minutes.

Let the cornbread cool for 15 minutes before you enjoy.

IMG_2371.JPG

Yum!

A Space Of My Own: Reflections on Being a Write at Home Mommy

With all of the demands of being a write-at-home mom of a toddler and a newborn, I have been finding it difficult to find the space and quiet time to write.

Blogging, I can manage between burps and books, play dates and paint, bottles and naps, but my fiction requires a different focus. In order to really write, get inside my head and listen, I need meditative stillness and quiet. I need a room of my own.

But since I'm not Virginia Wolf, and I cant spend hour upon reclusive hour alone with my pen, because I share a Brooklyn apartment with a musician husband, a boisterous toddler, a crying baby and a ridiculously loquacious cat, the key isn't so much finding a room of my own (although that would be lovely), but finding time of my own.

Time.....

The only quiet or down time I get is contingent upon two unreliable forces: a) My infant, who usually falls asleep first, must stay down after my toddler goes to bed and b) My toddler who usually goes to bed these days (thank heavens) without much of a fuss, must do just that and in a timely fashion. If the above has rolled out smoothly, and I've got no dishes left in the sink to wash and the floor has already been swept, all surfaces wiped down, then, around 9:00pm, I usually have a fifteen minute window, when all is silent.

Silence....

Then the teething infant wakes or the dashing hubby returns home from a gig and wants to binge watch one of our favorite Netflix shows, or maybe the toddler wakes, startled and alone and decides to have a meltdown. When it's over, when it's all said and done, my brain is so fried, I'm doing well if I can recall my name. Sometimes I can't.

The morning is my only hope.

And so my experiment began. How to be a productive writer in the morning? Would it be possible. Would I be able to wake up? It's hard enough starting the day at seven am considering the infant is not sleeping through the night yet. Would I crash and burn? Would the kids sense that I'm awake and decide to get up and join me? Would it all just work out brilliantly?

IMG_2384.JPG

Slowly I began at first, 6am rise, then 5:30 am, and finally 4:45 am rise. It seems to be working.

I am fortunate enough to have a desk of my own, a space of my own within a room that I share. But the magic happens when I can approach my space in my own time.

Apparition-like, my bare feet shuffle lithe across the hardwood, earl grey/lavender infusion in a teacup in my right hand, I've been known to pace the living room in those sacred pre dawn hours as I plan and concoct plots and settings, subtleties and flaws.

Sometimes the cat will join me. She's an hones and trusted editor.

I've been keen on spontaneously rolling out my yoga mat behind my chair, working through some sun salutations or gentle flow poses to focus or stimulate my mind and body, get them working as a team.

It seems to be working.

In perfect stillness my future starts, I'm free to write and re-write, edit and deconstruct. There are no limits or borders. I have the pleasure of showing up for myself. And bonus, I have a front seat to the spectacle of the rising sun.

When seven rolls around, away go my books, my yoga mat, my journals, pens and laptop.

With the pitter patter of little feet, the clamor of the garbage trucks, the white light of the sun, I transition again from writer to mommy. A role I can truly sink my teeth into, because I've made the time to do something creative with my life.

Now, I just need to figure out how to get more sleep!