Shea Butter Lotion Bars Recipe

IMG_2974.jpg

Shea Butter Lotion Bars Recipe I've been hand making shea based body butters for years. I've got a go to whipped recipe, a basic body butter recipe and a thick intensely moisturizing salve recipe. These butters are the basis of my product line and I use them every day.

While I am deeply in love with my concoctions, which I house protectively in glass bottles (plastic can leach chemicals into my products), my husband, a touring musician who is constantly on the go, grew tired of lugging dainty breakable glass bottles around. He wanted something that wouldn't break if manhandled by a customs official, that would also be comparable in purity and quality. This is how my lotion bars were born.

With only three ingredients, shea butter lotion bars are simple to make and even simpler to carry around (they wrap easily in waxed or parchment paper tied with string or sealed with a piece of tape).

IMG_2975.JPG

With the ease of a bar of soap, shea butter lotion bars glide over your skin, leaving you silky, smooth and moisturized.

These may become a new favorite of mine. They're too luxurious and simple not to love.

IMG_2974.jpg

IMG_2974.JPG

Shea Butter Lotion Bars Recipe

Here's what you need:

2 tablespoons shea butter

2 tablespoons olive oil

2 tablespoons beeswax

Here's what to do:

Melt the shea butter and beeswax together in a double boiler or in a glass jar placed inside a pot filled 1/4 of the way with boiling water.

Once a liquid is formed, remove from heat and add the olive oil. Whisk together until blended throughout.

Pour into a soap mold. If you don't have a soap mold, a small glass container will work as will an ice cube tray (mini bars).

Cool in the refrigerator to set for 30 minutes before use.

For best results, use right after your shower. Feel free to add your favorite essential oils for added aromatherapy benefits. Store in a cool dry space.

For more DIY natural skin care ideas, check out my latest book Natural Beauty from the Outside In, where you’ll find 70 Ayurveda inspired hair and skin care recipes.

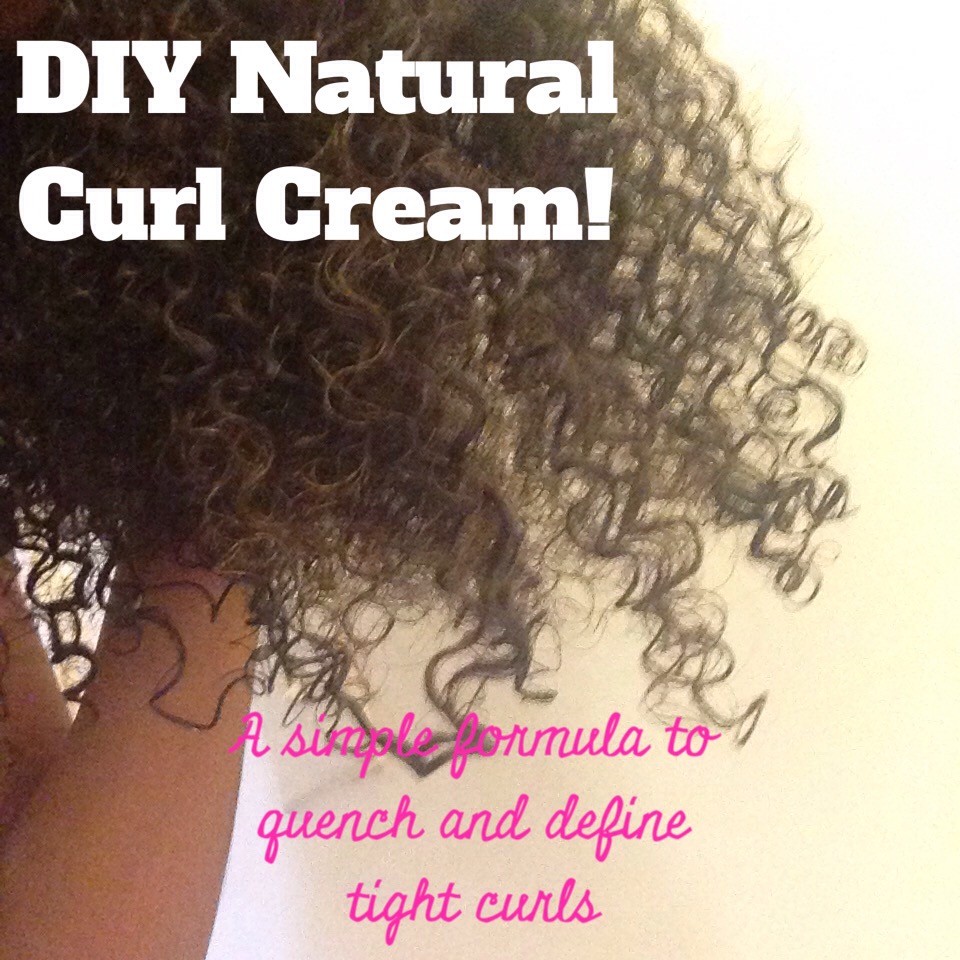
Shea Butter Natural Moisturizing Hair Pomade for Curly Hair: A Curl Cream Like No Other!

I am the happy owner of a head full of tight coil curls.

I know there are a slew of numerical designations in the natural curly hair world for specific curl type- I just don't know mine.

Numbers, smumbers, if I've learned one thing over the years about curly hair care, it's that moisture (and I'm talking the right type of moisture) will make or break you!

With curly hair, if you don't plan to moisturize, you're planning to fail! Curls are delicate. They dry and frizz very easily if moisture isn't sealed into the shaft. Curly hair requires a deeply penetrating moisturizer with the right amount of weight (enough give for bounce, enough girth to control).

There are a ton of wonderful moisturizing products on the market, full of very effective synthetic ingredients, but you deserve better. Synthetic dyes, chemicals, fragrances, preservatives and silicone are not good for you.

There are so many organic oils and combinations of oils (natural enough to be both ingested and applied topically to a newborn) that work miracles on curly hair, you don't need to go synthetic, or break the bank. When it comes to curly hair, you do have options. For the next few weeks, I'm going to post a series of organic/all natural recipes  for curly hair care.

Today I'm going to share a shea based moisturizing pomade recipe that will give thick curly hair the moisture it needs to thrive.

This recipe is 100% natural and 100% moisturizing. It works well on a variety of textures from loosely curled waves to tight kinky curls. The peppermint gives your scalp a satisfying tingle, smells great and the castor keeps locks soft and moist without a greasy feel.

Shea Butter Natural Moisturizing Hair Pomade for Curly Hair: A Curl Cream Like No Other!

IMG_2660

Here's what you'll need:

1/2 cup shea butter

1/2 cup castor oil

1/8 cup jojoba oil

10 drops lavender essential oil

10 drops peppermint essential oil

Melt your shea butter in a double boiler, in the microwave or in a glass pyrex bowl placed inside a pot filled 1/4 way with boiling water.

Once a liquid is formed, add your shea butter, castor oil, jojoba oil and essential oils to your jar. Affix the lid securely and shake vigorously to blend. This recipe will fill an 8 oz. jar.

Place your jar in the fridge for thirty minutes to set before storing at room temperature.

It's that easy!

Remember to apply the pomade from root to tip, concentrating the heaviest bits towards the ends. When your done, use the tips of your fingers to give yourself a tingly scalp massage.

Now look at your gorgeous self in the mirror. Seize the day!  Love your curls!

Not ready to make a batch? You can order a jar HERE!

*This post is shared at Healthy, Happy, Green & Natural Party Hop

For more DIY natural skin care ideas, check out my latest book Natural Beauty from the Outside In, where you’ll find 70 Ayurveda inspired hair and skin care recipes.

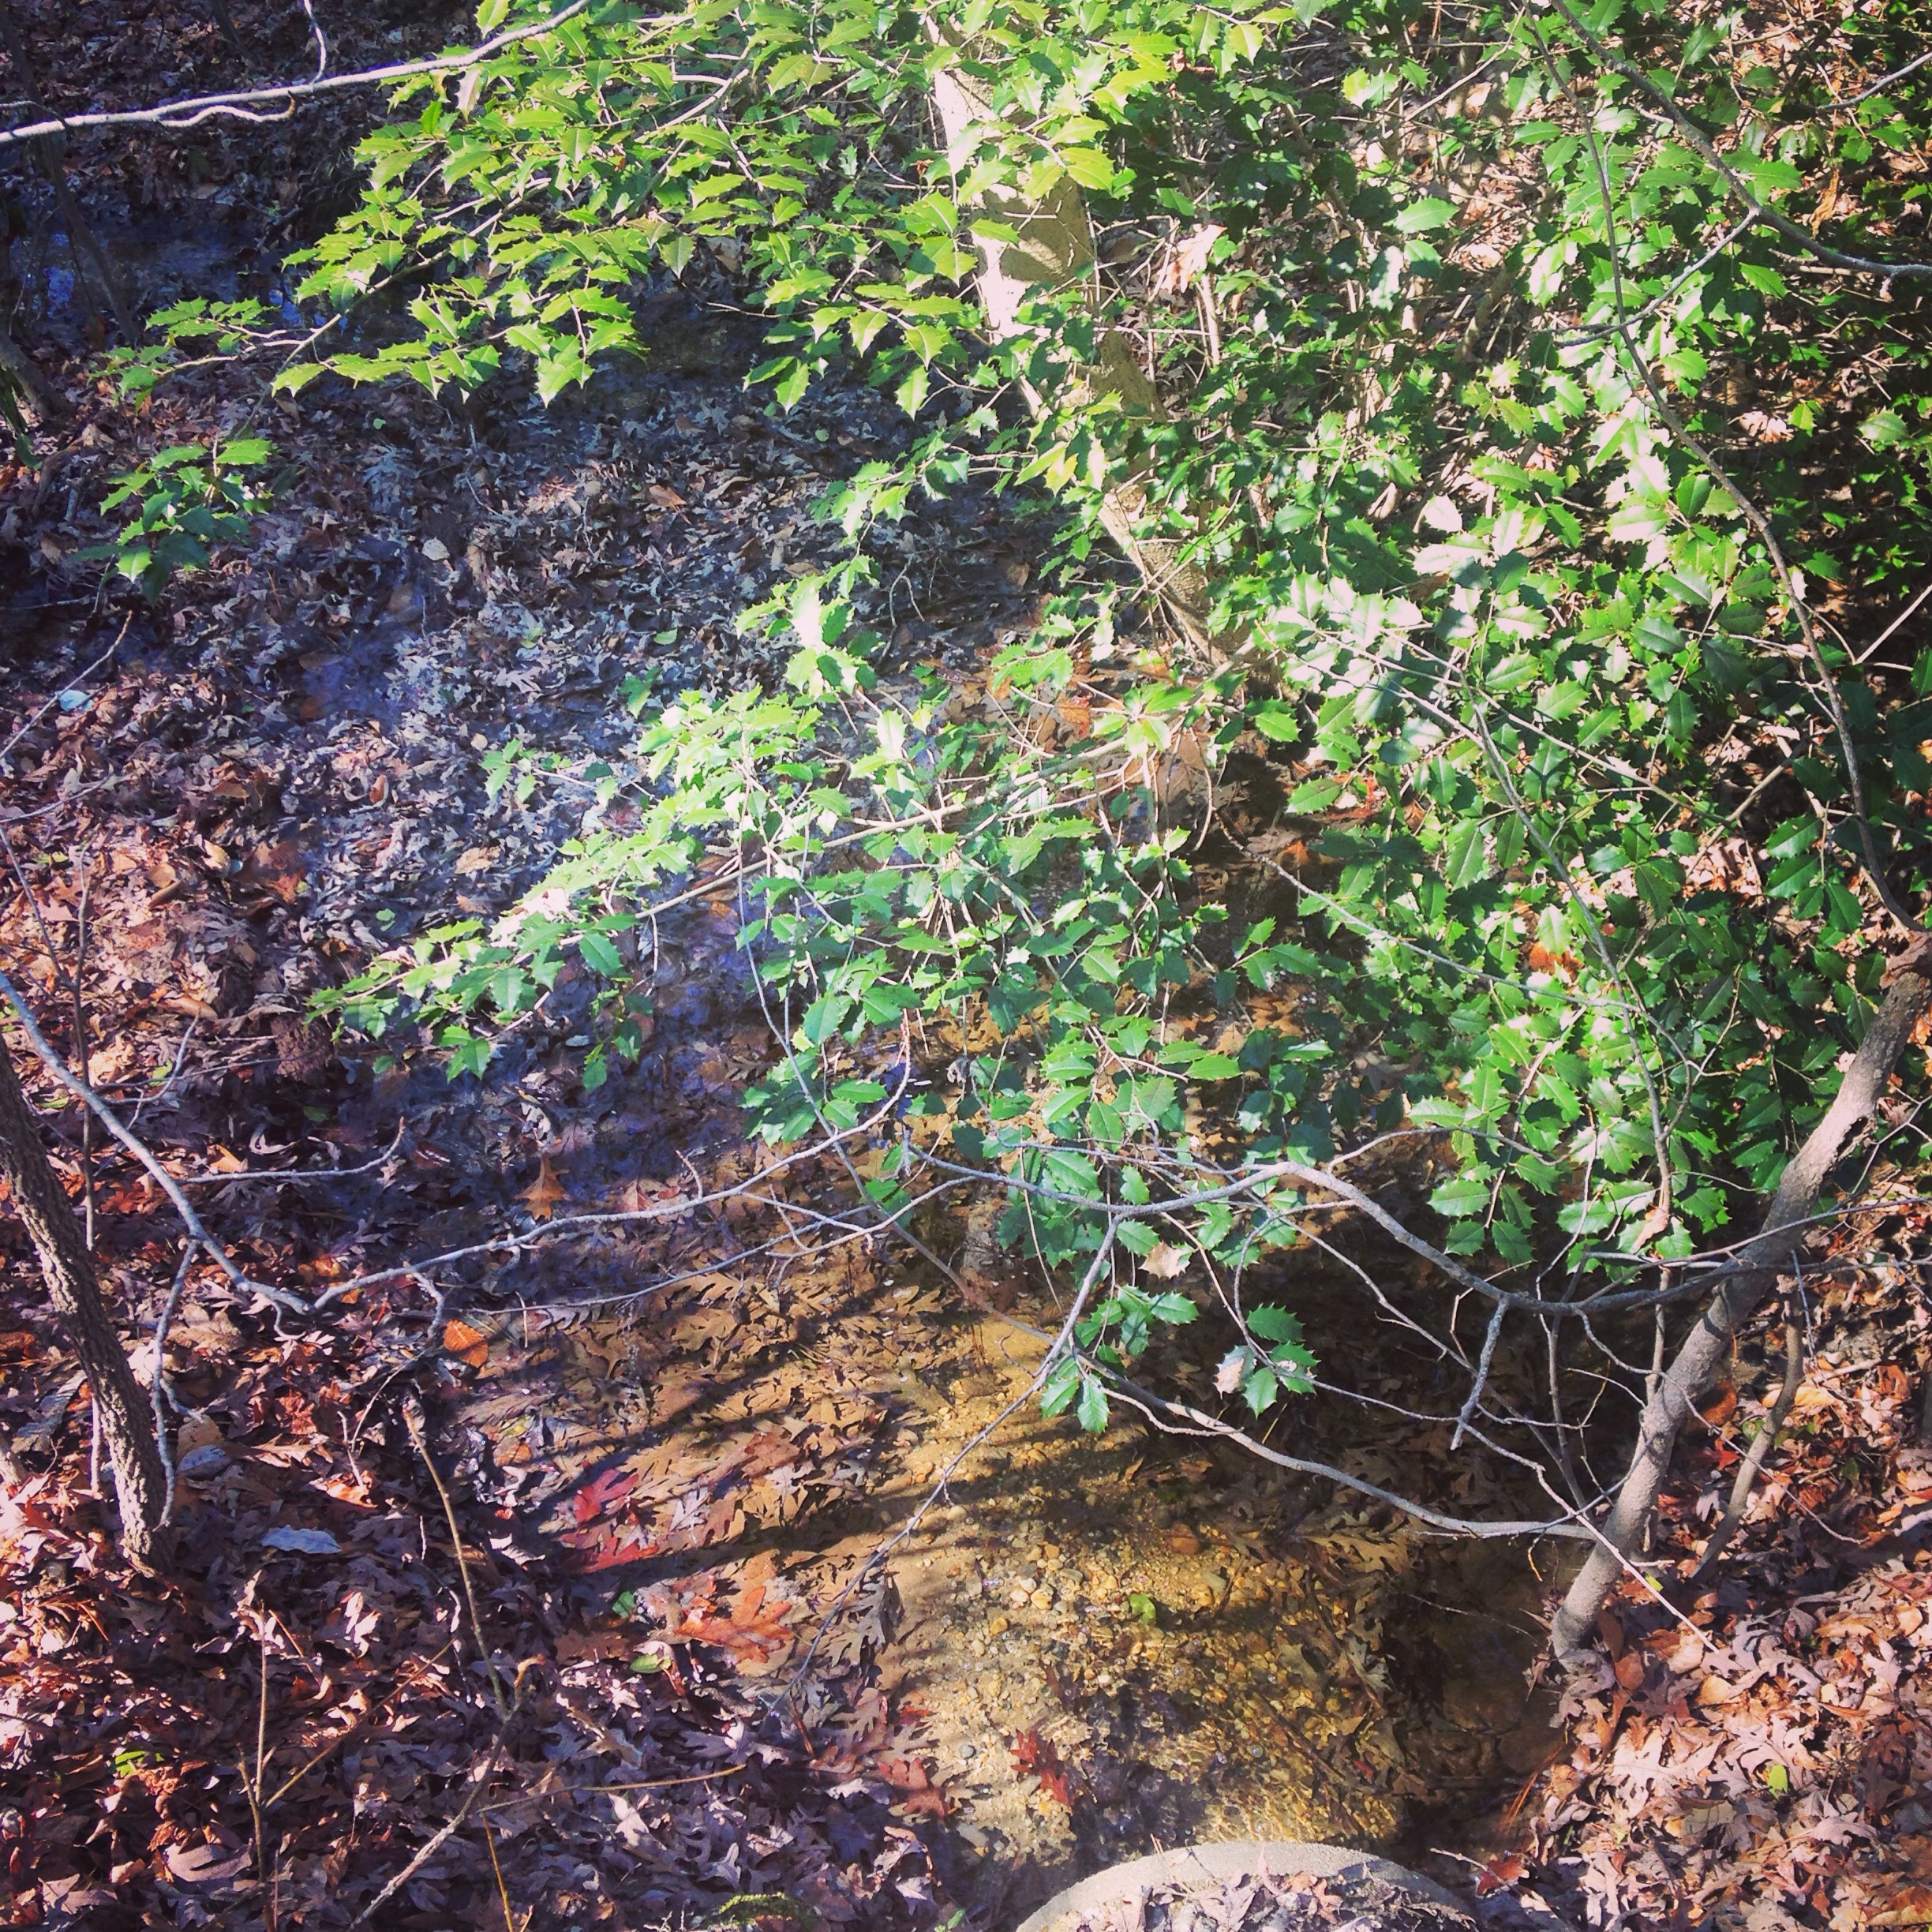
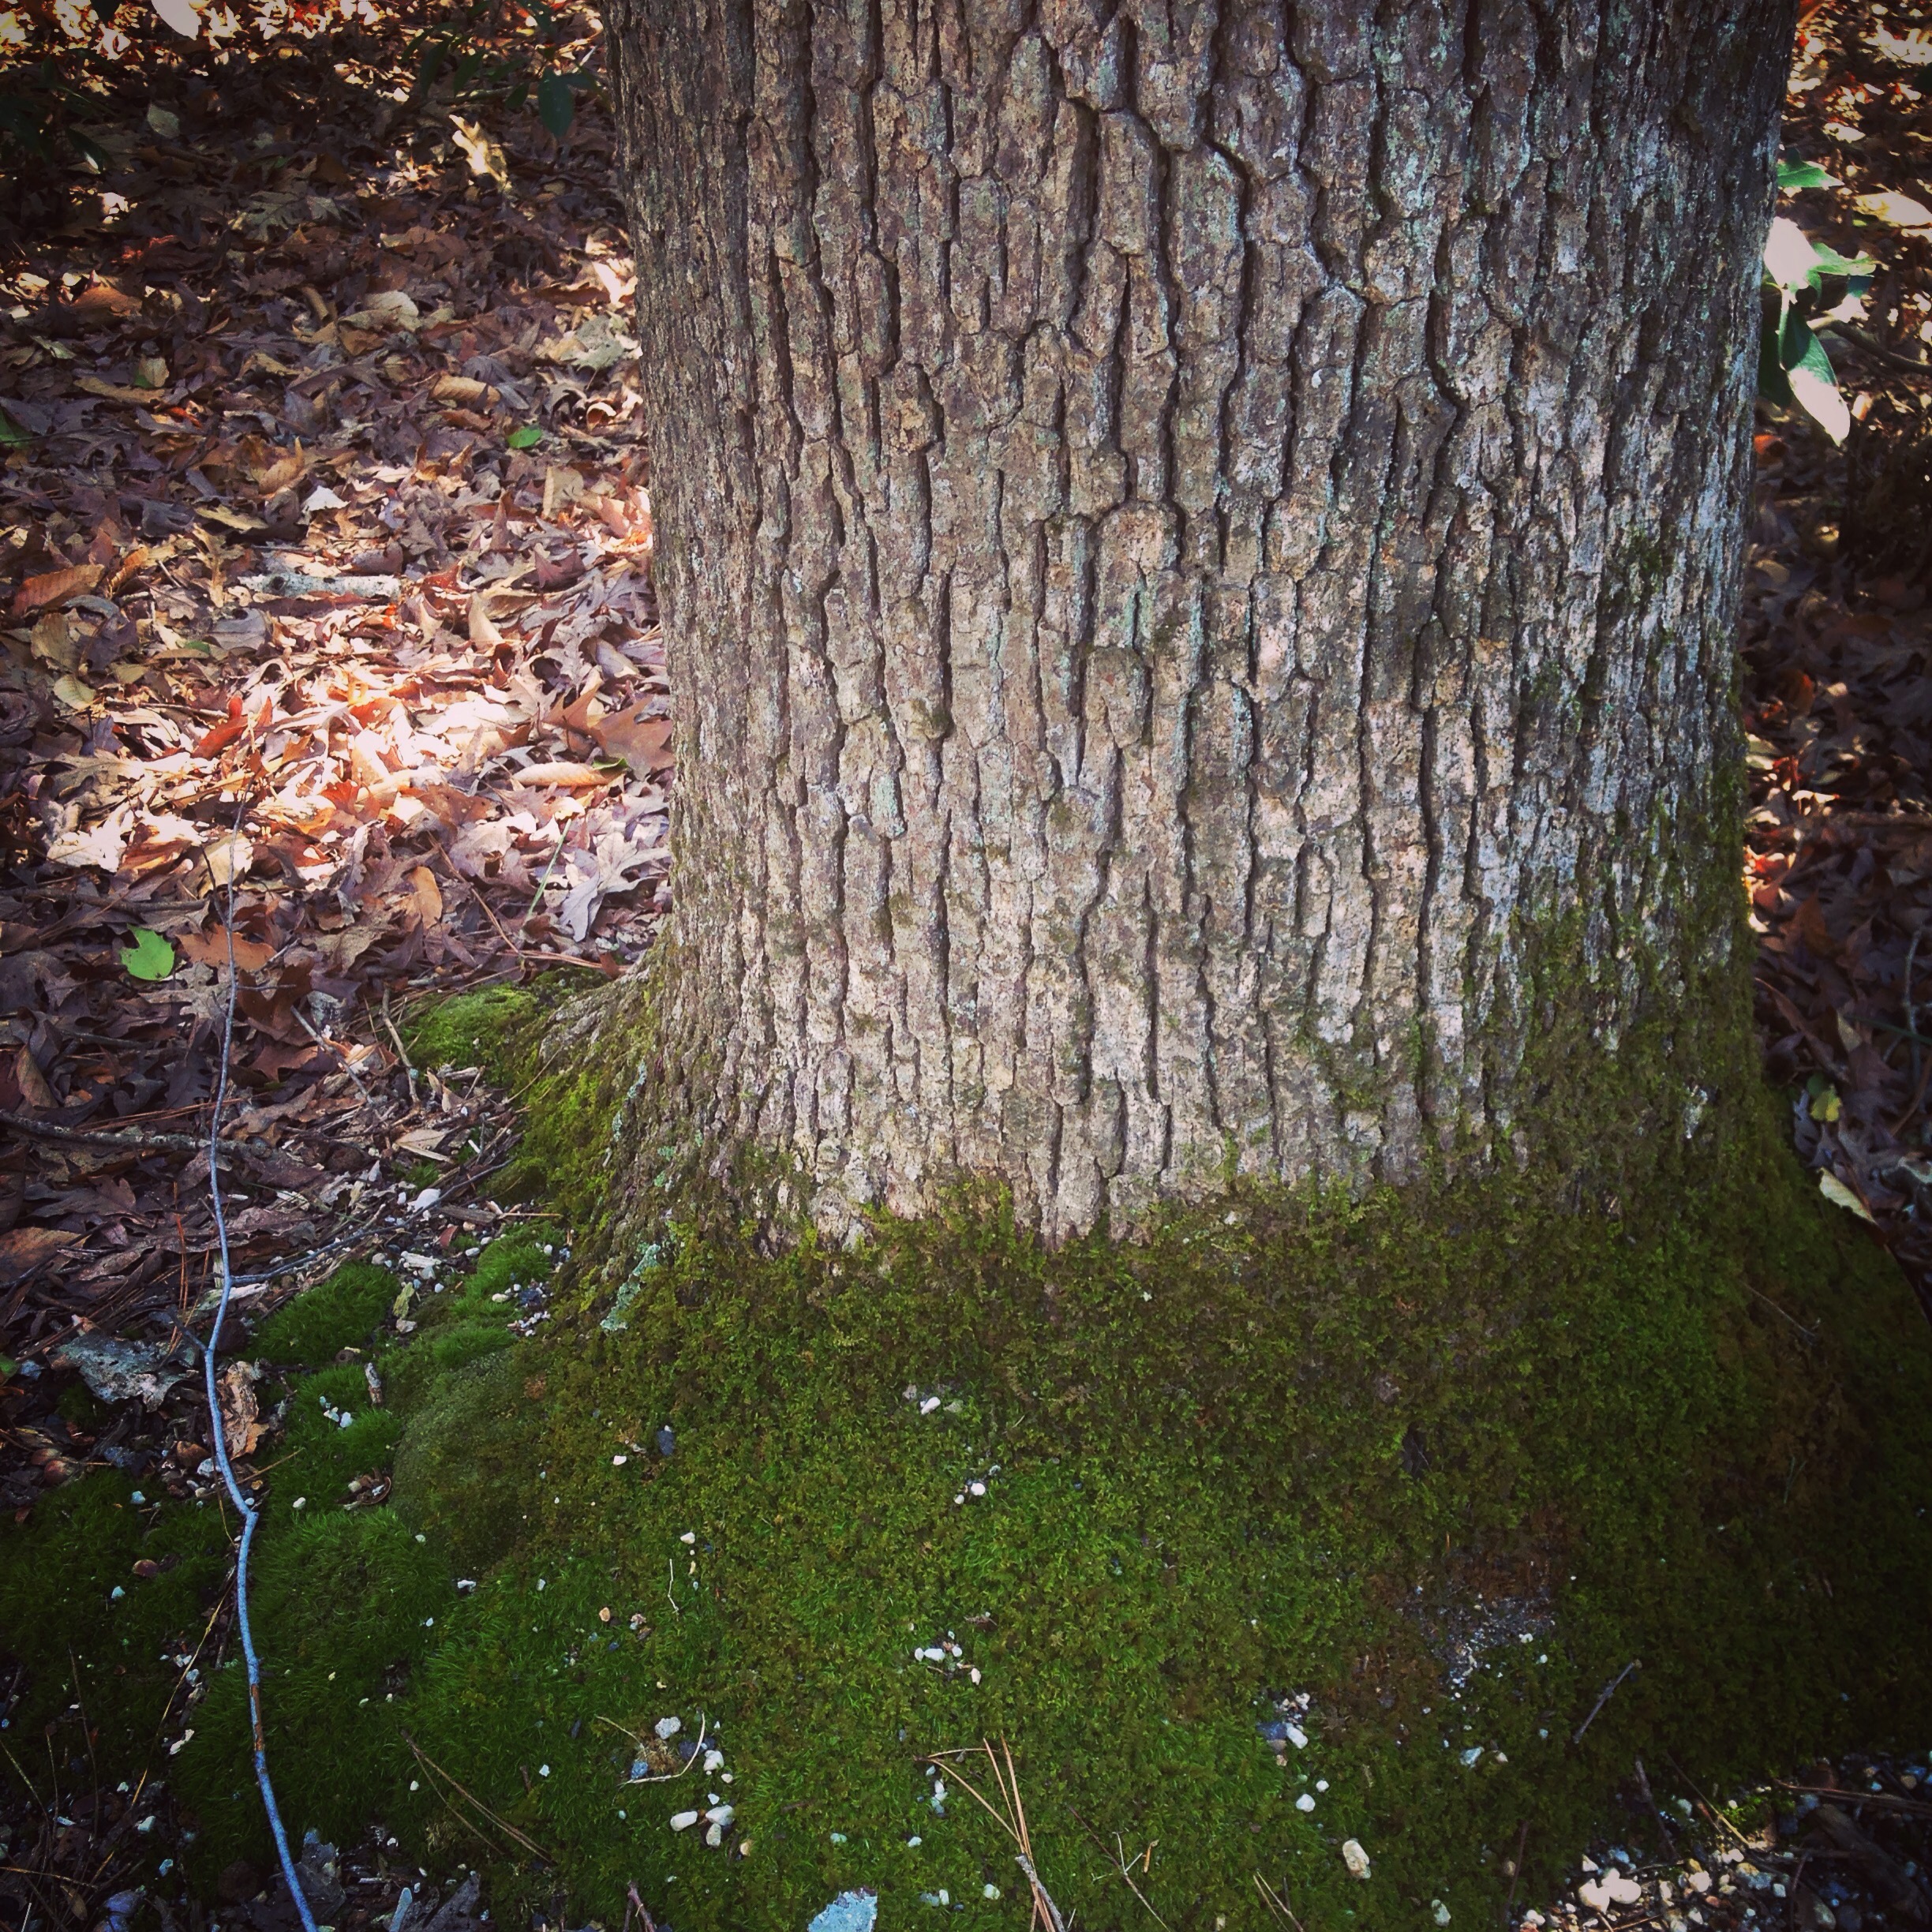
The Woods in Maryland in Spring

It's been a long winter for nearly everyone, but when you've got young kids cooped up inside a NYC apartment, this past winter felt especially cruel and suffocating. We were able to escape to our house in Maryland and beat this last round of snow. We live deep in the woods. It's such an inviting and natural environment. The woods in Maryland- I can't get enough!
On this sixty degree, sunny day, we decided to welcome spring with a walk through our favorite woods.

Ohm's turning into quite the miniature naturalist. His acorn, pine cone and stick collection is almost museum worthy- almost...


NYC Date Night: A Walk Through Chelsea

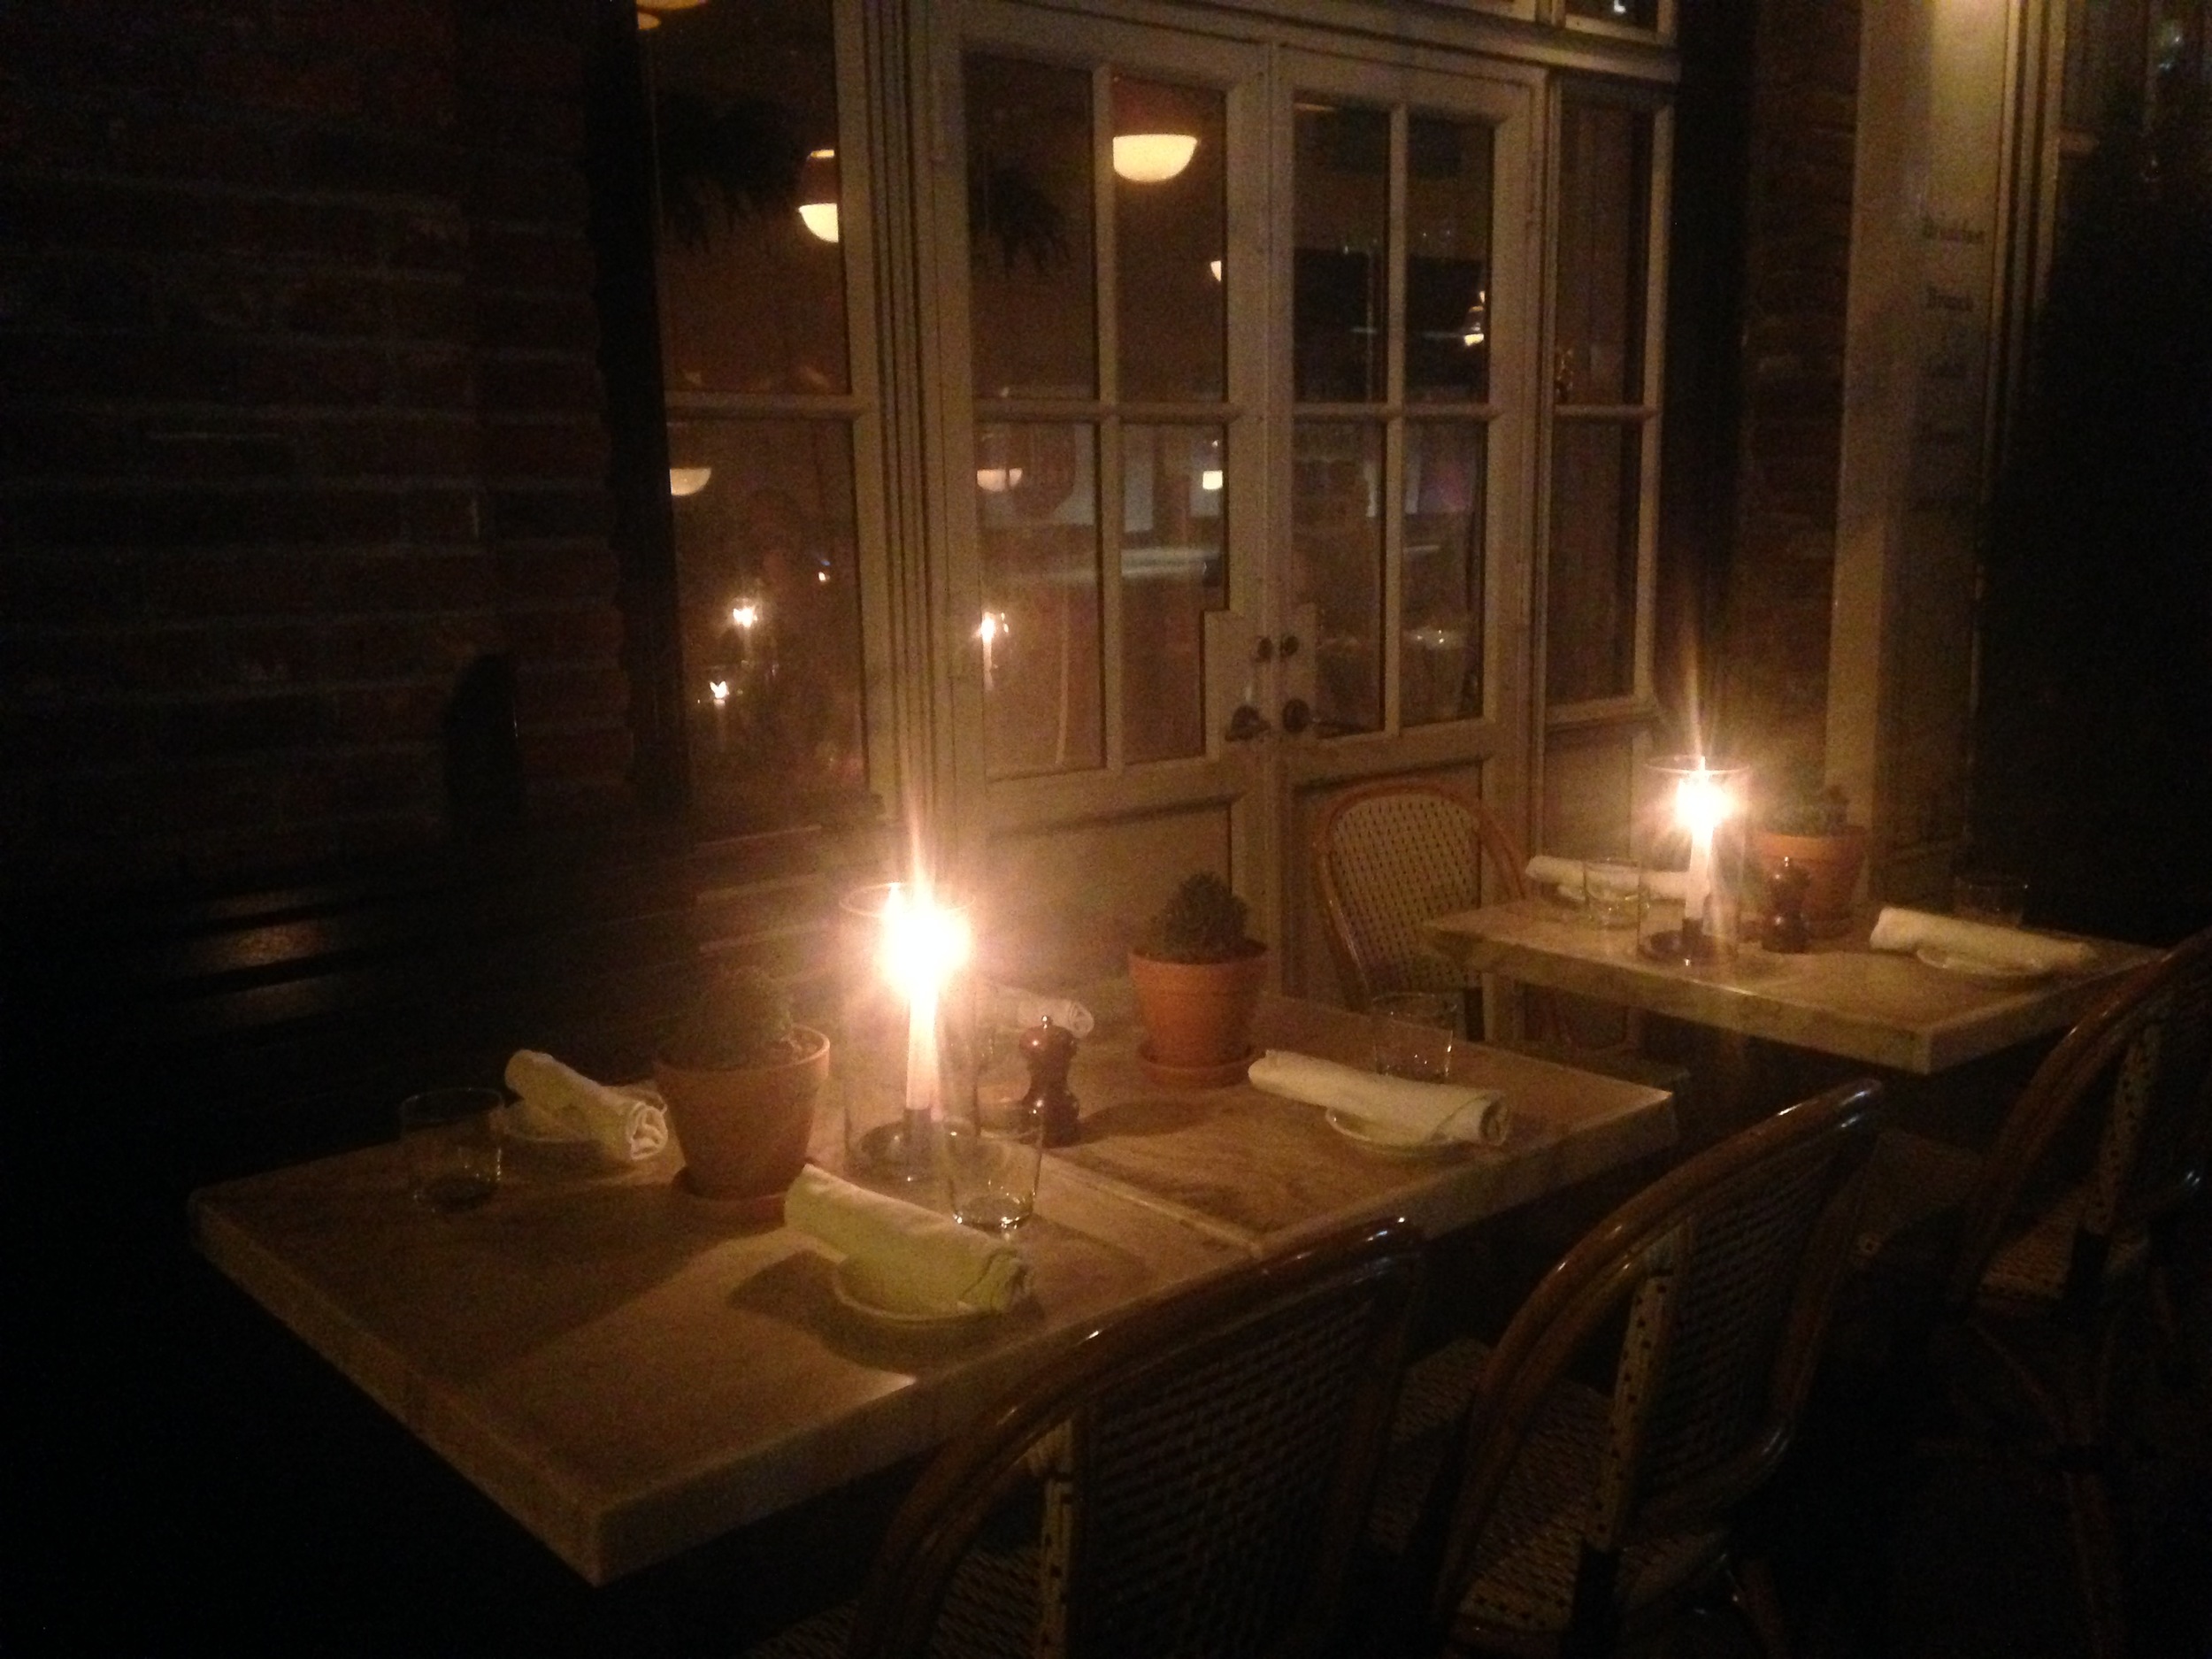
Yesterday was date night and because the weather decided to be somewhat amenable (yay 55 degrees!) we were able to do something we hadn't done in weeks- GO OUT! Originally we were going to stroll the High Line and catch dinner, but the High Line was closed by the time we made our way in inches over the Brooklyn Bridge through an intense traffic jam (that's the thing about NYC when the weather becomes nice-GRIDLOCK!).

IMG_2696

With plan A completely scratched, we came up with a plan B- a stroll through Chelsea.

Date Night in Chelsea

On the west side of Manhattan, from 14th street to about 30th street lies the neighborhood of Chelsea.

From the wide cobblestone streets, to the exclusive restaurants with outdoor seating, Chelsea is easily one of New York's most romantic and artistically eclectic neighborhoods.

Exclusive, edgy, artsy, cutting edge and (thanks to the High Line) green, Chelsea a great place to shop, dine, people watch and relax- especially now that the weather is getting warmer.

IMG_2720.JPG

A few things to check out in Chelsea:

  • The High Line - A beautiful elevated park on what used to be an old rail line. Here, you can catch stunning city and river views.
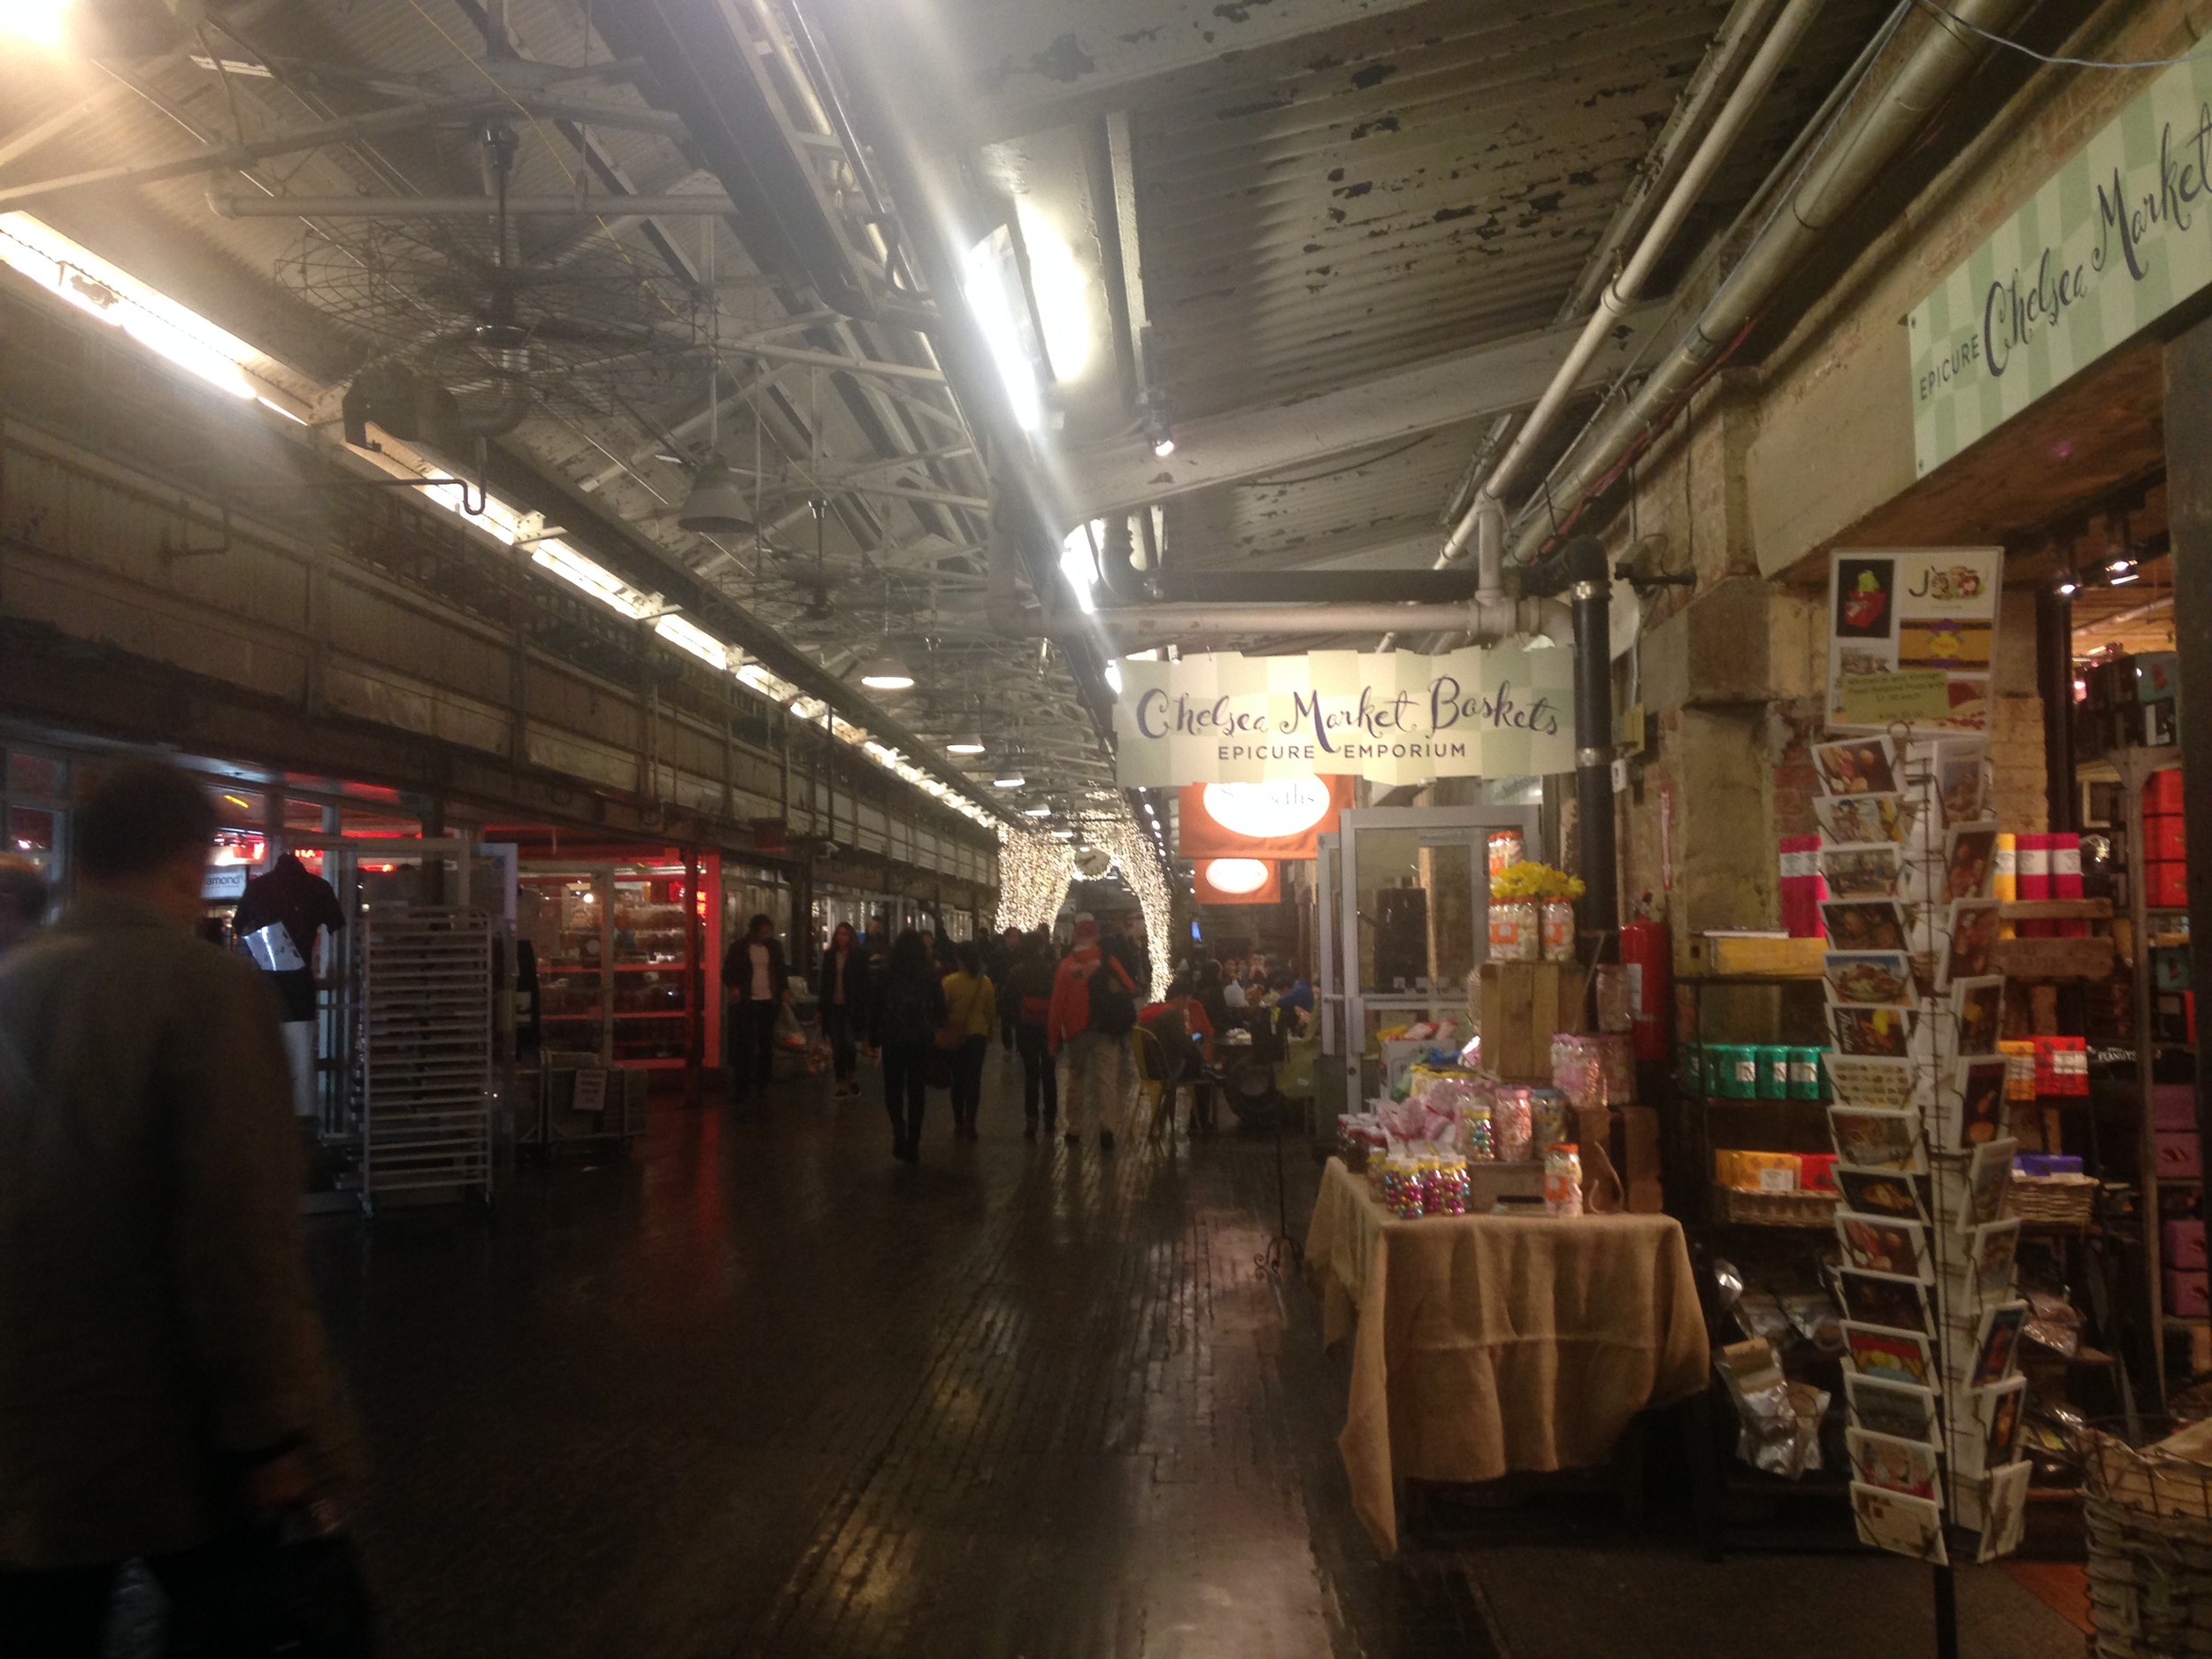
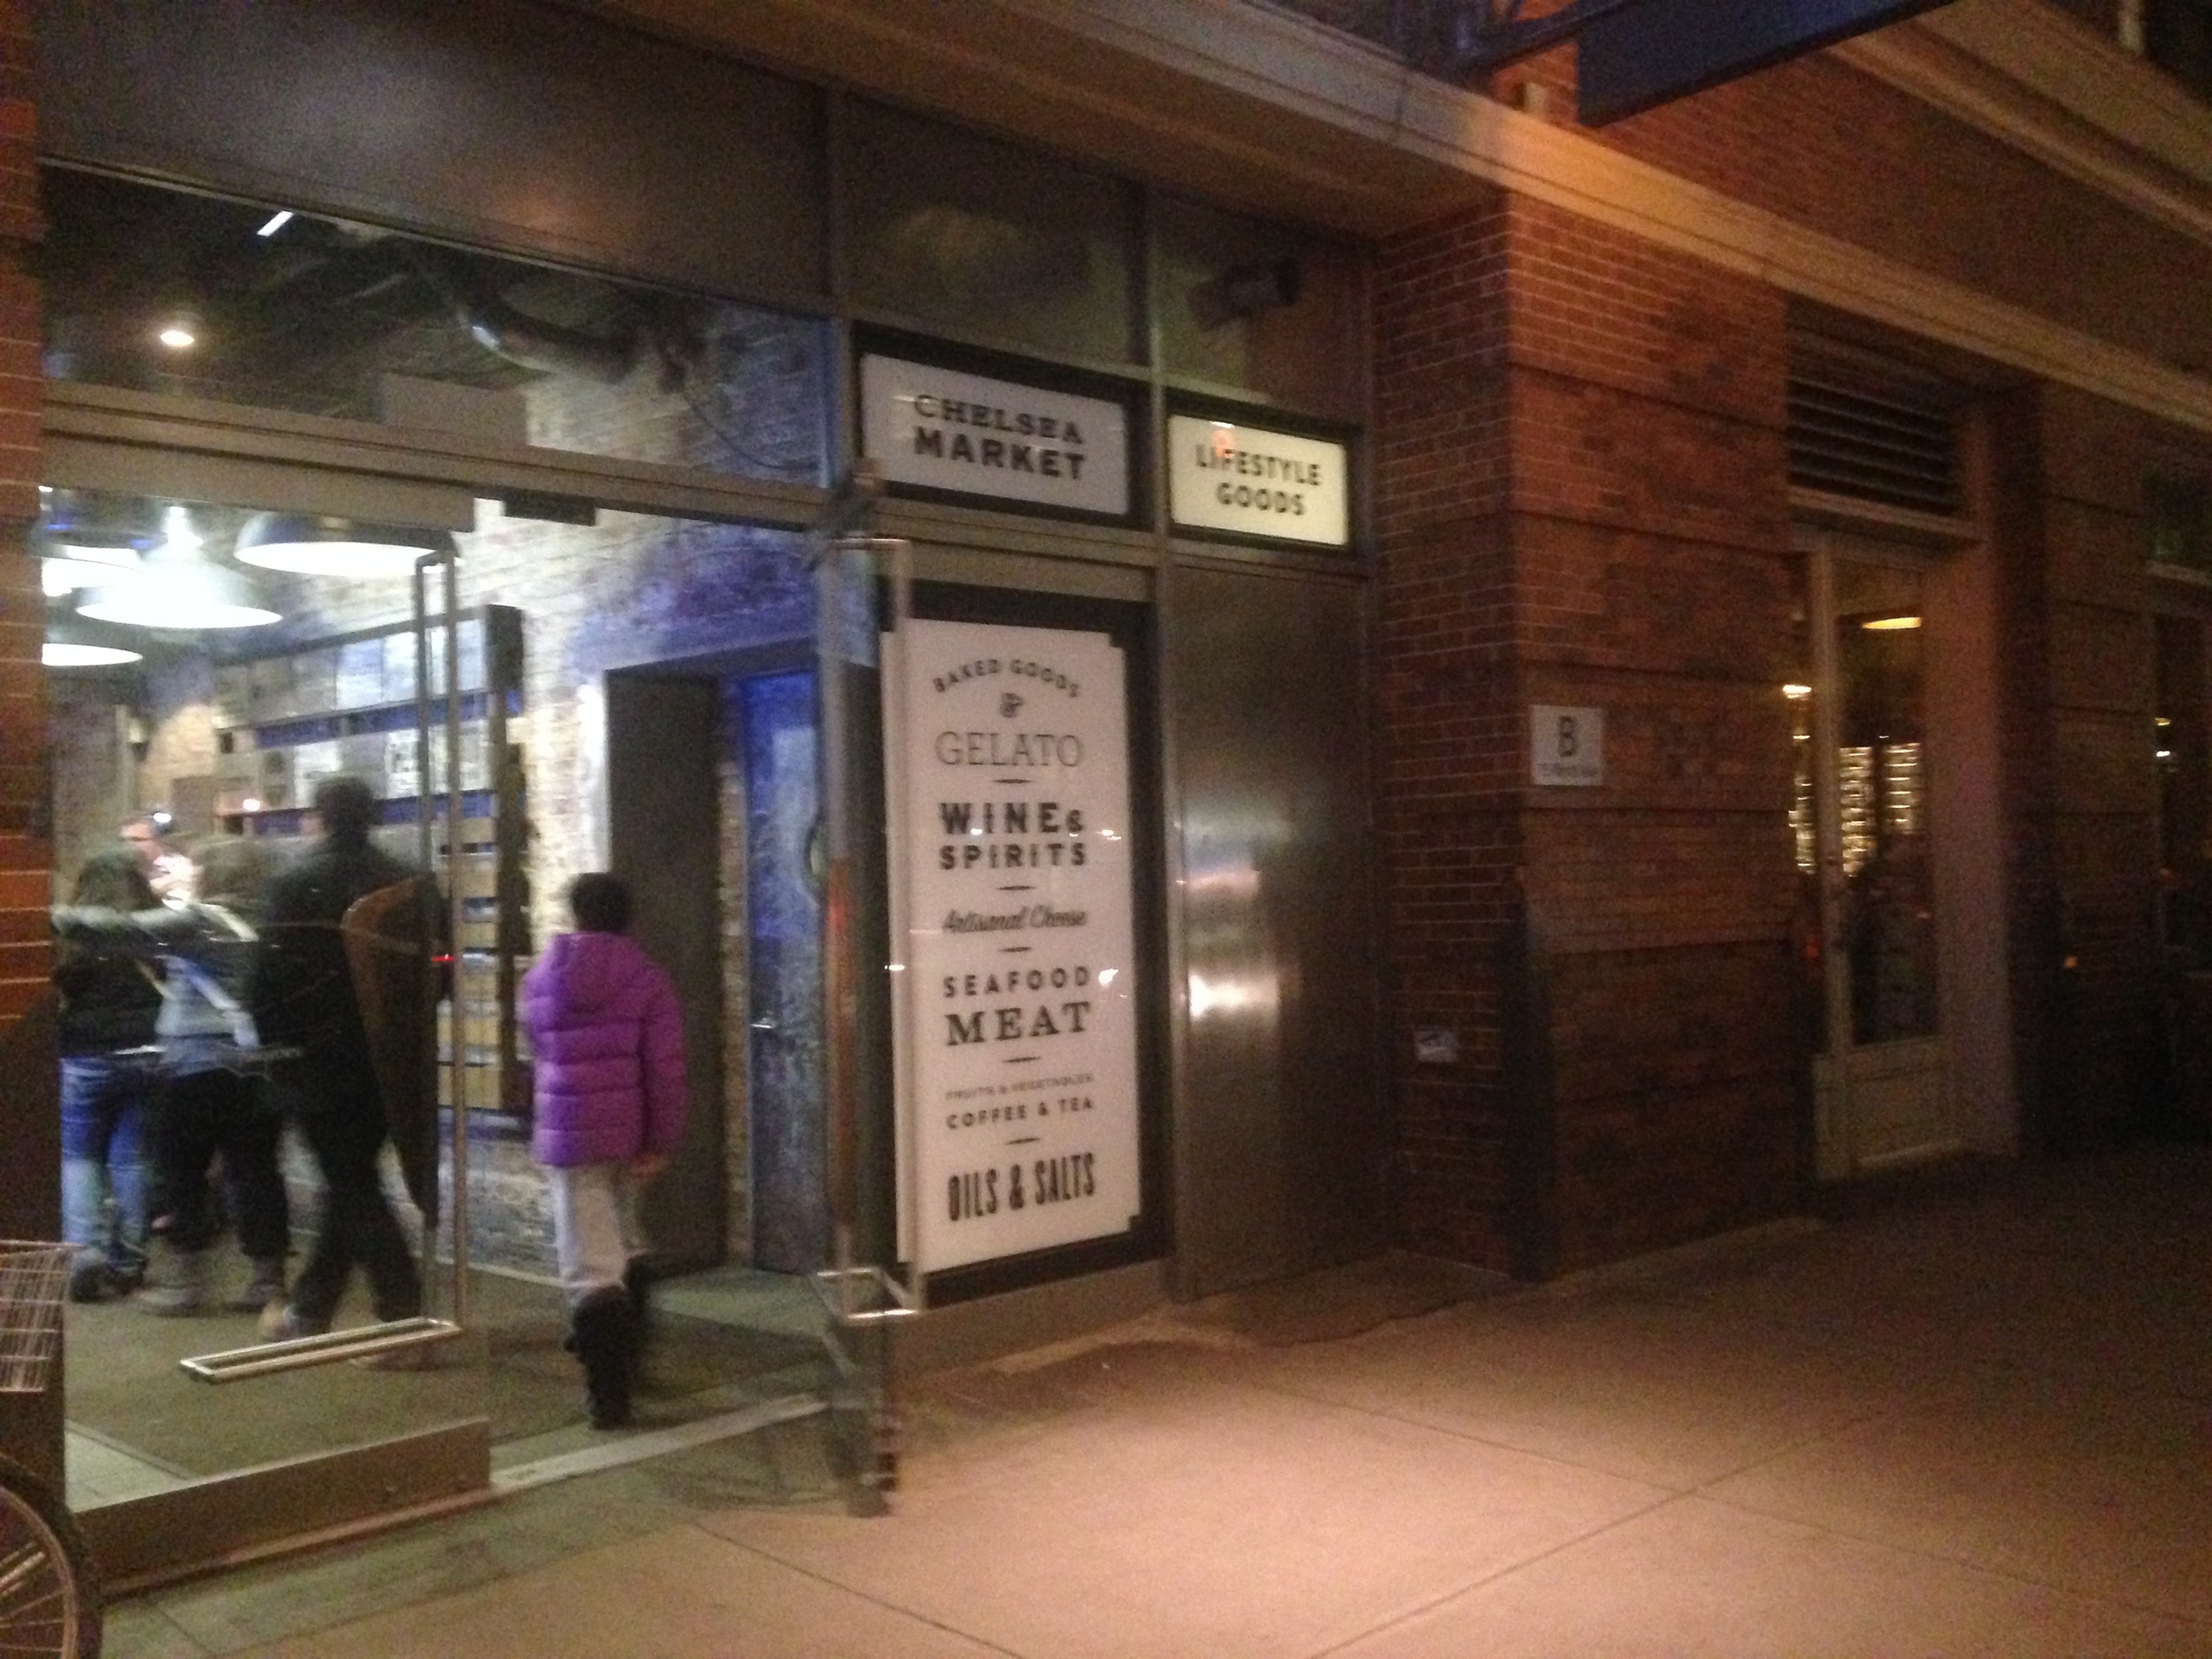
  • Chelsea Market- A little bit of everything rolled into one, the Chelsea Market is a contemporary and edgy farmer's market, artist bazaar, mall, office space, gallery and high end food court (clearly my FAVORITE!).
  • The Chelsea- The famed and historic Chelsea Hotel is pretty darn awesome to visit. The doors are open for visitors to take in the art on display or meander the winding staircases in the same manner that famous artist in the past used to. The hotel was an artist residence at one time and housed greats such as: Janis Joplin, Bob Dylan, Patti Smith, Allen Ginsberg ( and countless others).
  •  


    Good Face Cream for Mature Skin: A Natural Shea Based Recipe

    IMG_2665.jpg

    The shea butter experiments have been going well! Over the last ten or so days, I've whipped up so many creamy and nutritive concoctions. Every day is starting to feel like a spa day. Today's recipe was inspired by my mother in law who has been asking for an all natural shea based face cream that she could use to counteract wrinkles and signs of age.

    The truth is, this natural facial moisturizer for mature skin can really be used at any age, 25-105, as it's never too early to begin taking care of the delicate skin on your face and decollete.

    Good Face Cream for Mature Skin: A Natural Shea Based Recipe

    ood Face Cream for Mature Skin: A Natural Shea Based Recipe

    I love this formula and keep a little jar on my dresser. I use it every night before bed. The natural facial moisturizer for mature skin draws upon the powerful anti-aging properties in turmeric, sea buckthorn oil and frankincense. All of which have been used for thousands of years to combat signs of aging and wrinkling-the natural way!

    If you'd like to whip up a batch to try, here's what you'll need:

    1/2 cup shea butter

    1/2 teaspoon sea buckthorn oil

    1/8 teaspoon turmeric

    35 drops of frankincense essential oil

    Melt your shea butter in a double boiler over low heat or by using a pyrex glass container placed inside a pot filled 1/4 of the way with boiling water.

    Once the shea has turned to a liquid, pour it into your container. Add the sea buckthorn oil, turmeric and frankincense.

    With the lid secured tightly, shake the mixture until the contents have blended thoroughly. It should be a light gold color.

    Place your container in the refrigerator for thirty minutes to set, before returning it to a room temperature environment.

    This recipe will fill a 4 oz. bottle.

    *This formula is very concentrated- a little bit goes a long way. A pea sized amount is all you need for your face. Don't forget to use another pea sized scoop for your decollete (it will give your age away in an instant).

    **Despite being thick in consistency, you do not need to worry about your pores getting clogged our break-outs. In fact, if you have acne prone skin, this formula will work in your favor when it comes to keeping break-outs at bay. Turmeric, sea buckthorn oil and shea butter are effective in the treatment of problem skin.

    Shea Butter Moisturizing Body Scrub Recipe

    IMG_2686.jpg

    We have the driest heat inside our house in Brooklyn. I've never experienced anything like it. My hands seem to have aged twenty five years this winter alone.

    I wake up for water multiple times in the middle of the night.

    My hair is like straw.

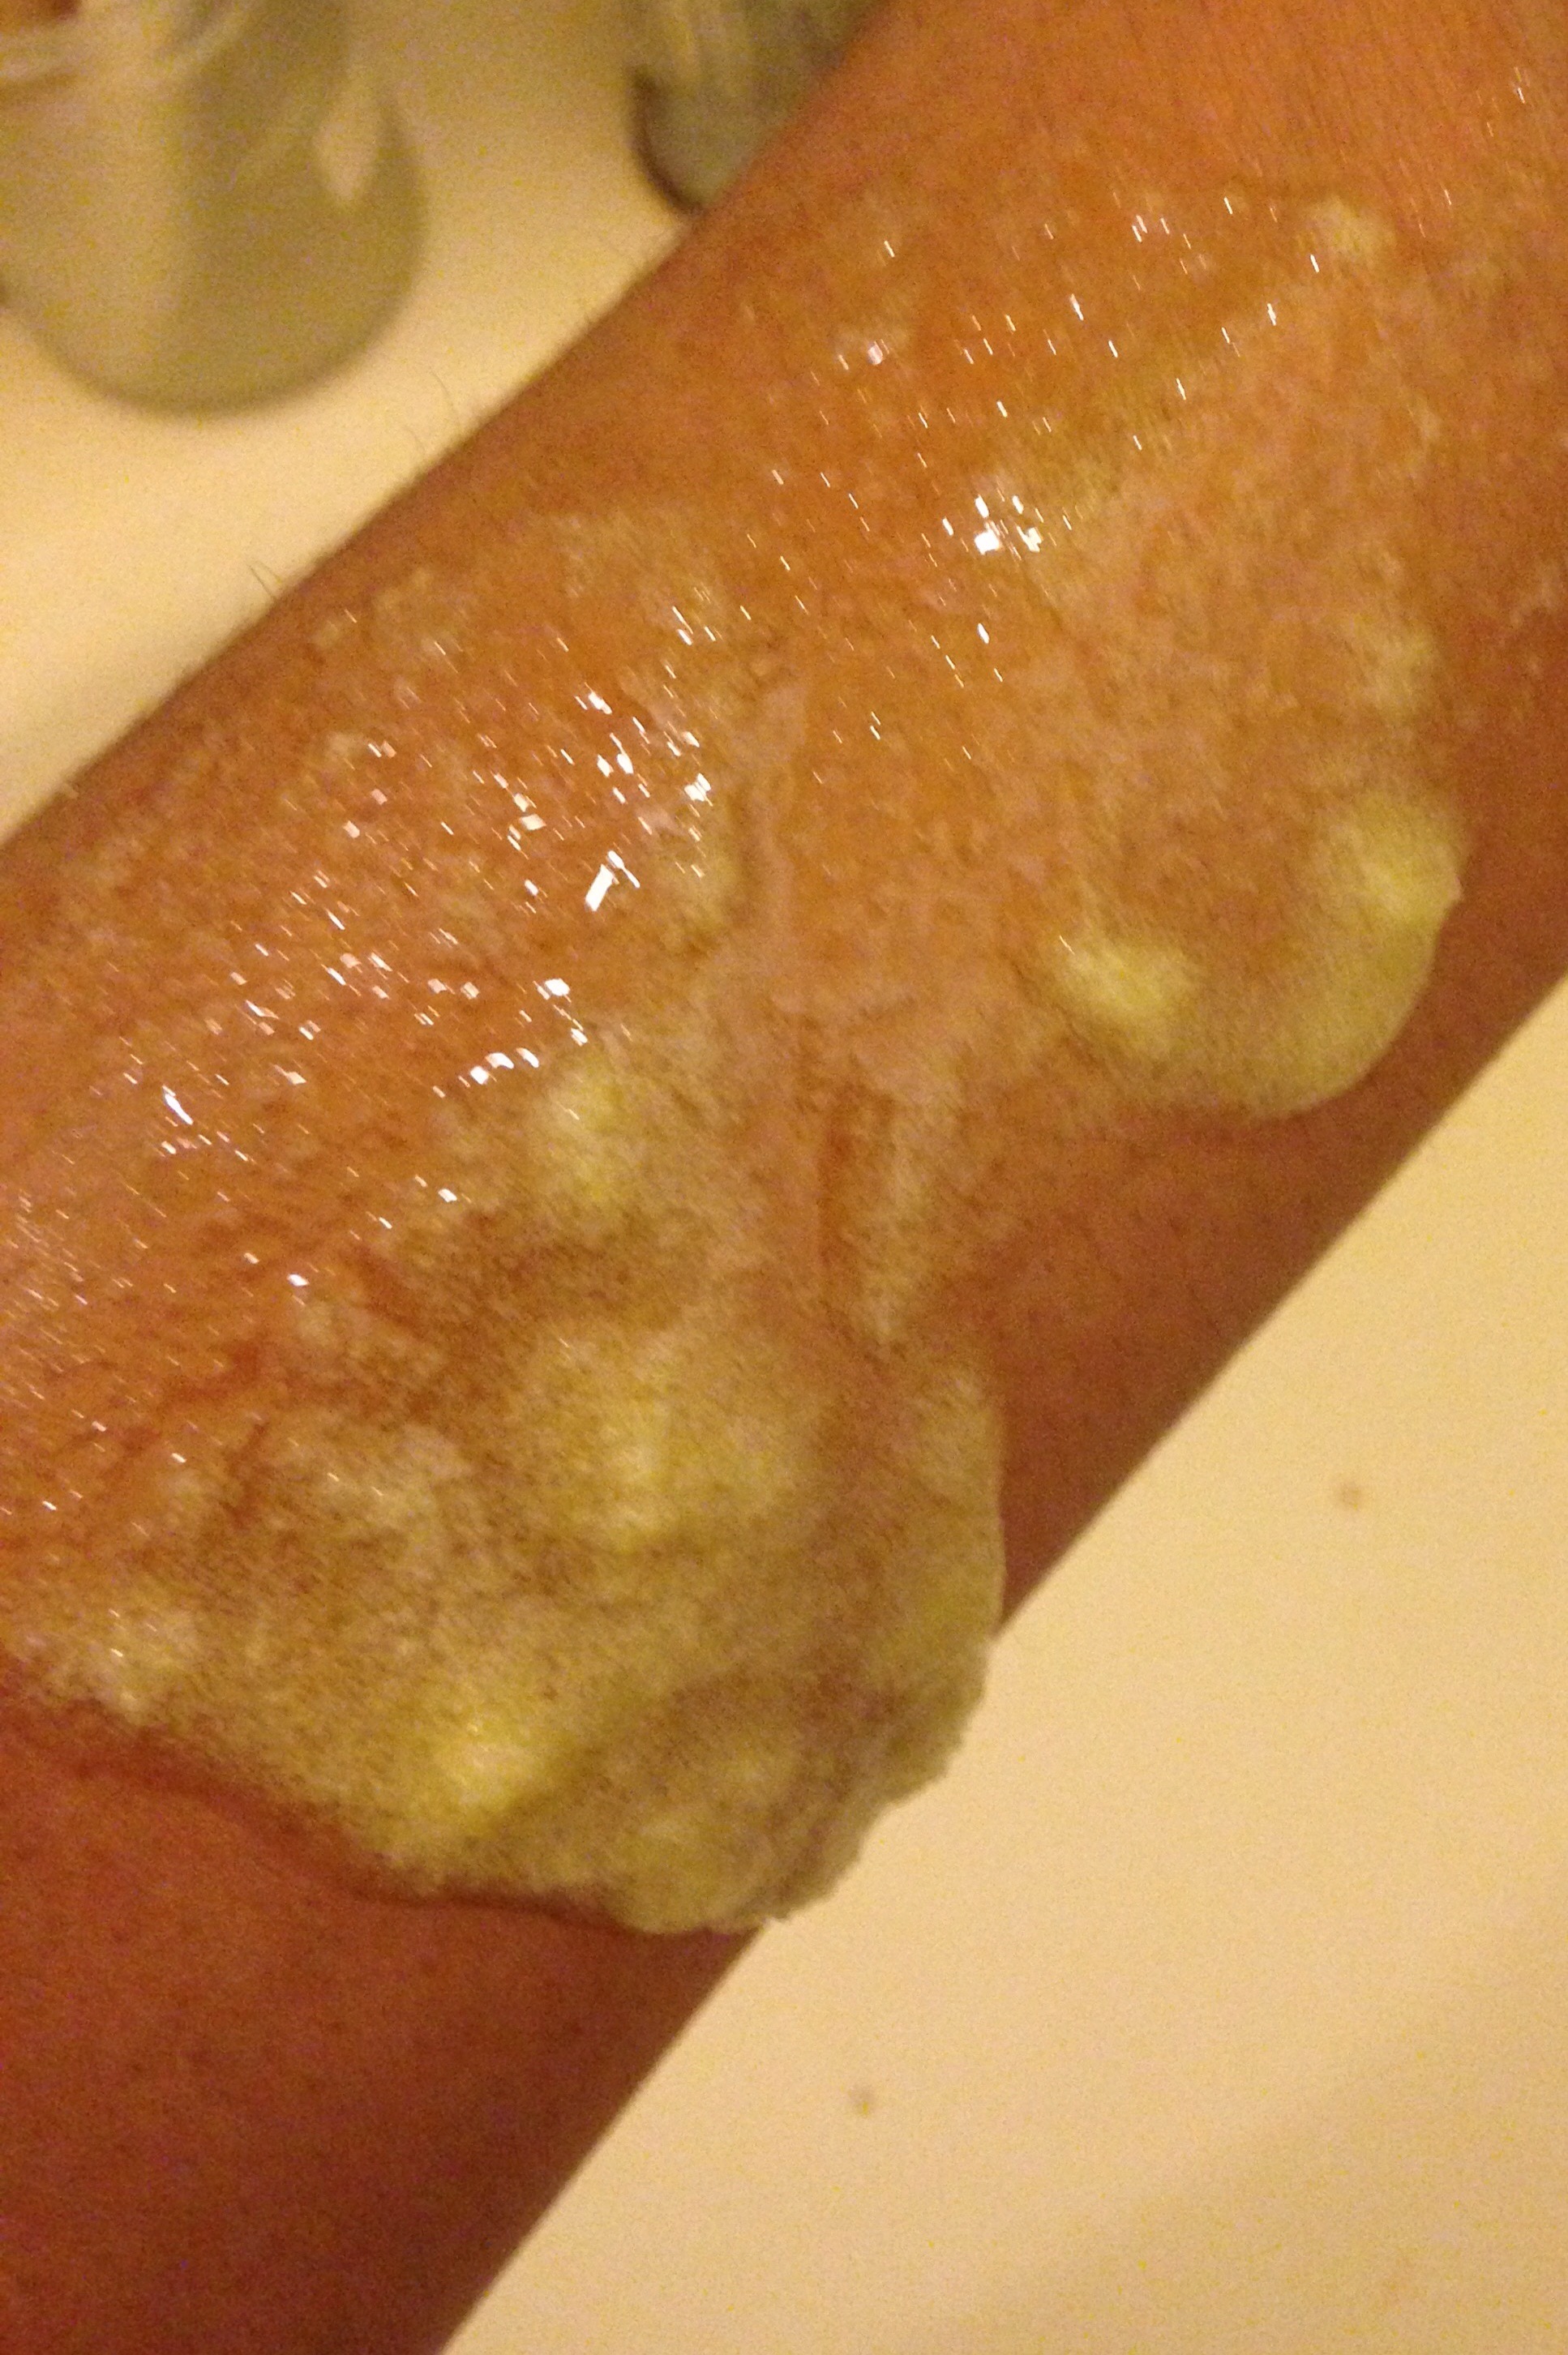
    Luckily, this super moisturizing shea based scrub is slowly reviving me.

    DIY shea butter sugar scrub

    I'm a huge fan of scrubs. It's so rejuvenating to slough away dead dry layers, making way for a softer, newer self. It's like emerging new every time you step from the shower.

    I have a scrub recipe that I love, but my trusted go-to coconut scrub was no match for this dry winter (apparently the coldest winter in 200 years according to this morning's news).

    Well, I guess the good news is that it's almost over.

    Perhaps the even better news is I've discovered a recipe for a deeply moisture rich scrub that will convince your skin that spring has sprung. Even if there are feet of accumulated snow outside.

    Shea Butter Moisturizing Body Scrub Recipe-

    1/4 cup shea butter

    1/4 cup jojoba oil

    3/4 cup brown or white sugar

    1/2 teaspoon vitamin E

    10 drops ylang ylang

    Melt the shea butter in a double boiler or by placing a pyrex glass jar inside a pot filled 1/4 way with boiling water.

    Once your shea butter is melted, place it in the container you will store your scrub in and add the jojoba oil, vitamin E, sugar and ylang ylang.

    Stir until blended.

    Place in the refrigerator for thirty minutes to set and then store in your shower.

    This mixture will fill an 8oz jar and will last for a year.

    IMG_2611.JPG

    The formula is gentle enough for daily use!


    A Zanzibar Spiced Coffee Recipe

    We were completely jet lagged when we arrived. After a midnight bus ride from Canal Street in New York on the Chinatown Express to 14th street in Washington D.C., where we took a taxi to Dulles airport and slept for four hours on plastic benches before flying ten hours to Addis Ababa, Ethiopia, cue an eight hour layover before arriving in Stone Town, Zanzibar five hours later where we learned that the hotel we'd booked online was overbooked as were all of the hotels and guest houses in town that night, we were in desperate need of a pick me up.

    Dragging our rolling luggage behind us over dusty cobblestone streets, we came upon an ocean view cafe.

    Perched on silky cushions, we ordered food and began to panic.

    The air smelled of cardamom and salt water. In the distance, waves noisily lapped at the beach.

    Our coffee came out first. It was served in tiny silver cups, warm to the touch. At first I was confused, the cup smelled more like chai tea than coffee. Don't get me wrong, chai is lovely, but I really wanted coffee and wasn't in the mood for another disappointment.

    I took a sip. Equally stimulating and grounding, the coffee bathed my mouth with flavor.  Zanzibar does many things well, their spiced coffee, they do really well.

    We stayed in that cafe until it closed. Until we were forced to wander the streets once more in search of a place to stay, which we finally found several hours later as the sun began to rise. Thank goodness for that coffee!

    Rarely am I nostalgic about that evening, but when I am, it centers around that coffee.

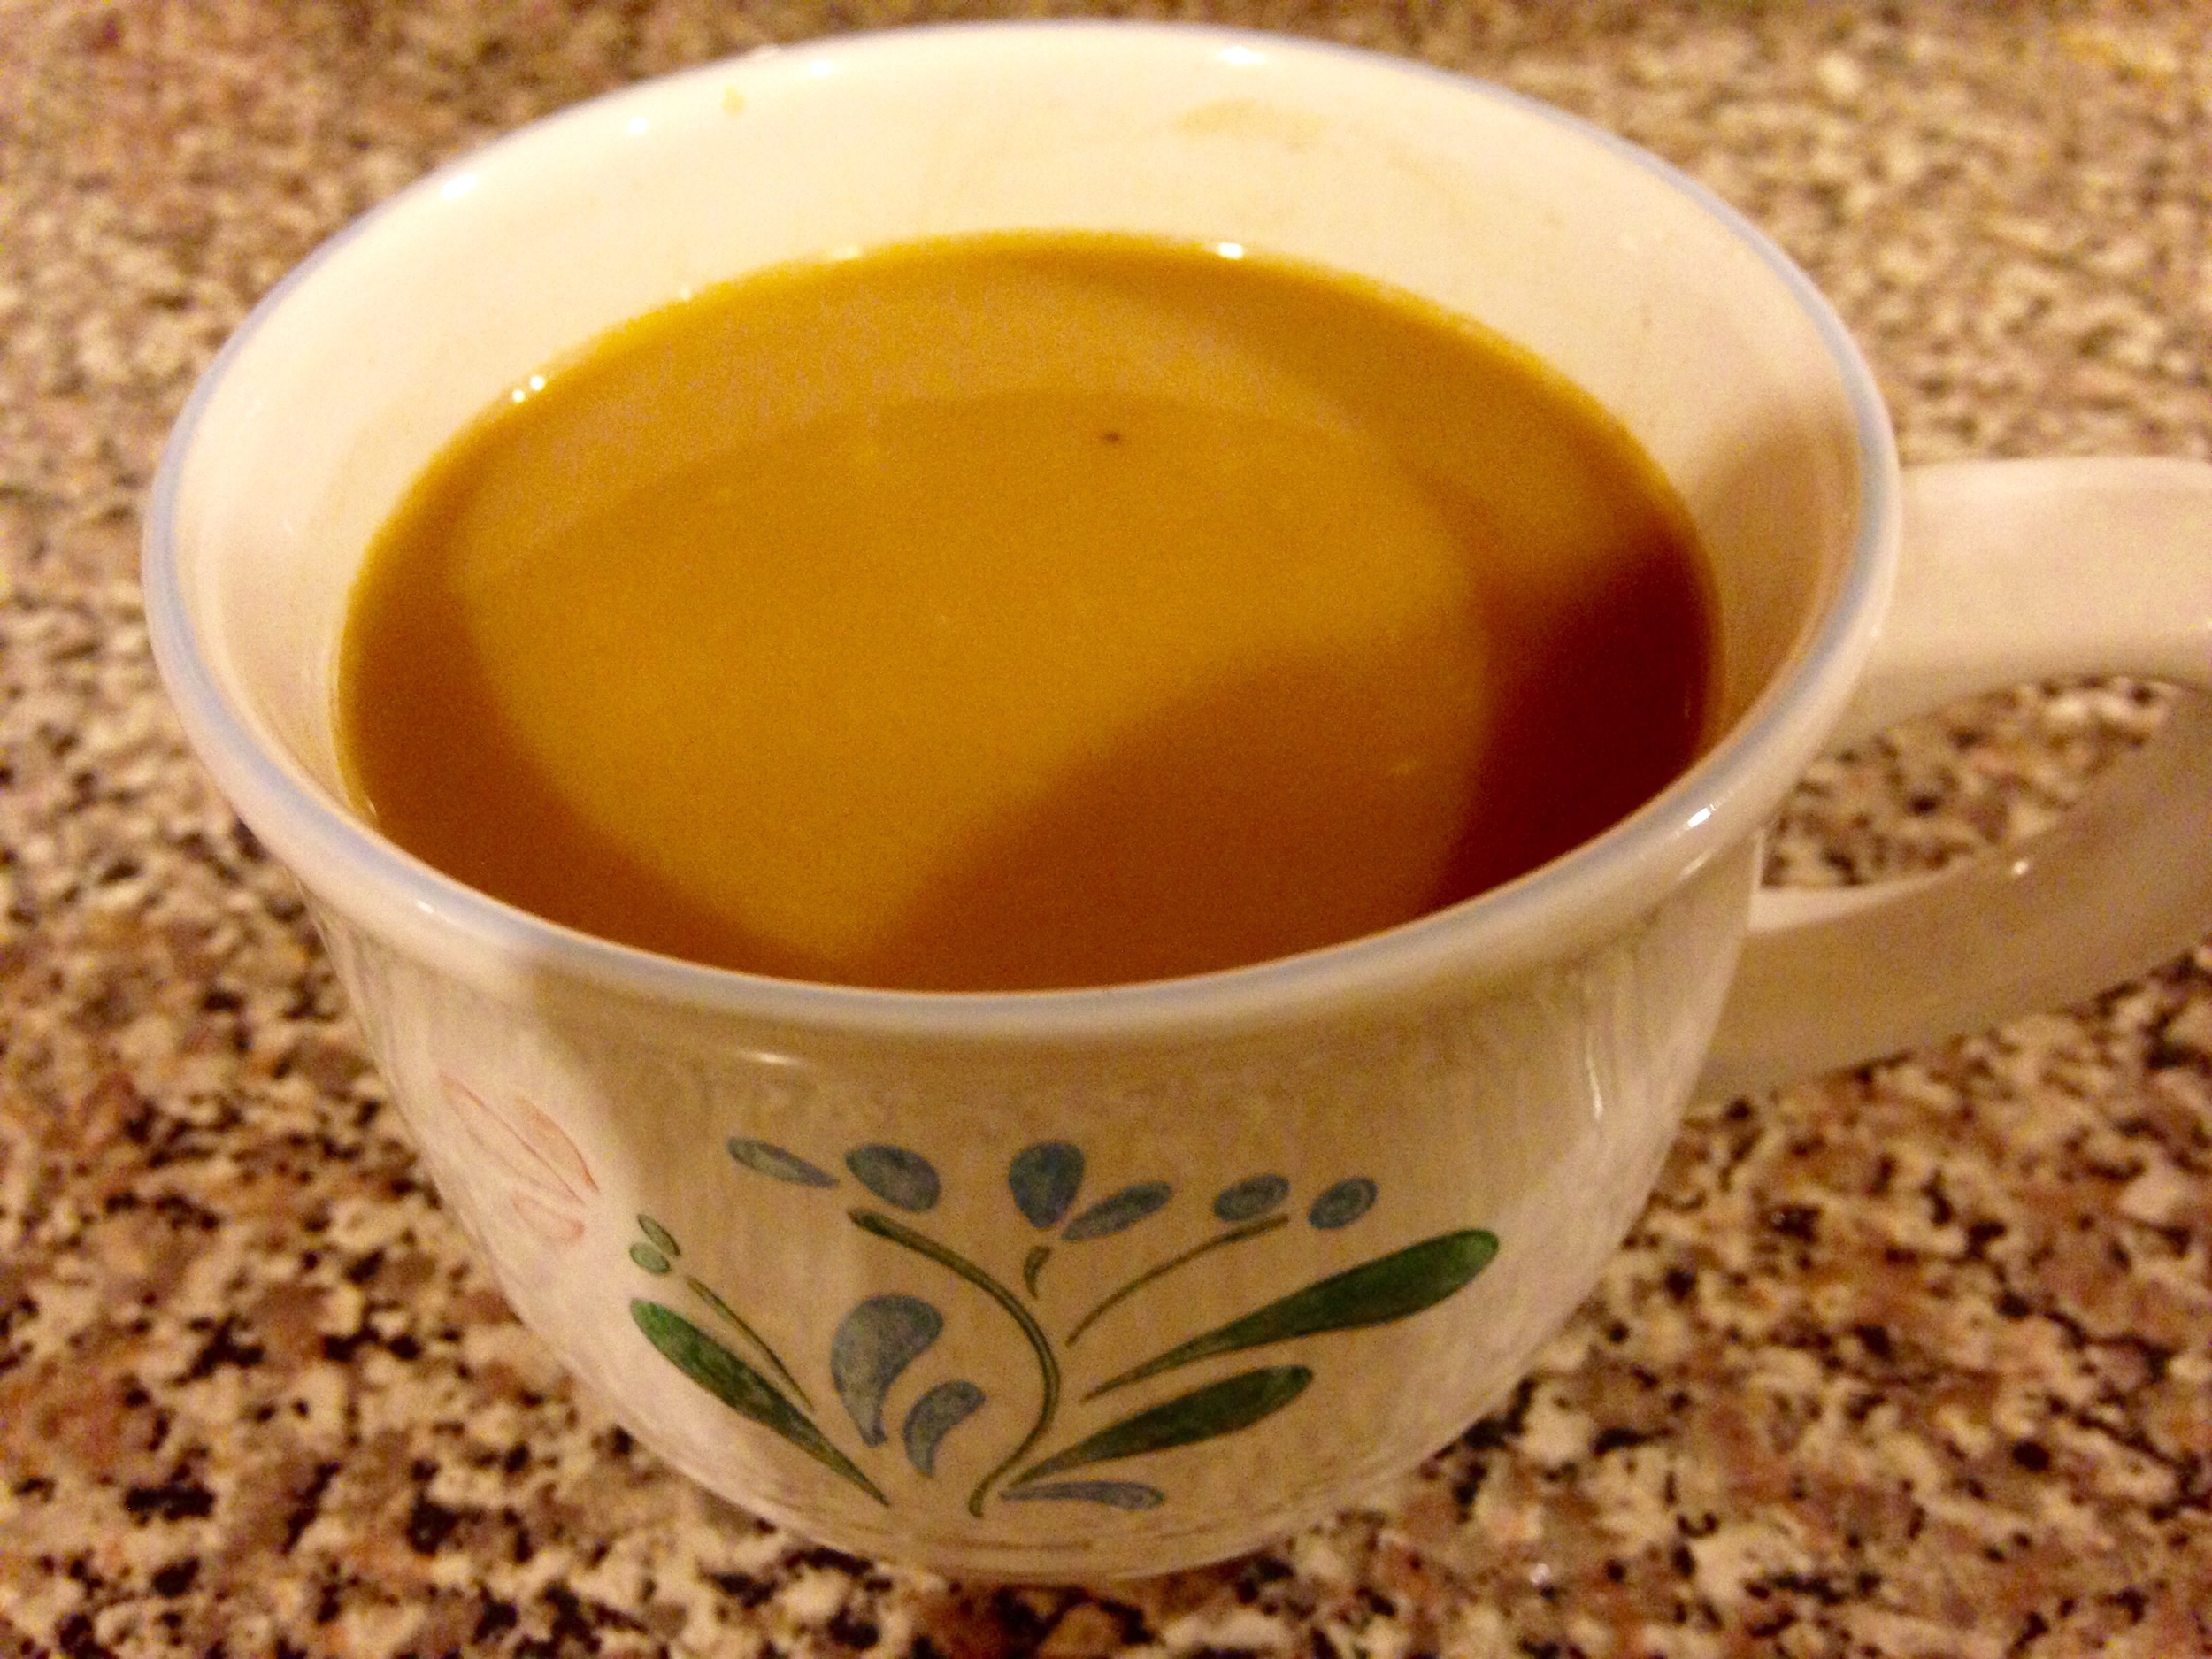
    That's why tonight, after putting the kids to bed, I decided to brew a cup of my version of Zanzibar spiced coffee.

    It was almost as good. Here's what I did-

    IMG_2607.JPG


    Ingredients:

    1 rounded scoop of french roast coffee

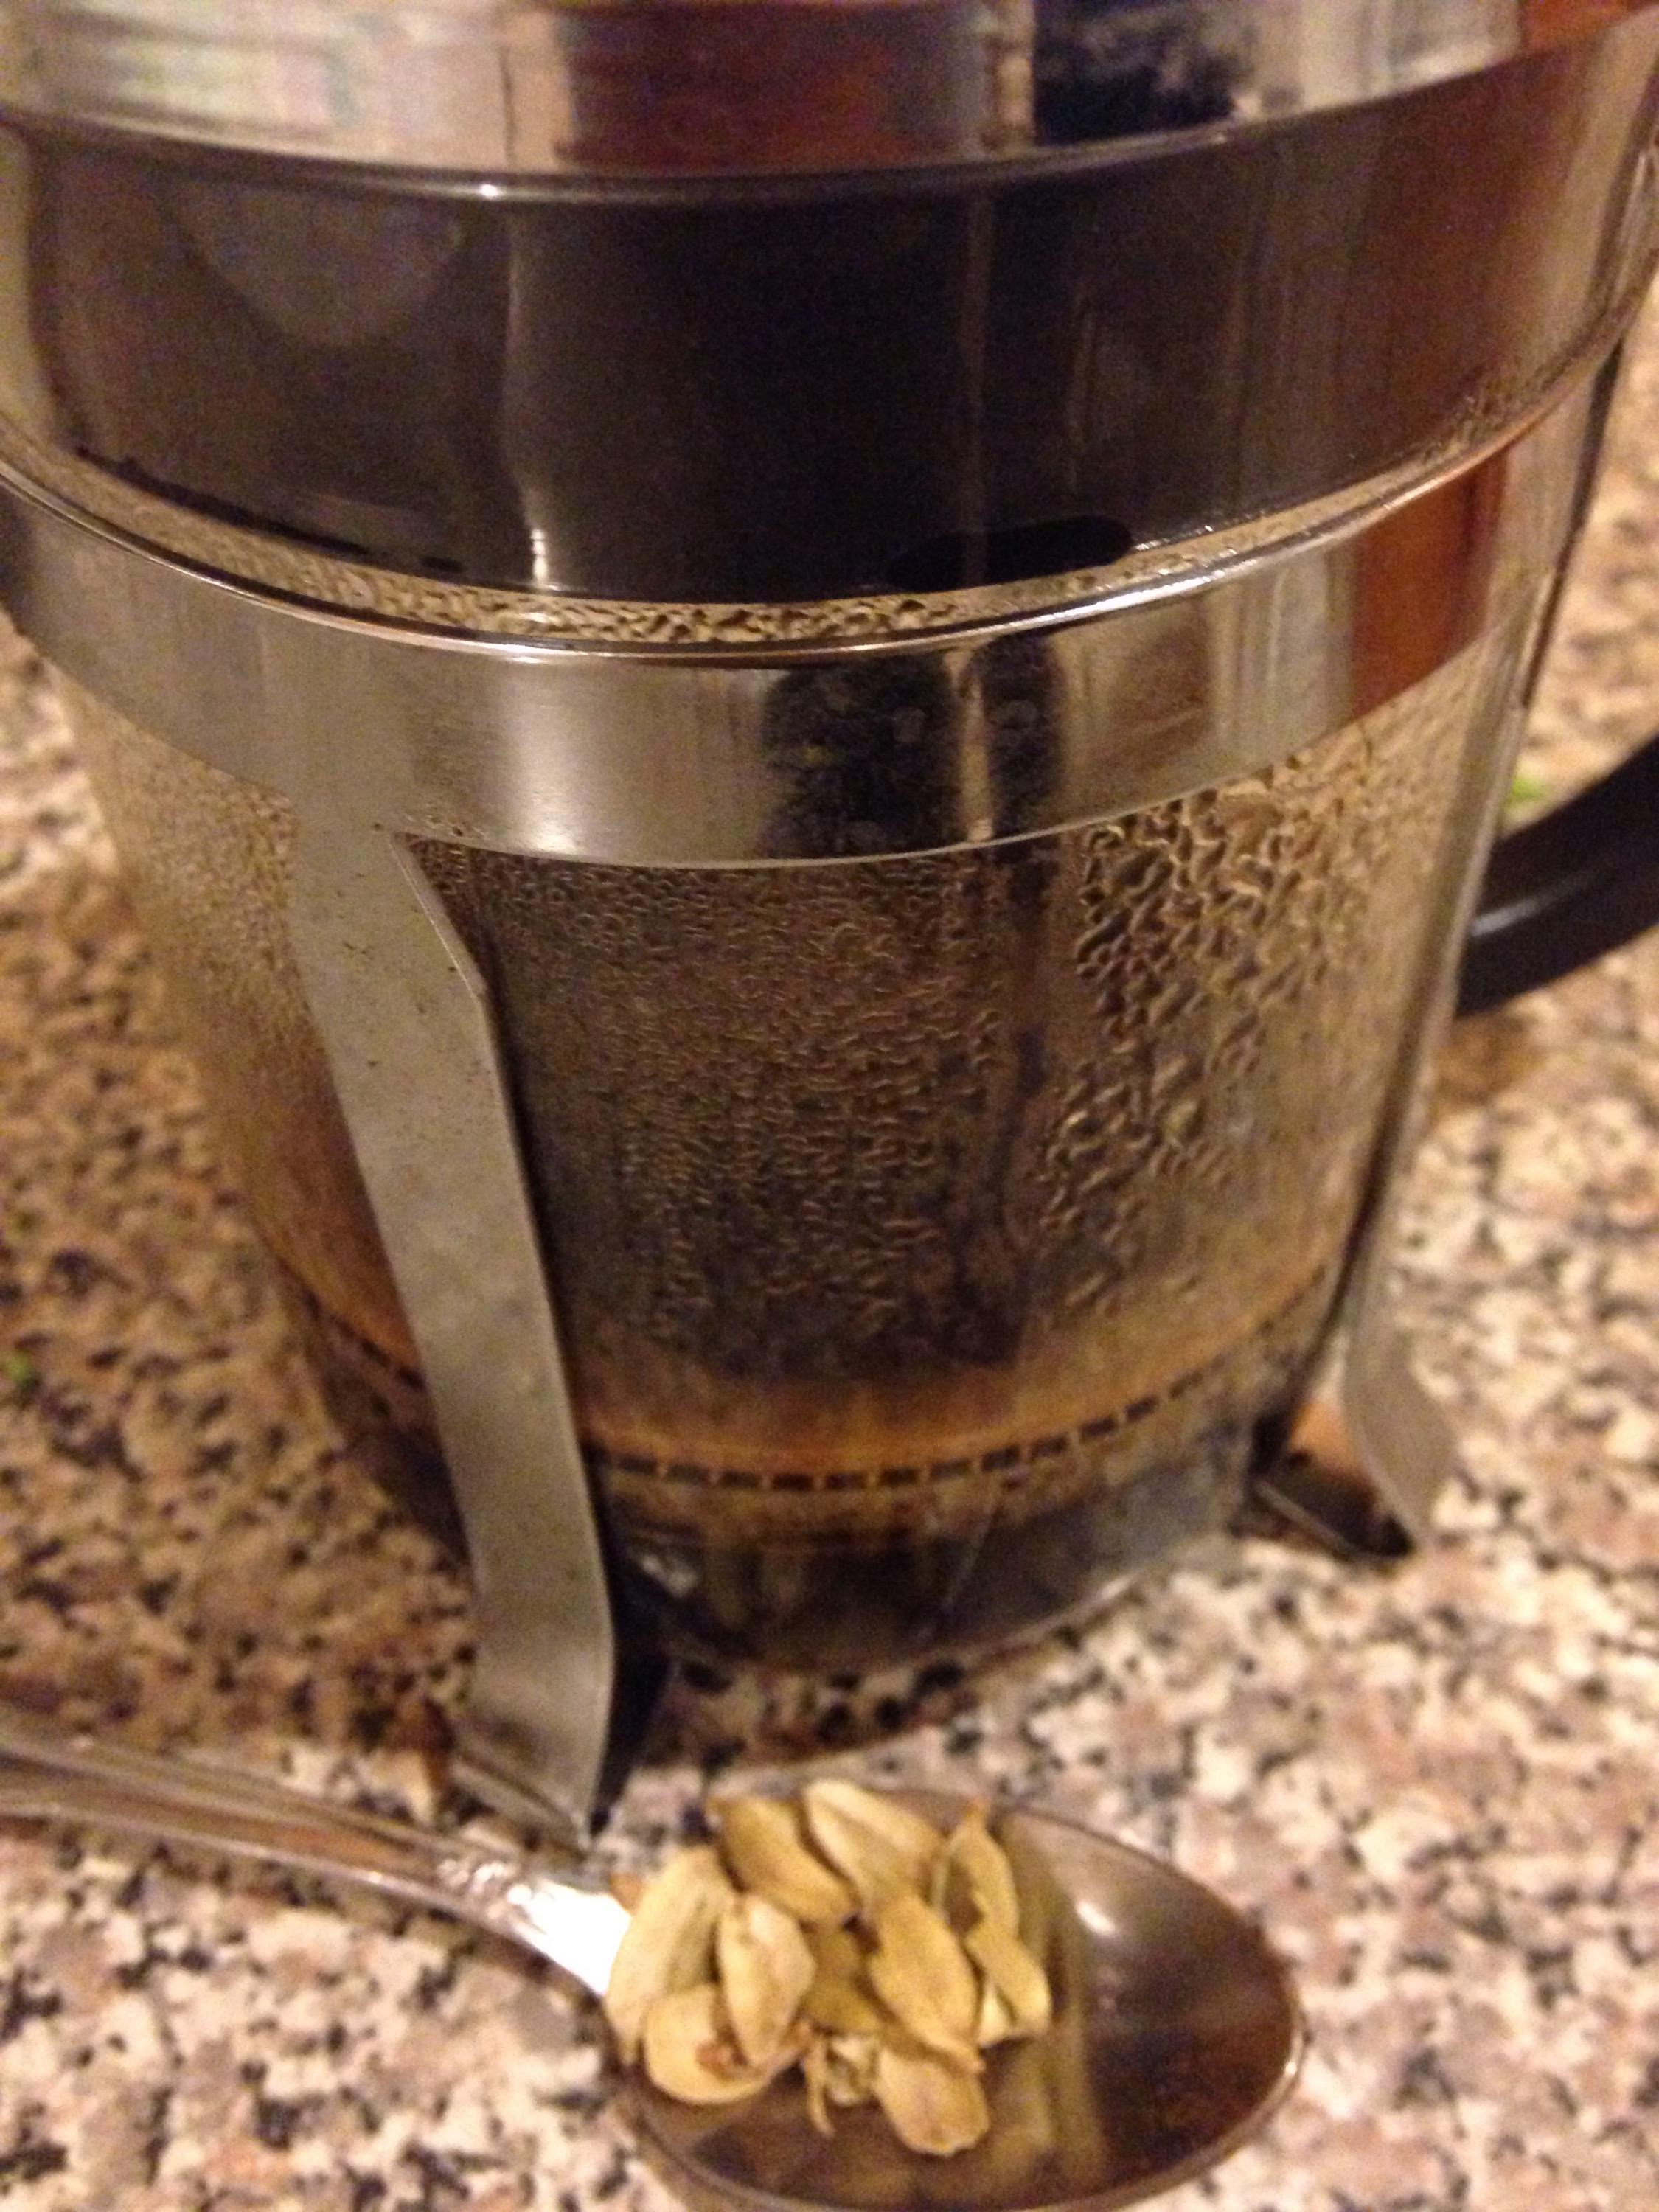
    1 teaspoon fresh cardamom

    1 teaspoon fresh sliced ginger

    5 whole cloves, crushed

    1/4 teaspoon cinnamon

    1/4 teaspoon nutmeg

    1/4 teaspoon turmeric

    IMG_2606.JPG

    In a french press add your ingredients along with 1/2 cup boiling water.

    Let the coffee sit for five minutes before straining and pouring into your mug.

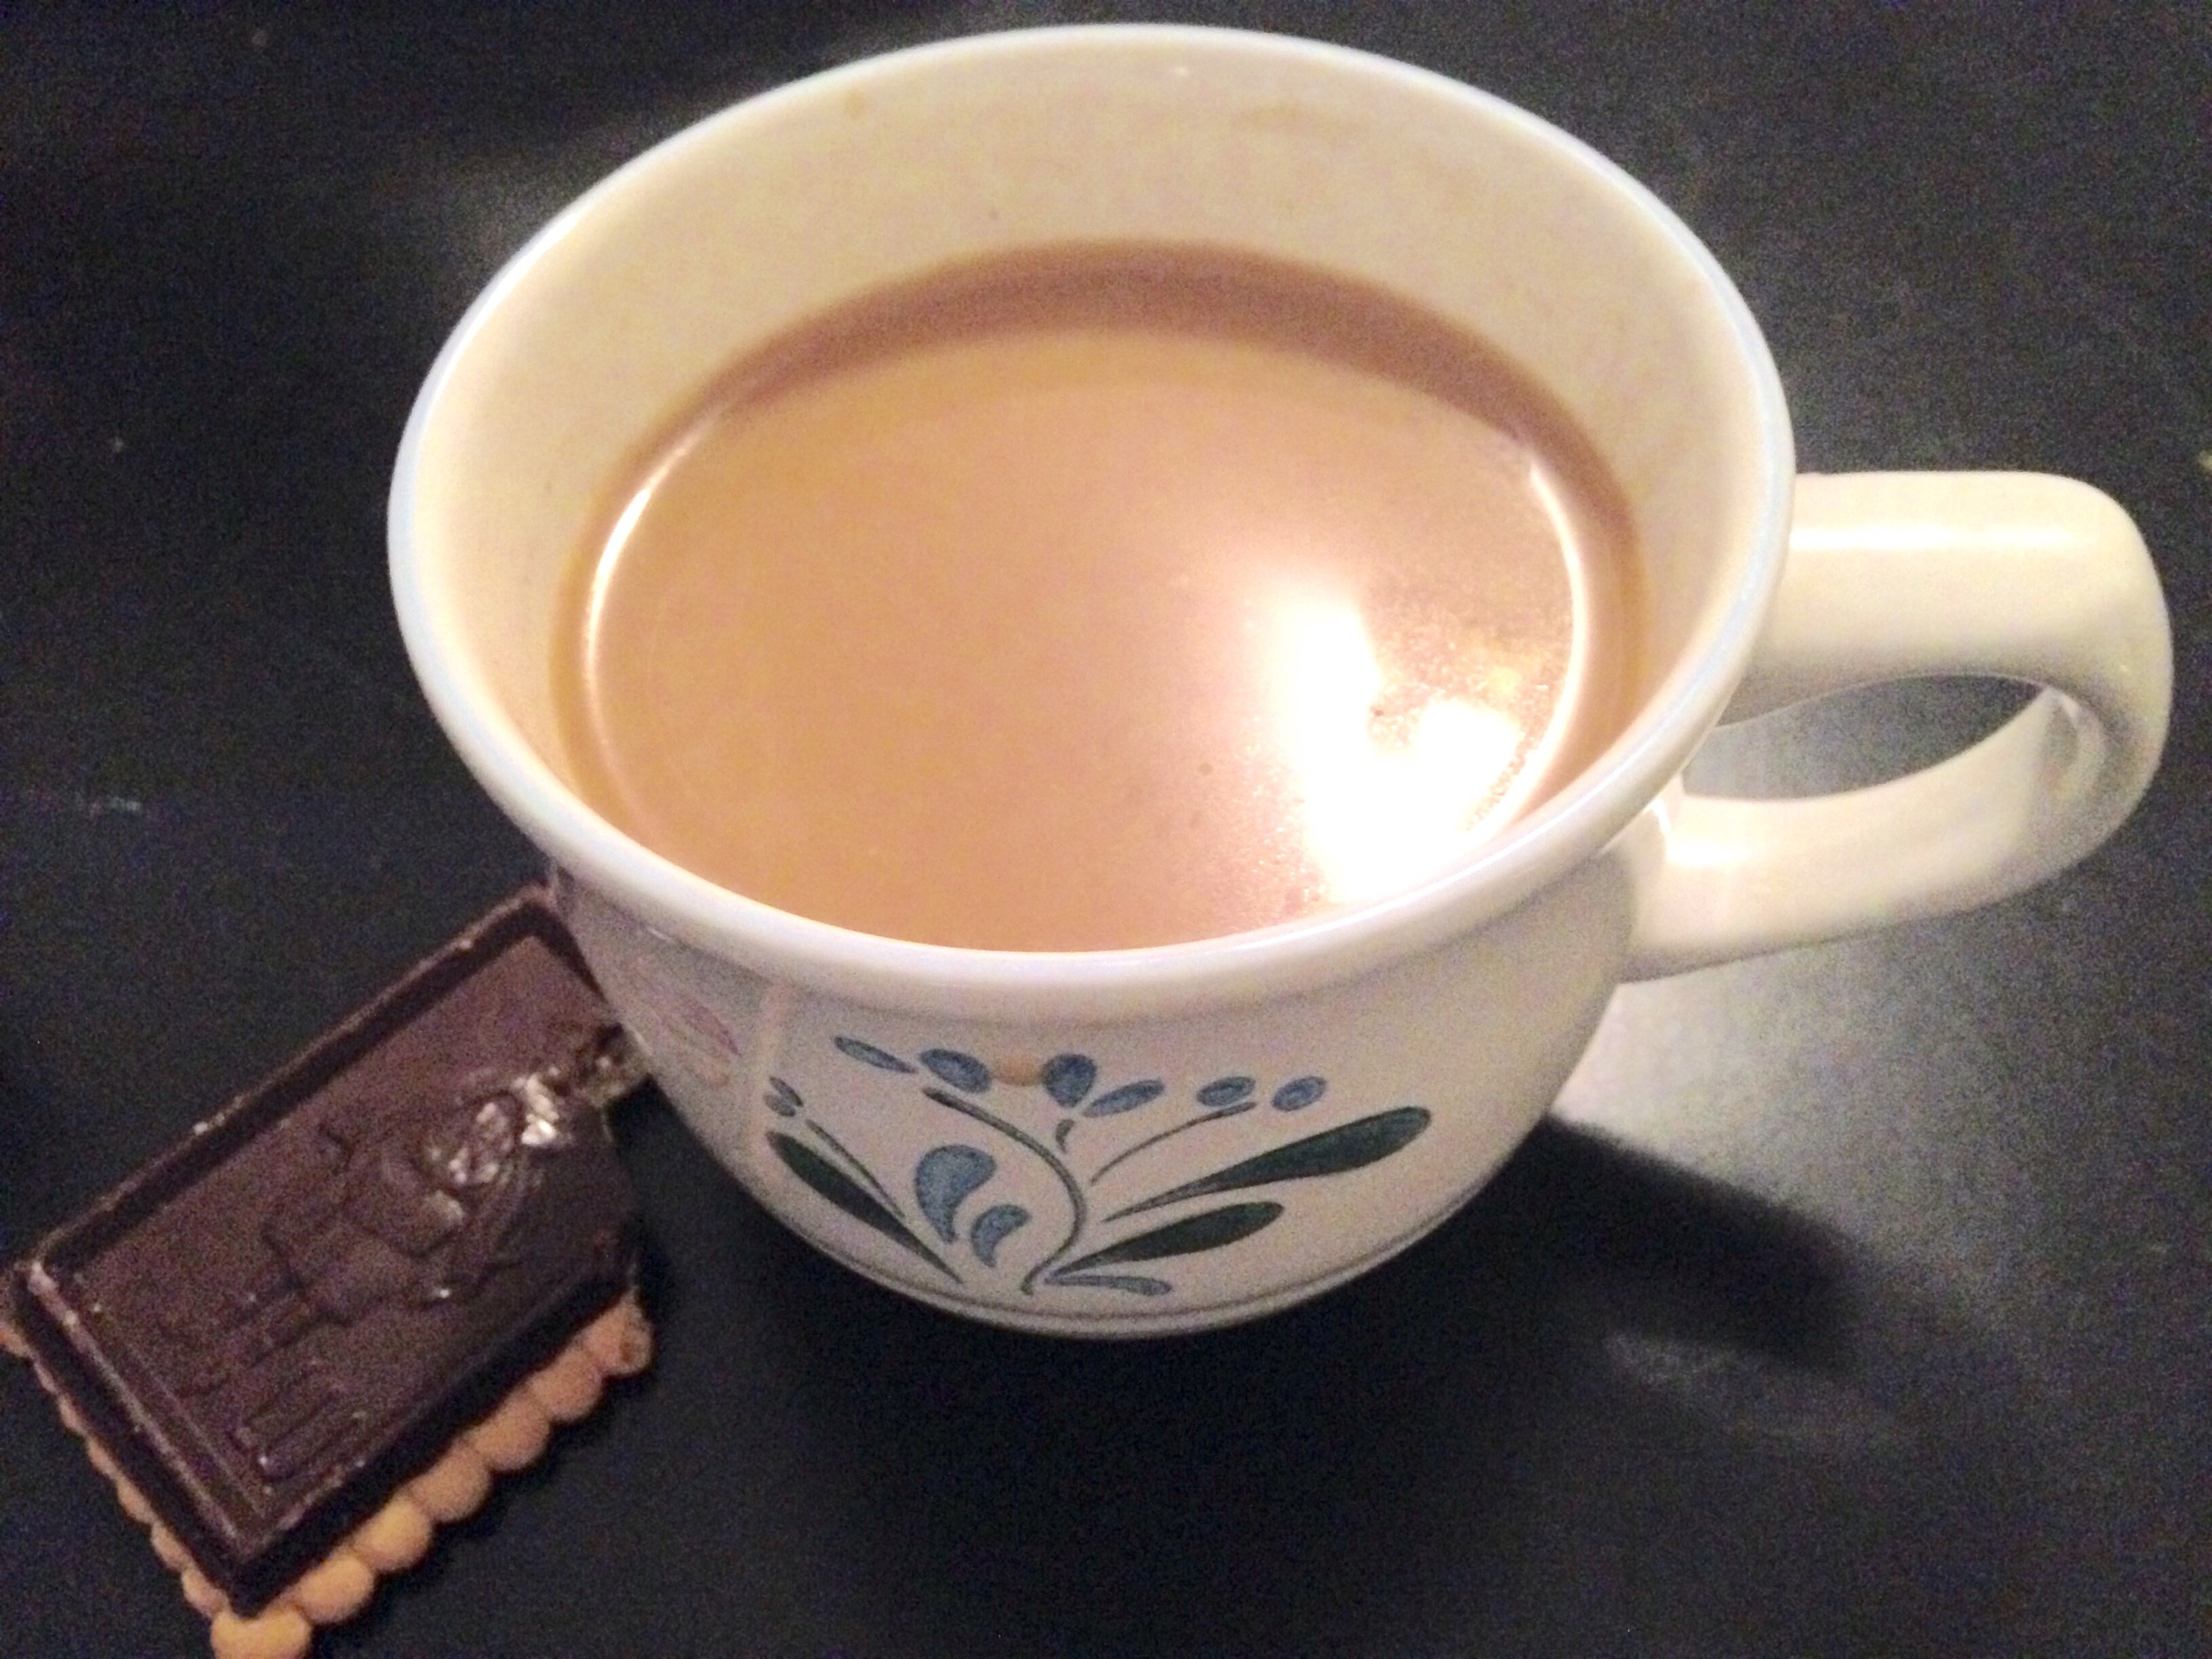
    I added a pinch of almond milk but you can dress your coffee however you'd like.

    This recipe makes a strong single cup that is sure to get you through any tough spot you may find yourself in.

    IMG_2608.JPG

    Clink.