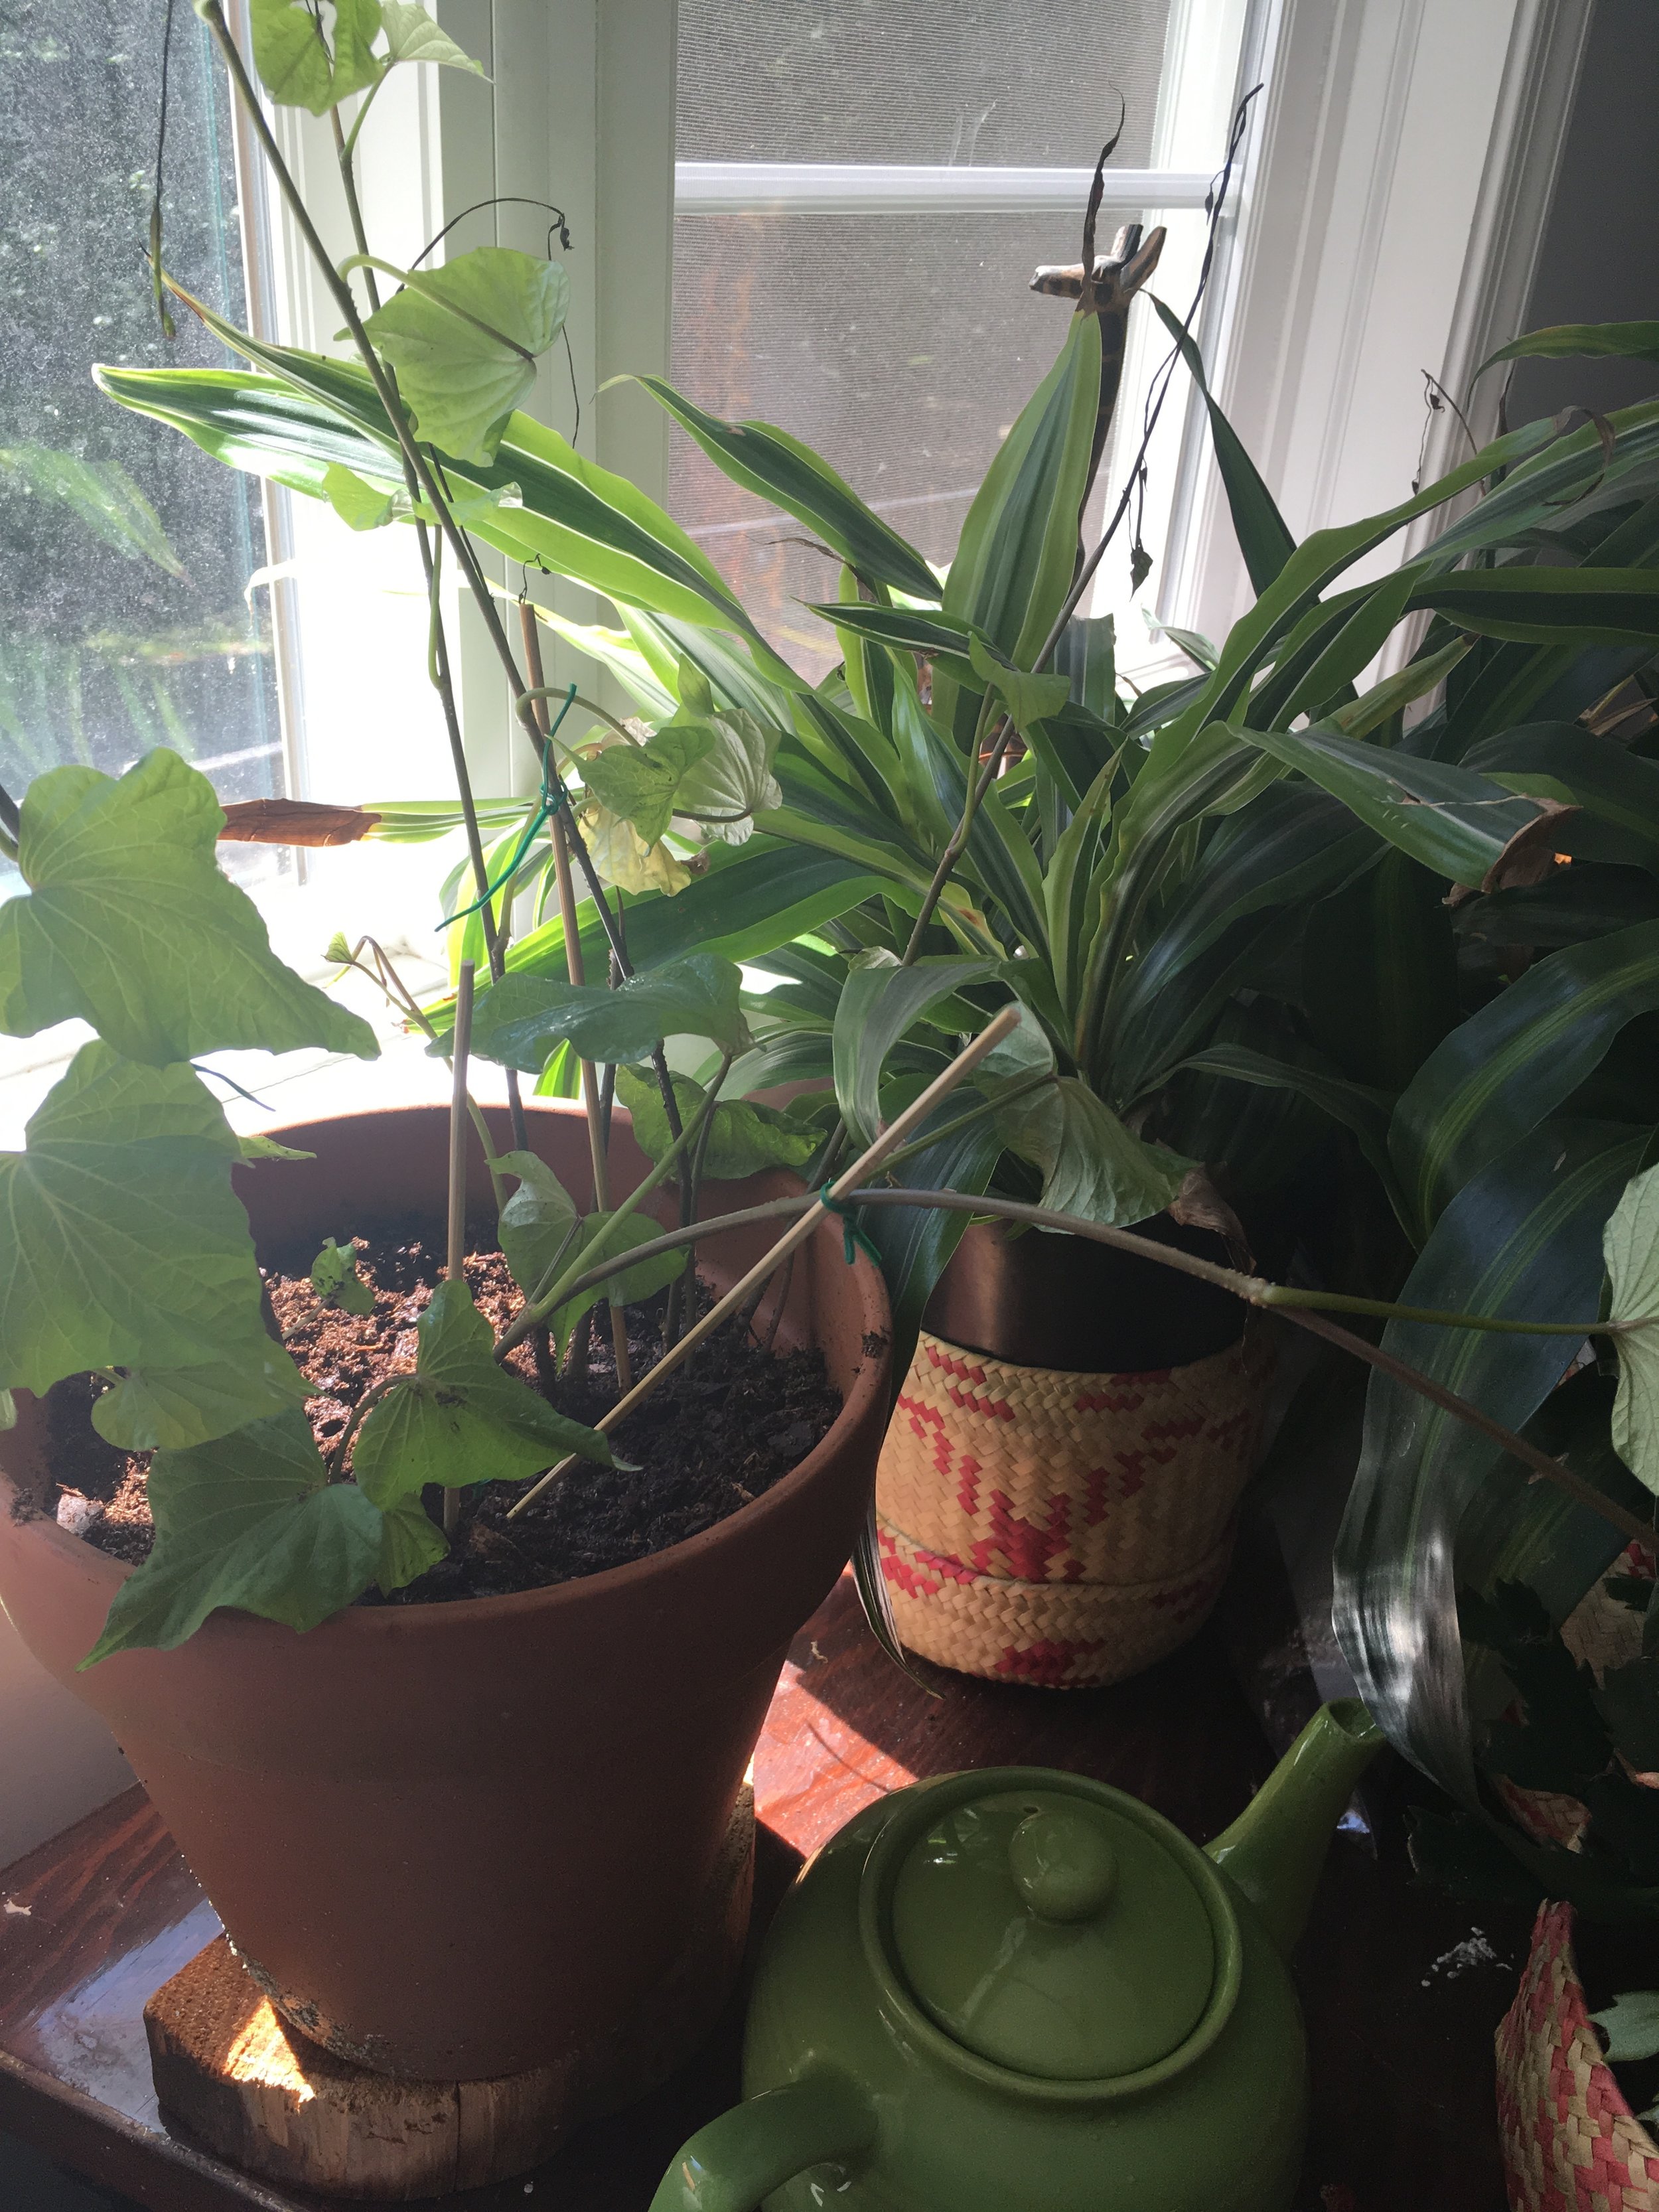
How to Sprout and Plant Sweet Potato Vines: Experiments As A Kitchen Counter Sweet Potato Farmer

It's funny, I left a tiny two bedroom apartment in Brooklyn to live in a farm house in the country set on four acres of land and I still do the majority of my gardening on my countertops and window sills, just as I did in Brooklyn. Then, if I wanted to use my outdoor space, I'd lift the kitchen screen and set a pot on my rickety fire escape. Home to my many green treasures and mason jar experiments.

Old habits die hard. One day I'll plant row upon row of bountiful veggies and fruits. One day, I'll put in the work to weed and harvest en masse. But for now, I'm content to be a kitchen counter farmer and my latest joy has been creating and replanting sweet potato slips.

I am a huge sweet potato fan. Loaded with vitamins A, C, B1, B2, B6, manganese, copper, potassium, fiber, niacin and phosphorus, they are a healthy, clean eating staple.

You can never have enough sweet potatoes! Every inch can be used. The leaves make delicious salads and steamed greens and the potatoes, where do I begin....pies, breads, cakes, cookies, custards, loaded baked, mashed, fries, hash browns, bisque, and on and on and on.....

Since there are so many uses for sweet potatoes, I like to keep them on hand and one of the easiest ways to ensure sweet potato abundance is to sprout and plant the vines yourself. 

It is so easy! All you need to do is follow these simple steps and you too, can call yourself a kitchen counter sweet potato farmer!

IMG_1293.JPG

1)  Submerge half of your sweet potato in water and wait for it to bud and sprout. This is so easy and may take a few weeks, so be patient. It's best to use organic sweet potatoes here because they're not treated with preservatives and chemicals, which make it difficult to illicit new growth. 

FullSizeRender.jpg
IMG_1287.JPG

2) Keep your water levels stable. Once you see sprouts and then notice the slips growing, wait until they're about five inches tall before gently removing them from the sweet potato.

IMG_1288.JPG

3) Submerge the base of your slips into water and wait for roots to sprout. Some of the slips that you pull from your sweet potato will have roots attached, well done, those can go directly into soil. 

IMG_1291.JPG

4) Plant your slips and wait for your vines to flourish. Keep in mind, that sweet potatoes are vines and the vines grow quickly. To help control things, I like to prop some of my vines against stakes. 

5) Set your vines in a sunny window and watch them flourish. Harvest your leaves often and add to salads, soups, pestos or sauté like you would spinach. 

IMG_1289.JPG

6) In due time, your sweet potato will grow at the bottom of your pot. If you plant directly in the earth, you'll get larger potatoes. 


DIY Daily Conditioner

For years now I've been making my own moisturizing shampoo yet for some reason, when it came to conditioner, I've been quick to go to the store. 

My hair is thick with a combination of spiral curls, coils and waves. It takes a lot and I mean a lot of moisture to keep me from looking like I'm sporting a scraggly lion's mane. Conditioner is not something to be taken lightly. 

About three months back, an Ayurvedic client of mine with a similar hair type requested a DIY daily conditioner.  I had a ton of recipes for a variety of hair types but nothing that I could stand behind to address the unique needs of thick, curly hair. 

So I went into mad scientist experiment mode. I tested formulas on my kids and on myself, I added this and I added that, and I came up with a DIY daily conditioner blend I can stand behind.

IMG_3371.JPG

First, can we talk about the smell? Your hair will smell divine. The lavander is so fragrantly floral and blends perfectly with the earthy sweetness of myrrh.

Second, did I mention all day moisture of not only your hair root to end, but of your scalp as well. Castor, coconut, and olive oils combined with the essential oil myrrh, pack a powerful moisturizing punch. If you have curls, they will spring into shape. The castor seals your coils like a serum.

IMG_3372.JPG
IMG_3373.JPG
IMG_3374.JPG

Finally, you can whip up a batch in minutes. I prep mine the day before and store in a 2 oz glass jar.

IMG_3357.JPG

You can make single batches or double up. If you're going to double up, I recommend adding a few drops of Vitamin E oil as a preservative. 

Here's what you'll need:

3 tablespoons unrefined coconut oil

1 tablespoon olive oil

1 tablespoon castor oil

10 drops essential oil of myrrh

5 drops essential oil of lavender 

Here's what to do:

I combine my ingredients directly in my storage container. If your coconut oil is hard, soften it by running the jar under warm water so that your items blend easily and evenly. 

IMG_3356.JPG

I mix with a small whisk and ta-da!

It's so easy!

A few things to consider:

 One batch is usually enough for my hair (shoulder length thick and wavy) and  both of my son's hair (in pictures). This means that I whip up a quick batch daily before each use. You can make a big batch if that suits your lifestyle better, but if you're planning to keep the conditioner longer than a week, I'd add a few drops of vitamin E oil to serve as a preservative. 

FullSizeRender.jpg

Also, this recipe is for daily conditioning. Even though it's moisturizing, it's relatively light. Once a week, I do a deep conditioner using the same foundational recipe only adding 1/2 cup of melted shea butter. For deep conditioning, I leave in my hair for 15 minutes before rinsing, for regular daily conditioning, I leave the basic recipe (without shea butter) in for 2-5 minutes.

Questions? Don't hesitate to reach out! You may also like my DIY Shampoo recipe. 

For more DIY natural skin care ideas, check out my latest book Natural Beauty from the Outside In, where you’ll find 70 Ayurveda inspired hair and skin care recipes.

Hump Day Stress Buster Yoga Pose- Legs Up the Wall

Legs Up the Wall (Viparita Karani)

IMG_3347.JPG

Why You Need to Do It:

Because we live in stressful times my friend!

Legs up the wall, is one of the most calming restorative yoga poses out there. Are you ready for these benefits? Legs up the wall balances the nervous system, increases circulation, increases blood flow, cleanses the lymph nodes, aids in digestion, reduces stress, lowers the blood pressure, quiets the mind, relieves water retention, refreshes the internal organs and helps to calm anxiety. Long story short, this heart and hip opening yoga pose is AMAZING!

How to get in to it:

This pose can be practiced with no, minimal, or (for a super duper luxurious treat) many props. 

You might want to have the following items (props) on hand:

eye pillow

sand bag hand weights

bolster

strap

blankets

IMG_3348.JPG

If you're using props, your setup might look something like this. Props are optional, so you can use one or all of these. Place a bolster towards the base of your yoga mat, about an inch from the wall. Over your bolster, place a folded blanket. Fold another blanket and set it on your mat perpendicular to the bolster. Your setup should make the shape of the letter T. Place a yoga strap around the middle of your thighs.

Now to get into the pose....

Sit at the edge of your bolster bringing your shoulder and hip against the wall. Lower down to your elbows and fan your legs upwards. Your spine will run the length of the blanket. You may have to shimmy forwards a bit until you can feel the wall against your sits bones and the backs of your legs and heels. 

Allow your head to soften into the mat beneath you. Hold your arms out to the side, letting your hands grow heavy as you release your shoulder blades. 

To add finishing touches with the props, bend your legs and place a folded blanket on top of your feet to ground your hips. Use weighted sand bags in each hand for grounding and then set an eye pillow over your eyes to cancel out light. 

Let your blissful journey begin!

How Long to Hold?: 

If you are new to this pose, five minutes is a good place to start. The more you practice Legs Up the Wall, the more comfortable it will become. For those used to the pose 10-15 minutes is ideal. 

This is an excellent before bed pose. You also might try this after getting home from work before you settle into your life at home. 

IMG_3126.JPG

10 minutes of Legs Up the Wall a day will help keep the doctor away...

Is Legs Up the Wall pose a part of your yoga routine? Let me know how you feel about it in the comments below. 

For more on Restorative Yoga, check out Reclining Bound Angle Pose and 5 Restorative Yoga Poses for Relaxation!