Introduction to Junkanoo in the Bahamas

One person can beat a drum and make enough noise for ten; One person can blow a horn, and that little boom and that little blare can make a hundred others care.

And one person can hold a torch and light up the sky again. And one little voice that’s squeaking a song, can make a million voices strong.

If one person can beat a drum, and one person can blow a horn, if one person can hold a torch, then one person can change the world!
— - Jerry Herman (Musical, DEAR WORLD)
IMG_1231.jpeg
IMG_0226.jpeg

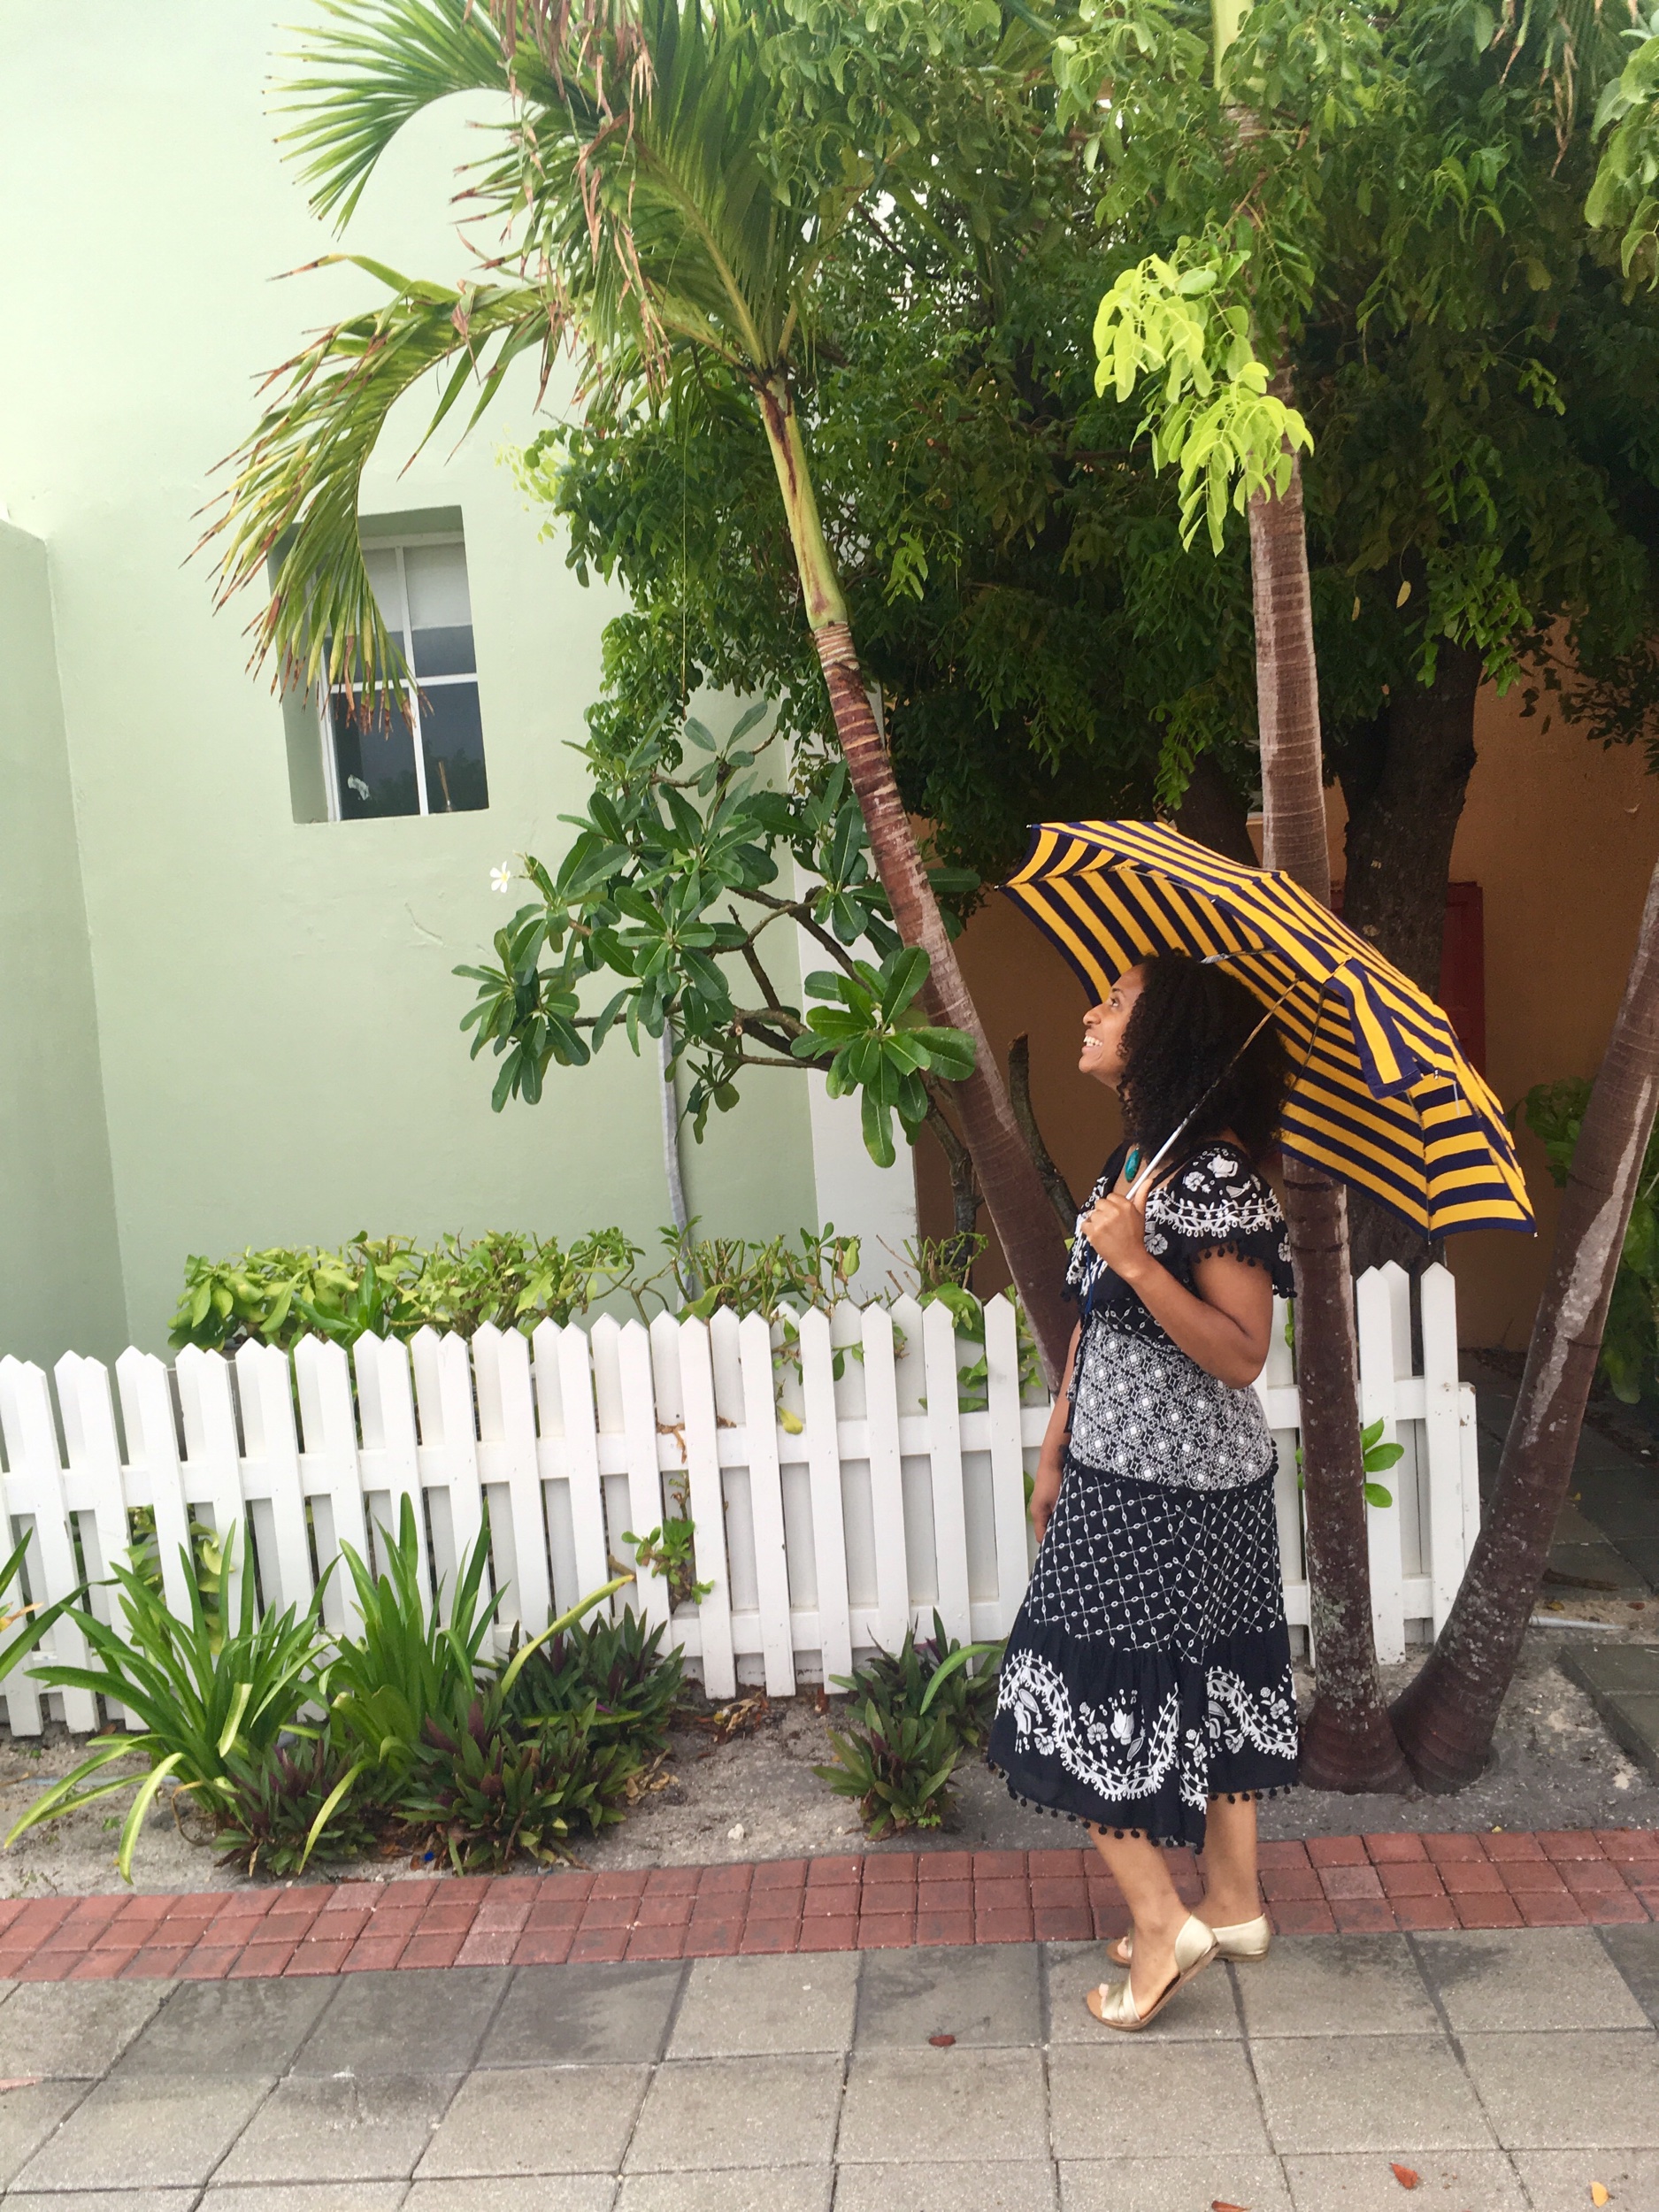
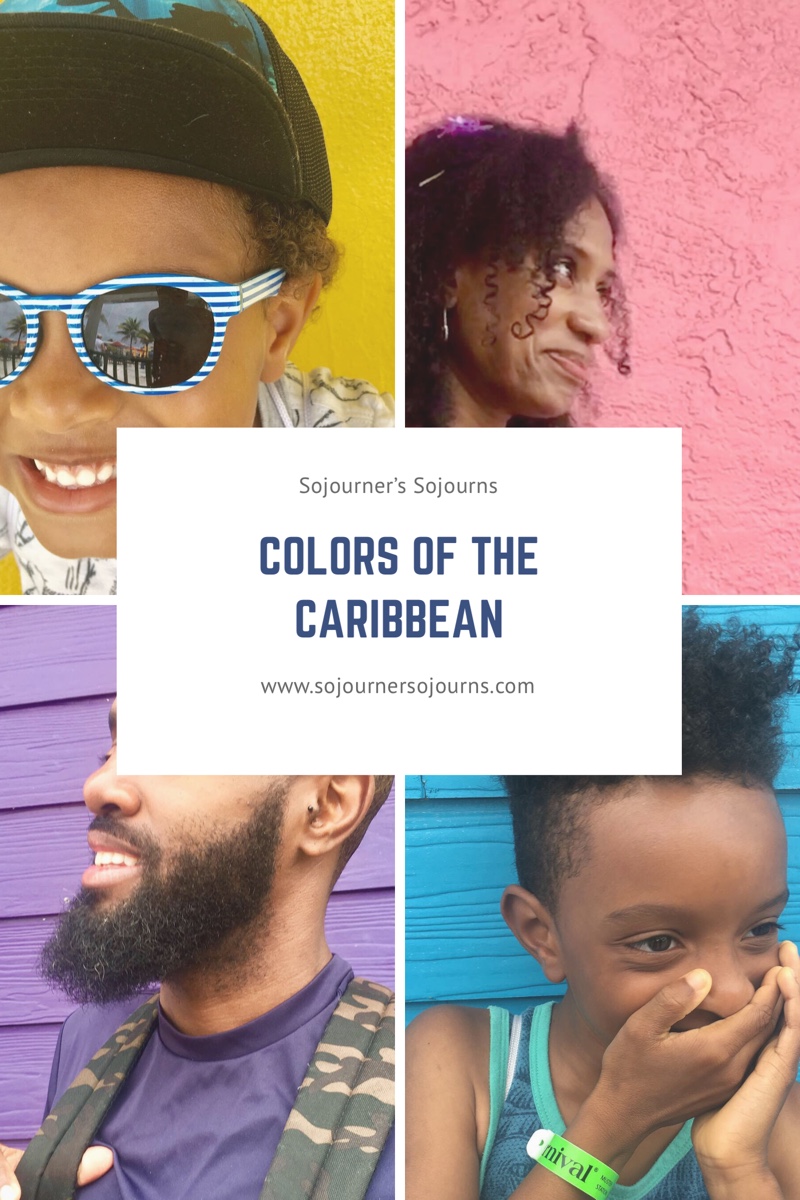
It was overcast and damp. The flashes of white lightning over the ocean and persistent warm drizzle dashed any hopes of laying out on the sand by the waves.

IMG_0113.jpeg

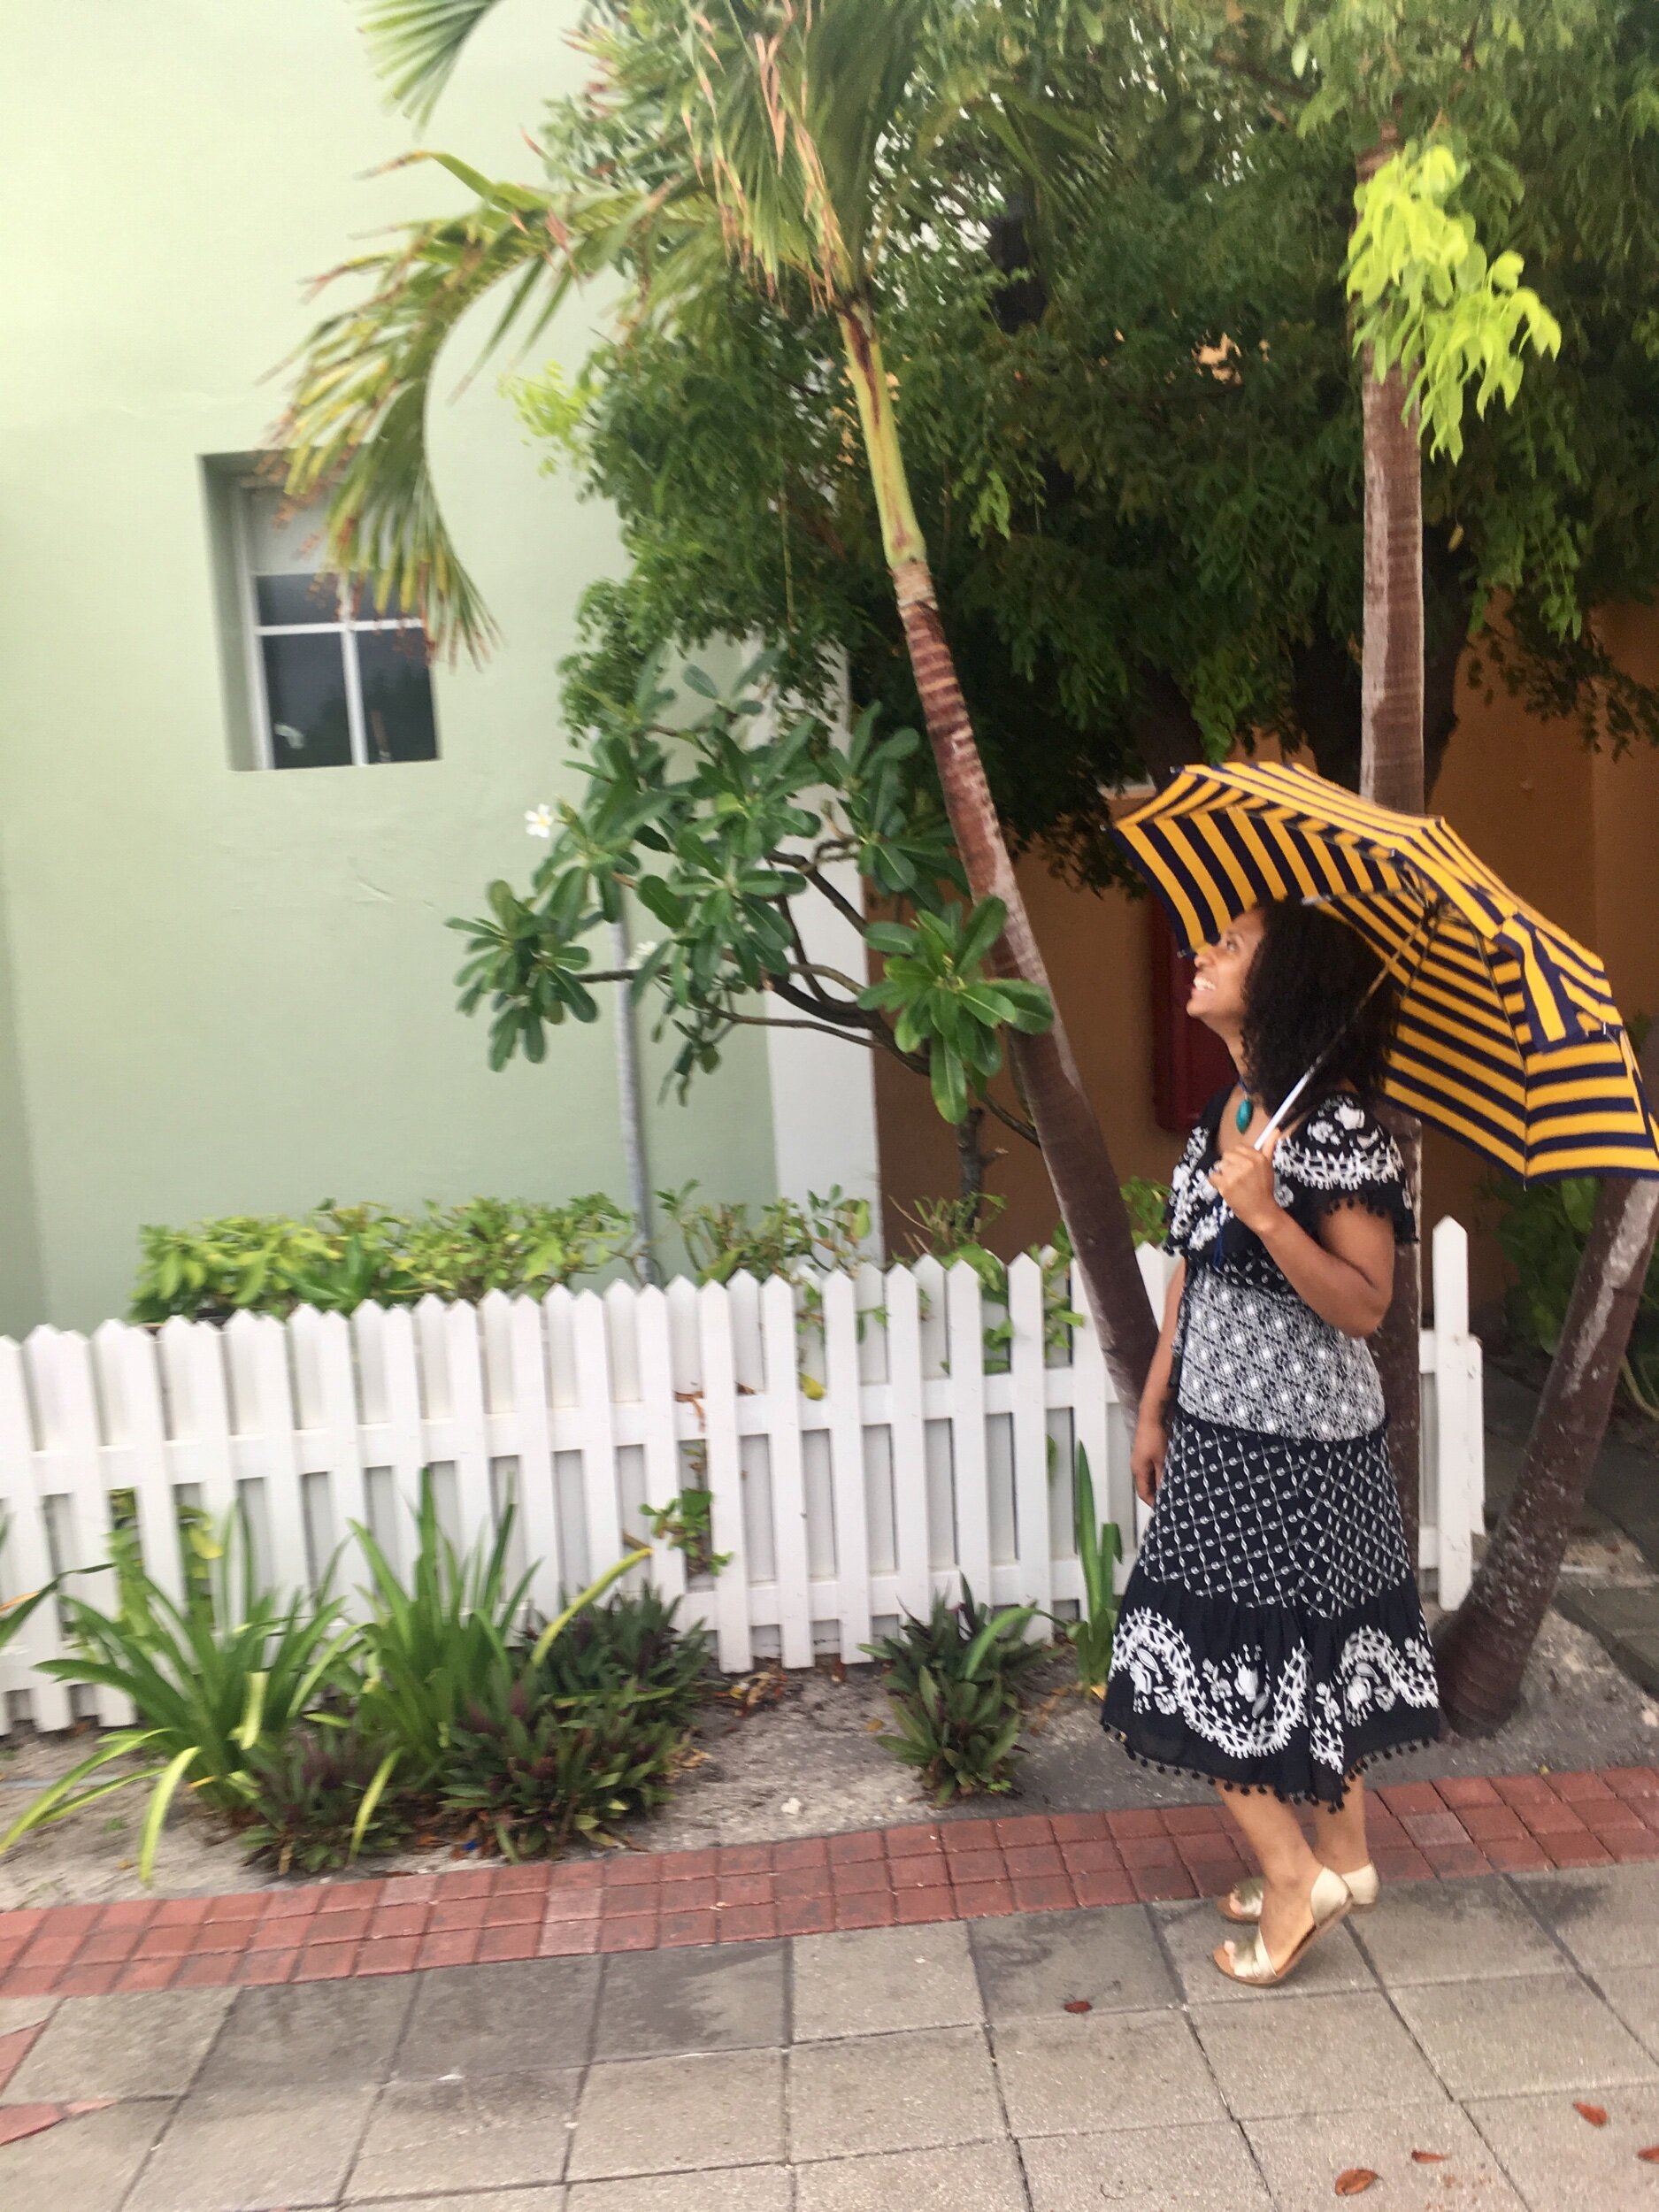
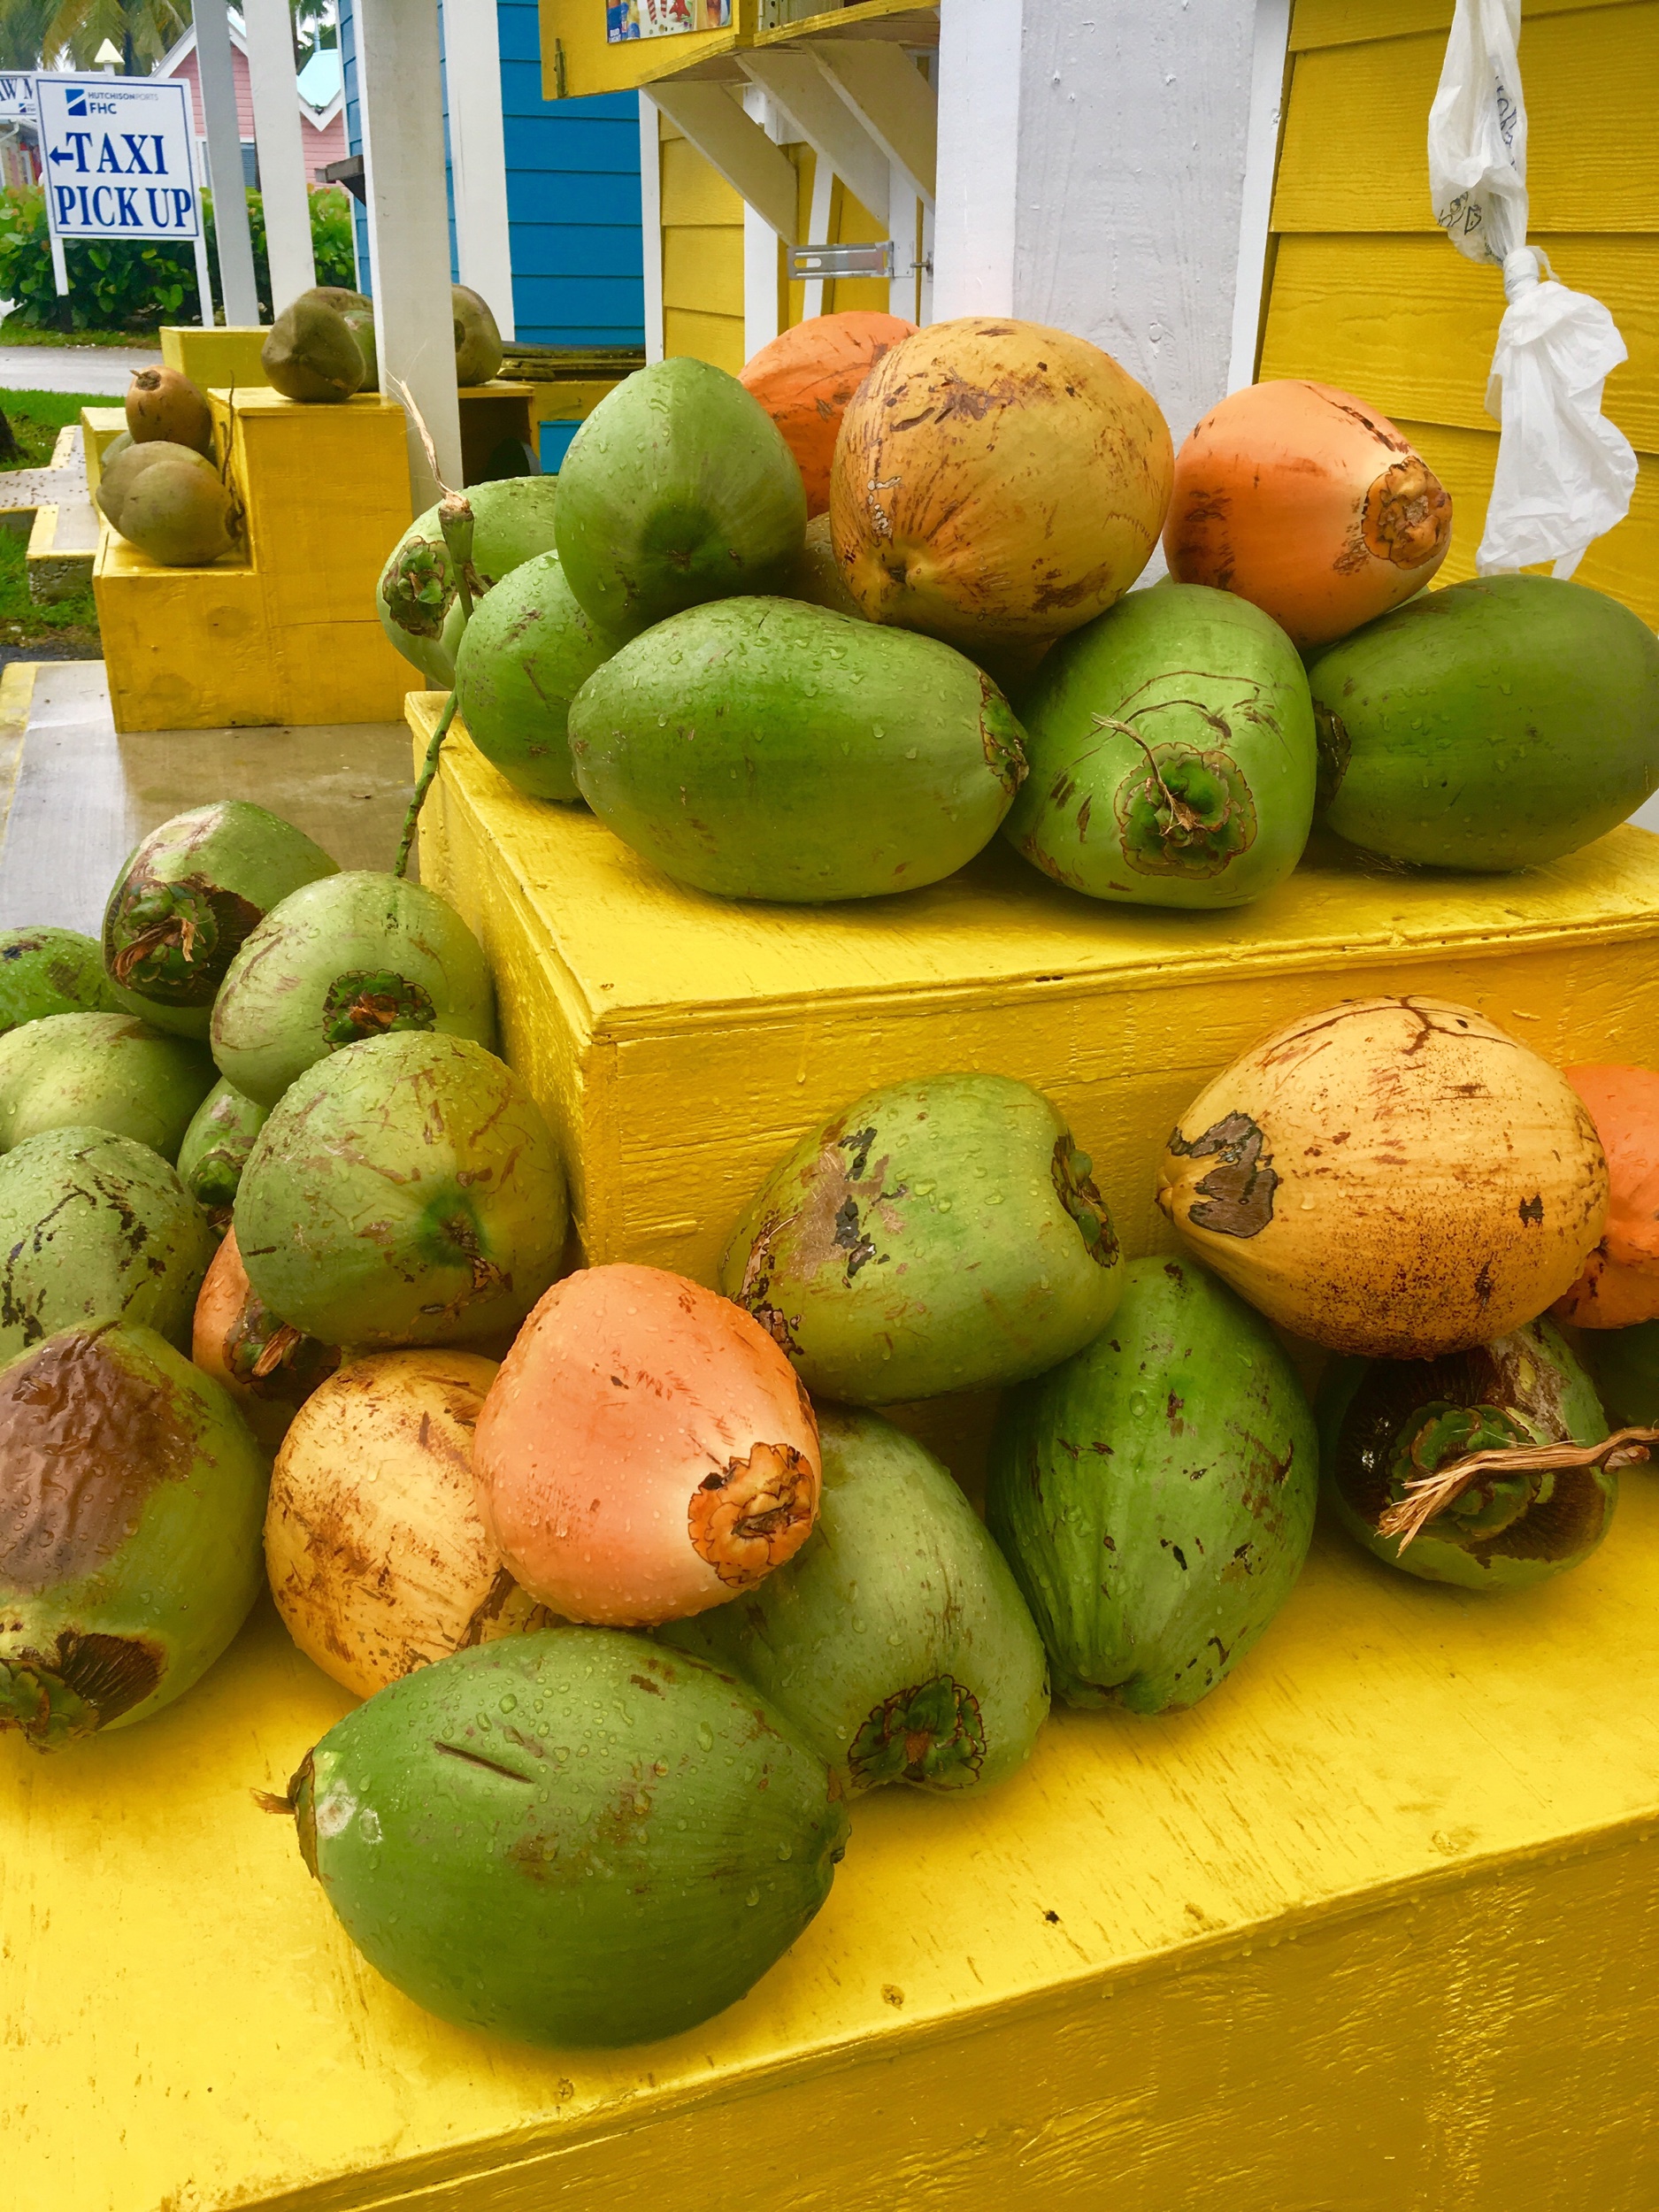
It wasn’t an ideal day for going to the beach, but it was the perfect day to visit the shops and see the parts of the island we’d normally miss laying out in the sand.

A shop with sarongs and hand sewn dresses hanging in the doorway caught my attention. We made our way into the small shop, greeting the woman behind the desk before dispersing in various directions.

My boys went to look at shells, my husband Mark saw some pants that caught his eye, and I couldn’t resist the soft, flowy dresses.

We were in the shop for about ten minutes when the mood began to change.

A lively beat came over the speakers in the shop. Part marching band, part New Orleans second line, part Afro Beat, it was an energetic fusion of joy. The woman behind the counter began to dance and sing along. Mark and I looked up simultaneously and went over to her.

“What kind of music is this?” Mark, a jazz musician was eager to find out.

“This,” the shopkeeper said with a huge grin, “is Junkanoo!”

“Junkanoo?”

“That’s right. This is our music here. Right from the Bahamas.”

It was like nothing I’d ever heard. Familiar in so many ways but distinctively different.

“What’s Junkanoo?” I asked, having never heard the term.

IMG_0285.jpeg

The woman turned down the volume to the speakers and leaned towards us, elbows on the counter.

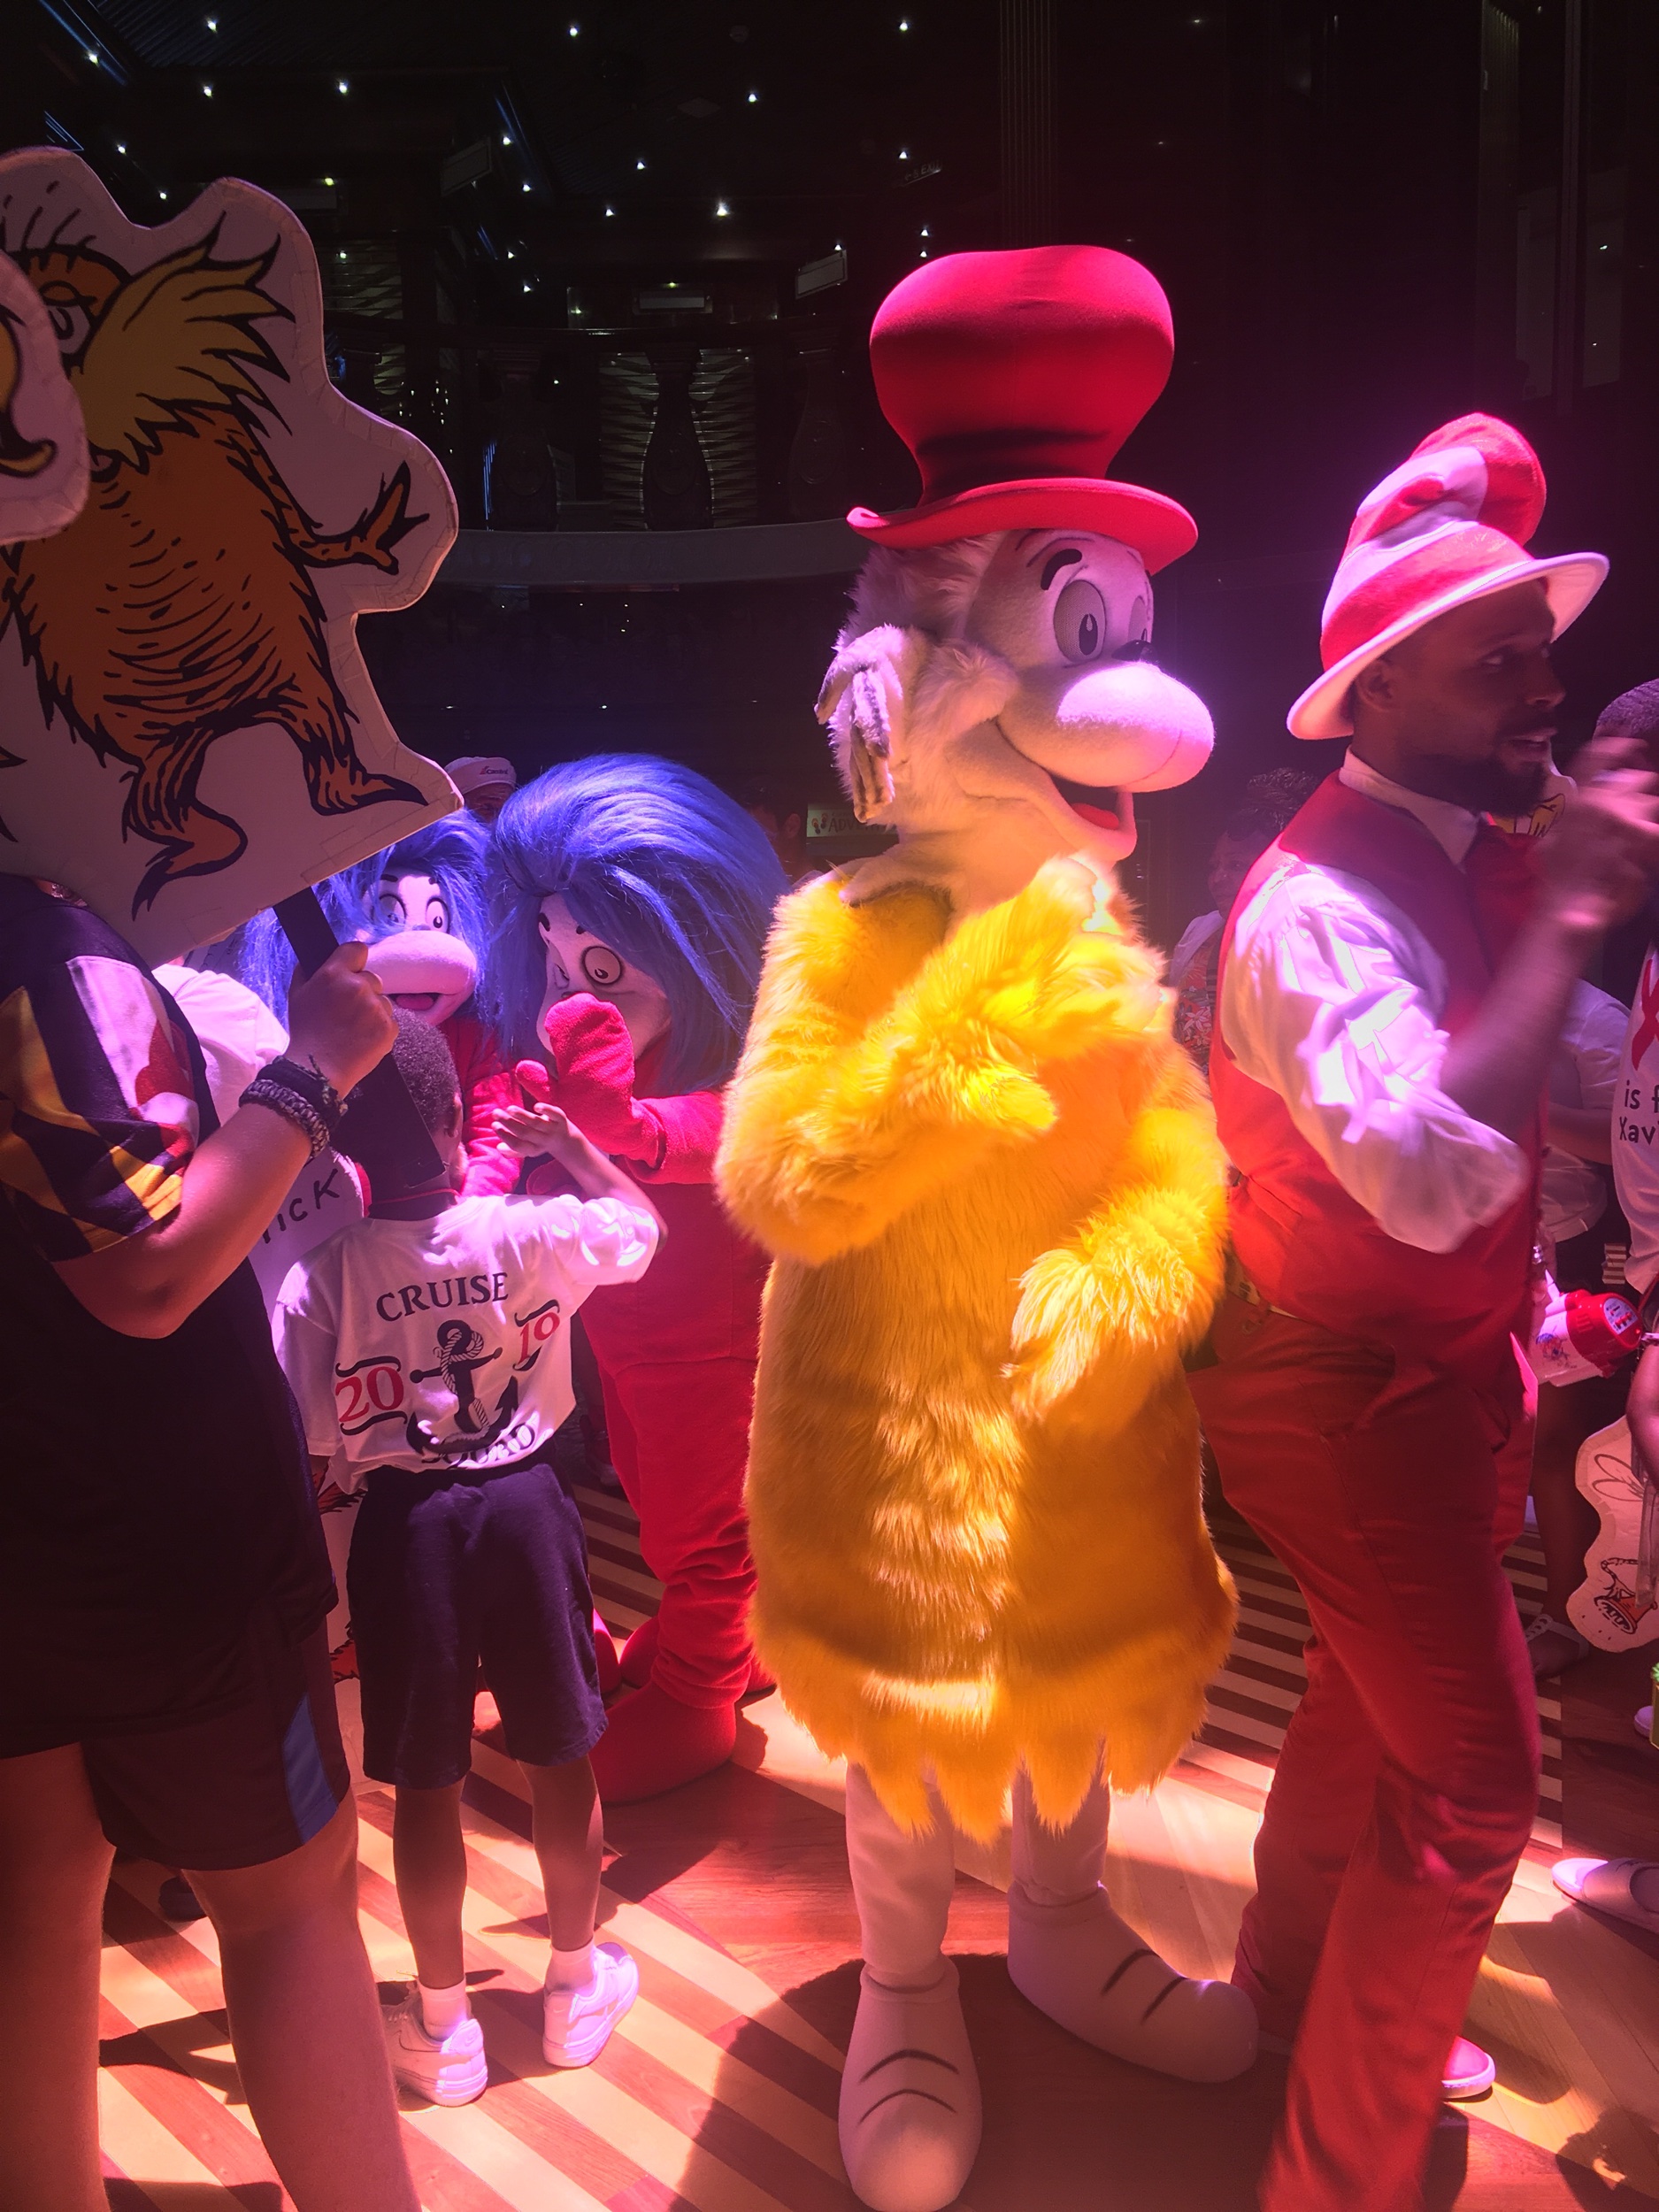
“You see, many, years ago during slavery times, there was a slave named John Canoe. Every New Years, the slaves were given a days leave since they had to work through Christmas. New Years was John Canoe’s favorite night. He would gather anything he could to celebrate. John Canoe would run through the streets banging pots and pans, singing and dancing. Soon, others came out to join, and then others. Before long, it became a tradition, every year to celebrate in the streets with music and dancing. Well, after slavery, people got really creative and starting incorporating music and costumes and it evolved into the music we call Junkanoo which has it’s own celebration on New Years Day. The biggest celebration is in Nassau. After going to church for watch night, people get dressed up and party through the night with costumes and music. It’s the best time. We have a smaller parade here in Freeport, but you must go to the one in Nassau. I go every year!”

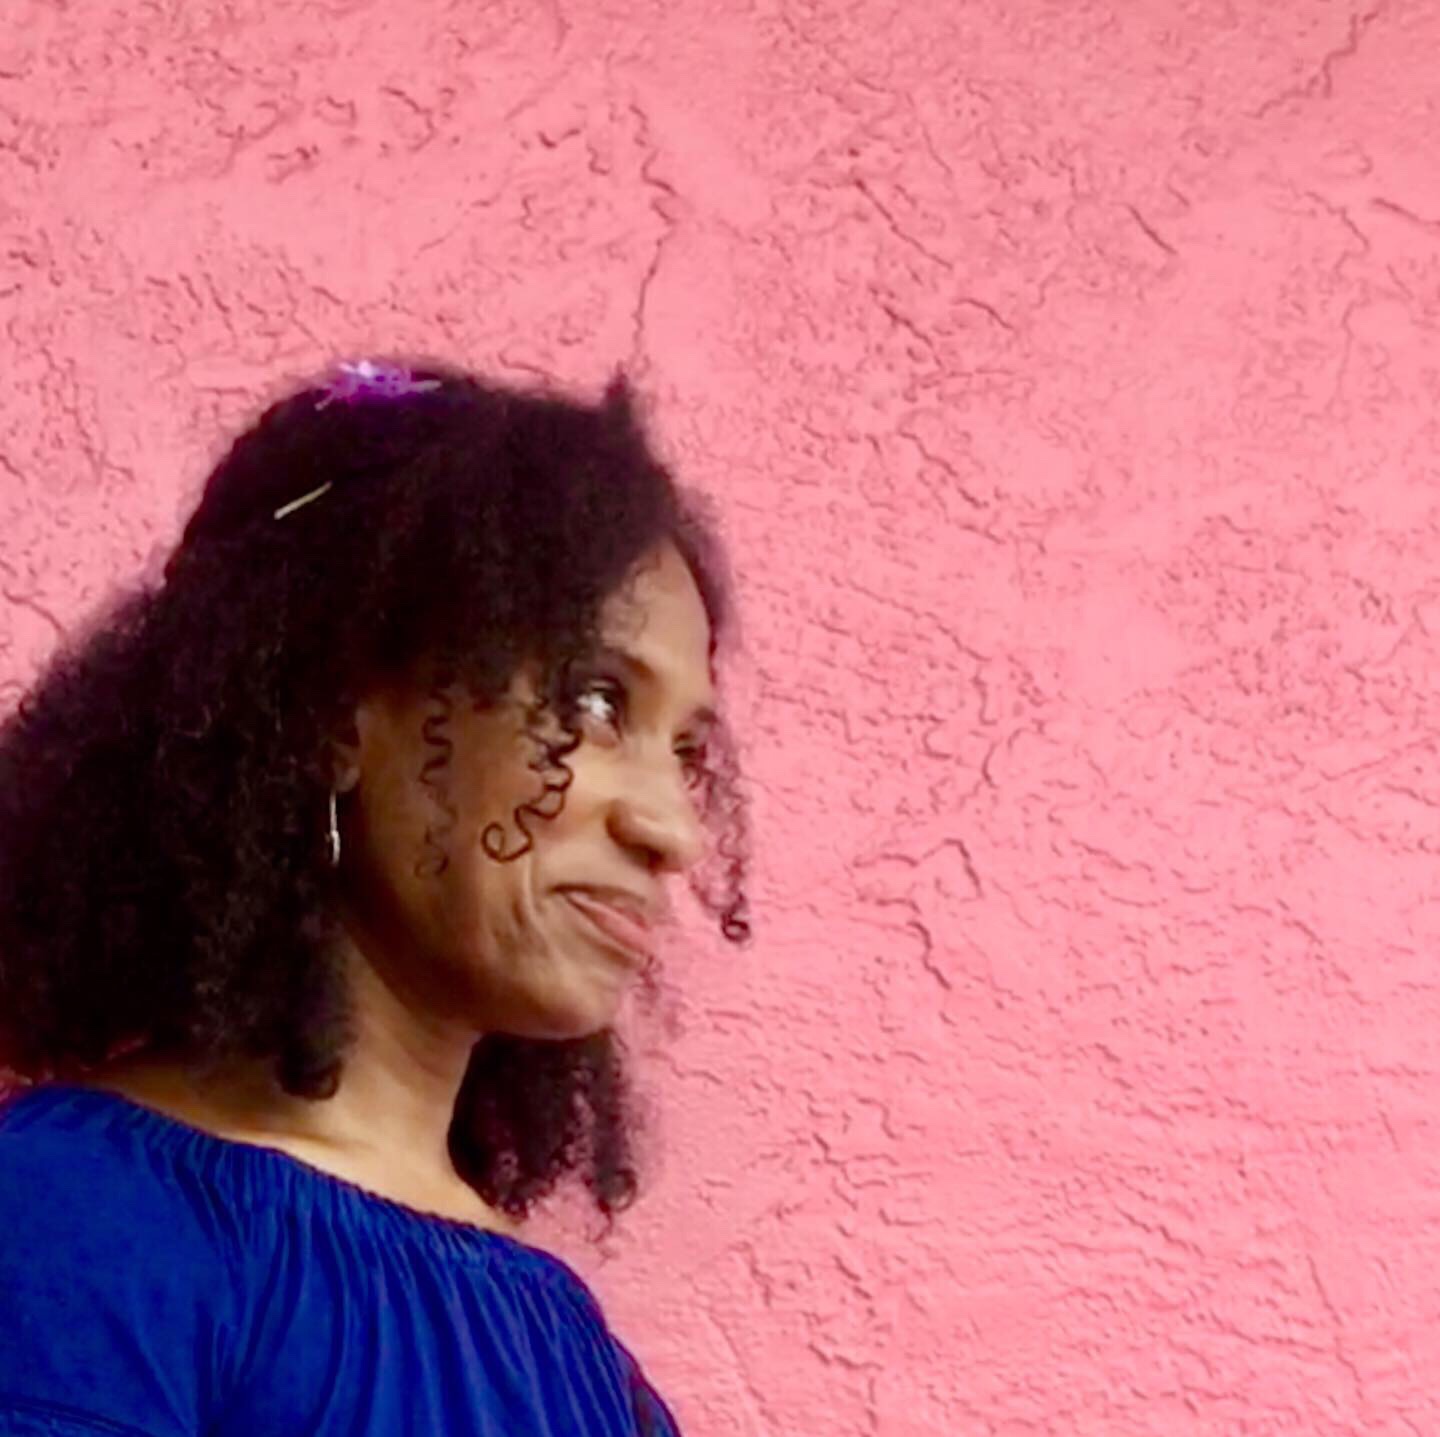
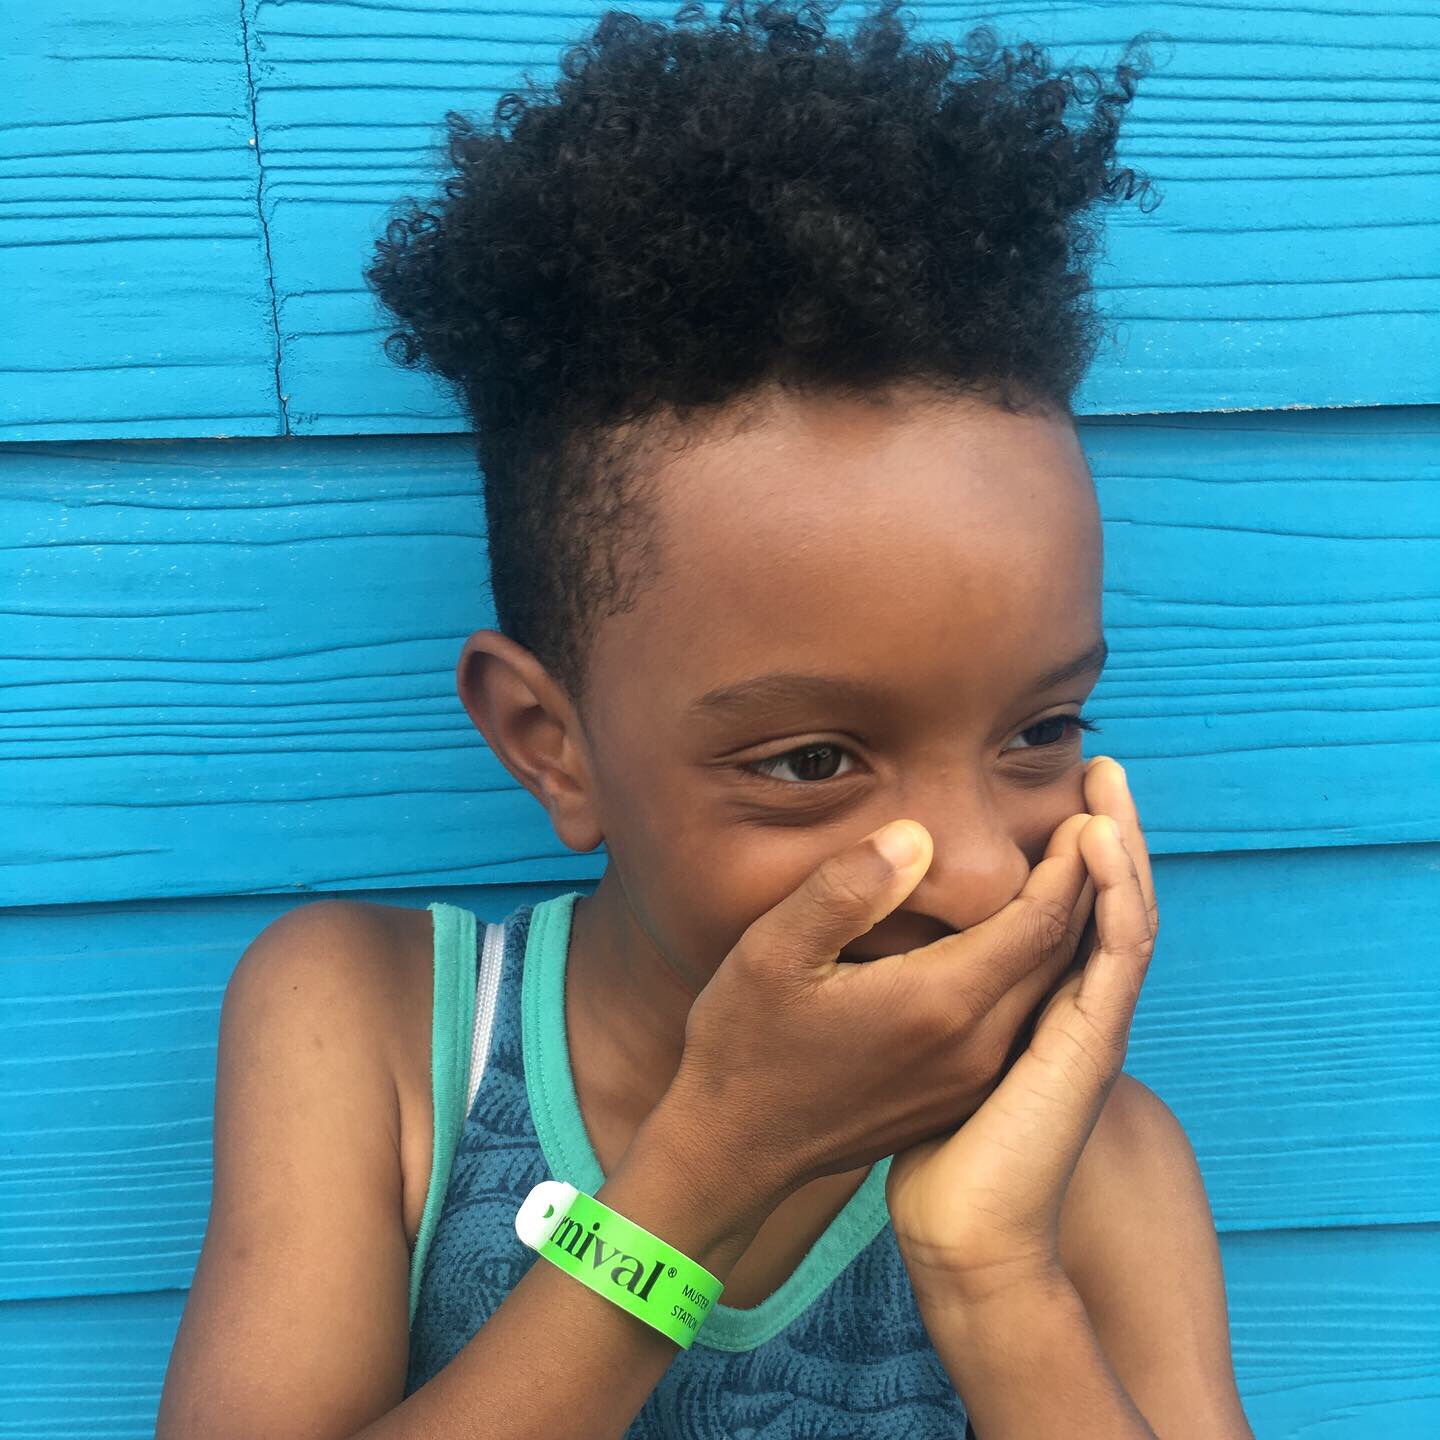
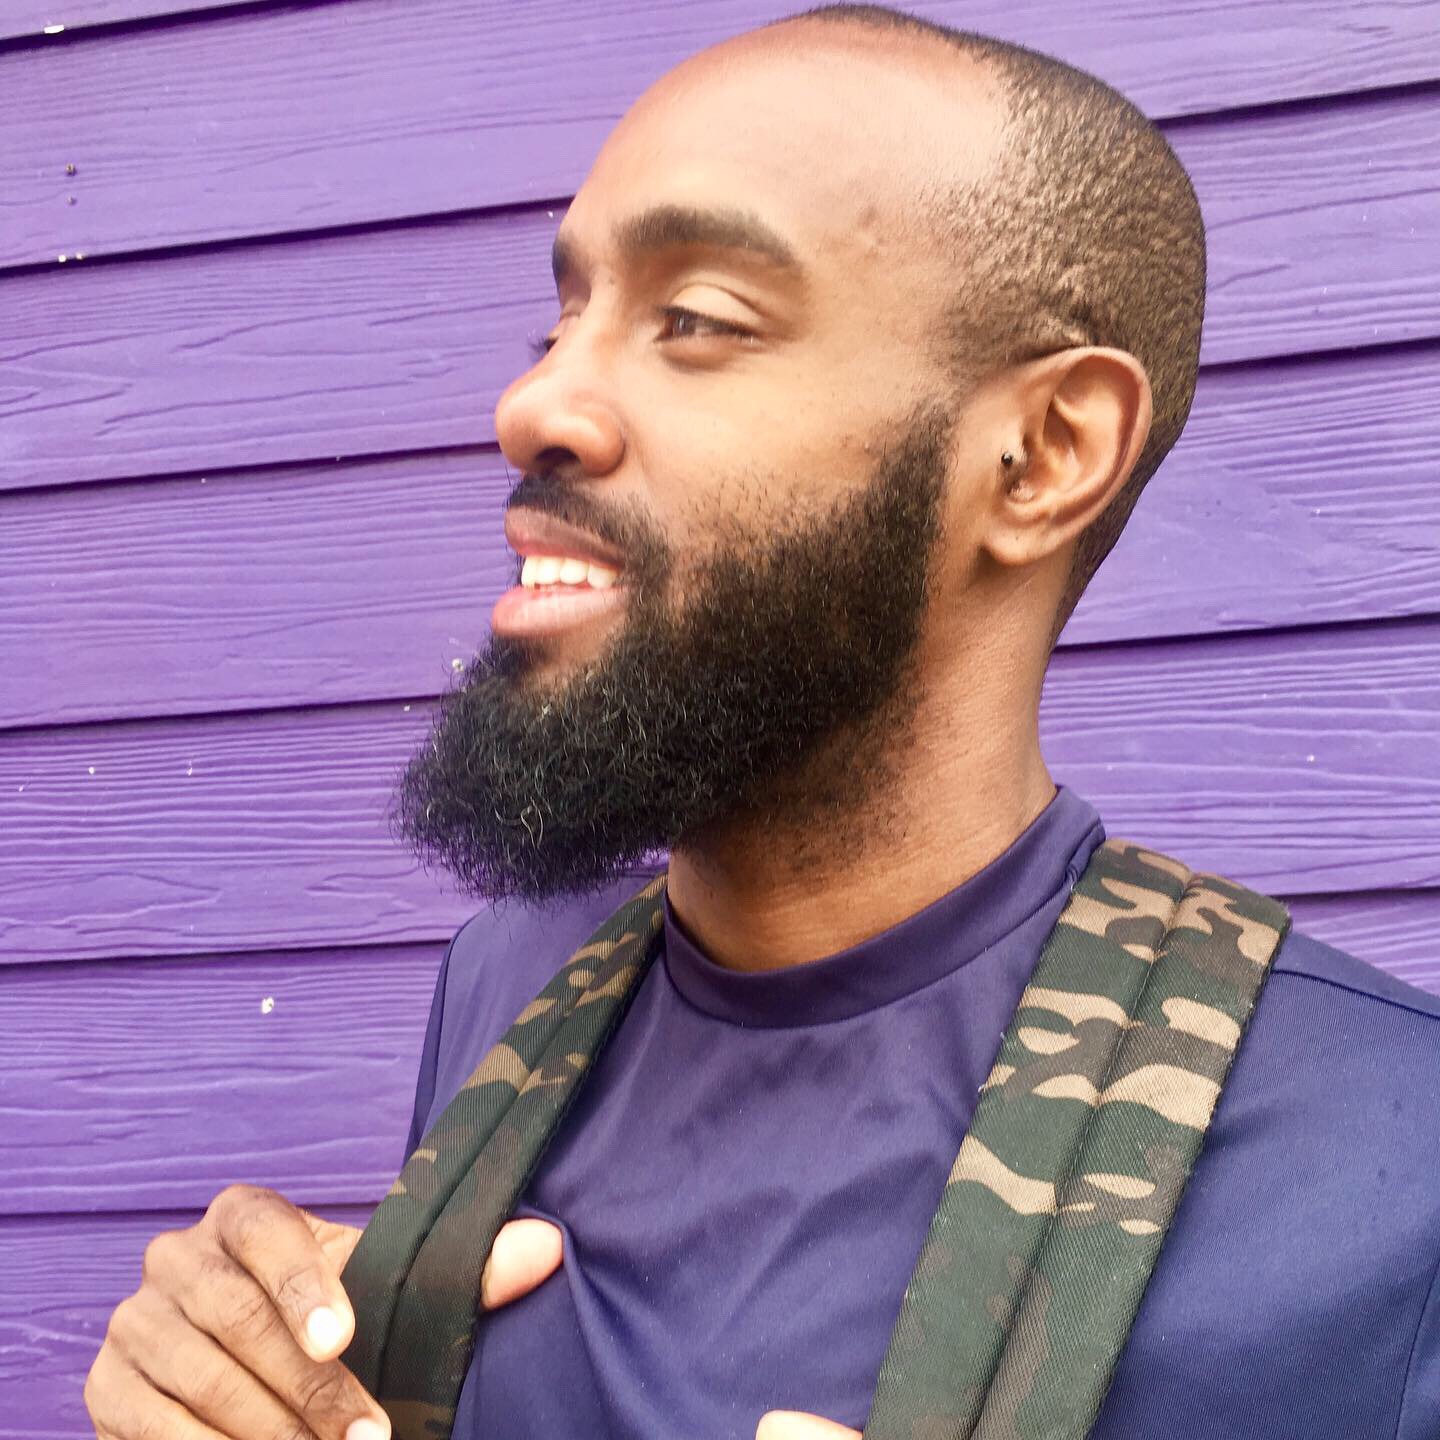
We thanked the shop owner and purchased some things, but my greatest takeaway was that story. A story reflected in the landscape around me from the brightly colored buildings, to the rain dusted violet and crimson flowers to the smiles on the faces around, proof that despite the most despicable and downtrodden of circumstances, there was always a reason for hope, there is always a place for laughter and there is always a time for joy.

Wherever you are now, I hope you’re still smiling and dancing, my dear John Canoe!

And in case you were curious, here are some snippets of Junkanoo music :)


Essential Oils for Stress Relief

IMG_1233.jpeg

When it comes to stress relief, one of the easiest ways to arm yourself against stress (distress), anxiety and tension is to incorporate essential oils into your daily routine.

Why essential oils for stress relief?

Aromatherapy is the art and science of utilizing essential oils to balance, harmonize and promote health and vitality in the mind, body and spirit.

Essential oils are the naturally extracted aromatic essences of plants. These oils are distracted by one of two key methods- distillation and expression. Depending on the botanical, the essential oil can be stored within the leaves, flowers, rinds, seeds or roots.

So, a bit of a scientific explanation here before I give some oil recommendations.

The fragrance of an essential oil can directly affect your emotional state. When a fragrance is inhaled, odor molecules from the essential oil journey up the nose and into olfactory membranes where they secure themselves to the receptor cells lining a membrane called the olfactory epithelium.

Your olfactory membranes contain roughly 800 million nerve endings that directly receive the vaporized oil particles and carry them along nerve fibers and connect them with secondary neurons in the olfactory bulb.

When stimulated by the odor molecules from essential oils, your nerve cells trigger enzyme activity and electrical impulses via nerve pathways to the limbic system. Your limbic system controls activities such as sleep, hunger, heart rate, blood pressure, hormonal balance, breathing and stress level. Odor molecules also connect with your hypothalamus which controls the endocrine and nervous systems.

So in short, essential oils have a profound physiological and psychological effect on our moods and emotions and the way we perceive and deal with stress.

Now that we’ve made it through all of that, here are some amazing essential oils to trigger stress relief-

public.jpeg

essential oils for stress relief:

  • Lavender Essential Oil

  • Ylang-ylang Essential Oil

  • Bergamot Essential Oil

  • Rose Essential Oil

  • Chamomile Essential Oil

  • Vetiver Essential Oil

  • Frankincense Essential Oil

  • Fennel Essential Oil

  • Frankincense Essential Oil

The above listed oils can be diffused, combined with lotions and carrier oils for direct skin application, added to dryer balls to provide fragrance to clothes, dropped into drawers, combined with water in a water bottle and sprayed as linen or room fragrance.

interested in learning more about stress relief?

Join me on November 24, 2019 when I present a virtual workshop called The Art of (dis)Stress Relief!

IMG_0048.png

You can join in from anywhere in the world and will get some grounding and pacifying tools for heading into this holiday season with ease.

Register before 11/15 to receive a 15% discount.

*Registration link is on my homepage :) or you can reply and I’ll get in touch with you!

For more DIY natural skin care ideas, check out my latest book Natural Beauty from the Outside In, where you’ll find 70 Ayurveda inspired hair and skin care recipes.

5 Reasons to Take a Family Cruise Vacation

public.jpeg

Sometimes, a Carnival cruise is your big vacation of the year!

There once was a time when I’d scoff and roll my eyes at any suggestion of taking a cruise.

I mean,…who wants to be trapped on a ship with a bunch of tourists? Loud, tacky tourists at that. Stuck on a gaudy ship with casinos and sub-standard entertainment that is so corny it’s not even laughable. Then, this ship, this vessel upon which you’ve been confined for days at sea, rolls up into an overly populated tourist trap of a port of call for all of four, five, maybe six hours, so people can gawk at a very controlled and sanitized snapshot of “island life” thus erasing any chance of a true travel experience.

Never ever!!!! I said through my 20’s as I traveled slowly through Europe and Western Africa, Southeast Asia and the Caribbean.

Never ever!!!! I said in my early thirties as I traveled to Japan, South Korea, Jamaica and Portugal with my passport bearing infant in tow.

Sign me up, where’s my ticket? I have to do to get away!!!!!!! I say now. Now that I have not one, but two boys. Now that they’re too old to ride on my lap via airplane and therefore by default require tickets- expensive tickets. Now that they’re too old to sit quietly, entertained easily by coos, stuffed animals and crayons. Now that they’re too young to be left alone and require a great deal of entertaining and engagement.

Now, now, now, that cruise vacation has come in handy.

What changed you say?

(Cue: the deep gurgly laughter of motherhood)

Life!

And without further ado….

public.jpeg

5 Reasons to Take a Family Cruise Vacation:

public.jpeg
  1. Kids Clubs!

    I’m going to cut right to the chase here. Kids Clubs equal free babysitting and or paid babysitters after-hours.

    I cruised with Carnival, but most ships have them. The Kids Clubs are FUN! They’re mini-camps on the boat broken down by age. There are toys, activities, excursions and special parties to keep your kiddos not only occupied, but fully engaged and happy. This means, YOU, my dear parent, are FREE for a few hours to lay out in the sun with no-one calling you “mom!” or “dad!.” You’re free to get your nails done, get a massage, lay out on the pool deck, go to the sauna or hot tub, eat in peace, read a book in peace, take a class, shop, gamble, see a comedy show or performance, drink yourself silly, whatever it is you want to do with your time.

    When was the last time someone asked you what you want to do with your time since having kids?????

  2. Family Friendly Activities!

    Cruise ships these days are like mini amusement parks, malls and game centers at sea. We had a great time when we were together because there were so many age appropriate options for my kids.

    My boys are 5 and 7, it takes A LOT to engage this age group! Luckily, Carnival was ready for us. Our boat had a basketball court, mini-golf course, bean bag toss, multiple water slides, a splash park, multiple swimming pools, an indoor arcade, regular screenings of family friendly movies on the upper deck, Build-A-Bear Workshop, live musical theatre performances (far, far, far, from Broadway or even community theatre standards, but so it is…) and a Dr. Seuss parade.

  3. A Chance to Try New Things Together as a Family!

    When was the last time you sang karaoke with your kids? Tried escargots or frog legs together while enjoying a fancy dress-up dinner? When was the last time you dared each other to go down the “waterslide of doom” or took a class together to learn something new that made your kids as much of an expert as you?

    My kids had the opportunity to perform onstage with some of the actors from the performances, they tasted new foods, tried new things and were so present and engaged (no need for screen time!!!!).

  4. Excursions!

    Then there’s the highlight of your trip….the day or days that magnificent boat docks and suddenly your legs are on land. A wondrous and tropical new country is presented to you to enjoy and explore!

    You can opt to engage in excursions and mini-adventures or you can take it slow and hit the beach as a family.

    One of my greatest pleasures this trip was to watch my now proficient little swimmers, swim and play in the ocean for the first time. The water was pristine, the shoreline crystal clean, and they discovered one of life’s finer pleasures- being at one with the waves!

  5. All Inclusive!

    Can I get a woot woot! That’s right. For the most part (minus drinks and specialty items) everything on the boat is all inclusive. Food, activities, events, all FREE (well…you technically paid when you purchased your ticket, but…)

    If picky eaters didn’t eat more than a spoonful of breakfast but decide they’re on the brink of starvation by 11 am, it’s so easy to accommodate (the nonsense) and ensure that everyone has exactly what they need with as little drama as possible.

    Ah motherhood. Just get me through the day…

public.jpeg
public.jpeg
public.jpeg
public.jpeg
public.jpeg
public.jpeg
public.jpeg
public.jpeg
public.jpeg
public.jpeg
public.jpeg
public.jpeg
public.jpeg
public.jpeg
public.jpeg
public.jpeg

However you do it, cruising as a family, especially if you don’t have relatives you can send the kids to stay with over the summer is a great way to ensure a smooth vacation for all.

There is something for everyone…literally everyone on a cruise.

Granted, slow travel, if that’s your pace as it definitely is mine, may not happen in the manner you prefer, but the benefits, still outweigh the negatives.

And eventually the kids will grow older and grow up and you’ll have your slow travel time once again!

Colors of the Caribbean

public.jpeg

My flip flops, bright pink and turquoise clicked against the dull stone road. It was raining, slippery. Each step took concentration to avoid a slip.

public.jpeg

“Look mommy, a rainbow!” My five year old exclaimed with joy.

I looked up and caught a glimpse of a pale rainbow stretched across the silver sky. The color, though faint, dazzled. It was a breath of fresh air against the otherwise dull and gloomy sky. It was a promise of something amazing yet to come.

Two weeks ago, I was in the sunny, errrrr…. rainy, Caribbean. Specifically, I was in Turks and Caicos and the Bahamas. It rained pretty much the entire time, but it was fine.

I didn’t have the brilliance of the sun, but I was definitely able to count on the brilliance of the many colors and contrasts of the buildings around me.

public.jpeg

Bright yellow houses, brushed shoulders with royal blue houses and neon pink shops. Visually stunning, the colors of the Caribbean are so uplifting. I couldn’t help but smile surrounded by this vibrant energy.

public.jpeg

While in the Turks and Caicos, I heard a compelling story about the colorful buildings. Apparently, color was not always en vogue. Colonial buildings in the Caribbean were originally painted bright white, until the British governor of Curacao, who also happened to own a paint shop, complained that the sun was blinding, the way it reflected off the white buildings and ordered everyone to paint their homes and businesses. Curacao became swathed in color and was admired for its beauty. Island after island followed suit, until colorful buildings became the standard throughout most of the Caribbean.

Though the motivation was manipulative, I must admit, I do enjoy the end result!

public.jpeg
public.jpeg
public.jpeg
public.jpeg

Now you can find every color found in nature and all that’s in between!

public.jpeg
public.jpeg
public.jpeg

What are Mala Beads: A Tutorial

*Disclosure: This post contains sponsored content. As always, with any sponsored content that appears on Sojourner’s Sojourns, the thoughts and opinions represented are entirely my own. I do not partner with brands that don’t fully reflect my values and lifestyle.

Mala Beads: A Tutorial

My thumb, glides over the smooth round façade of the African Jade. Known for its power to soothe and provide mind/body/spirit balance, the rounded beads of African Jade, a blend of milky turquoise and green, shimmer Neptune-like against my thumb. The delicate clink of the rattling beads gives rhythm to my mantra- Lokah Samastah Sukino Bhavantu as I make a complete rotation around my mala bracelet.

FullSizeRender.jpg

After three rotations, and having reached 108, I’ve finished. I sit in stillness and feel the grounding weight of my mala beads in the palm of my hands. 

 I focus on my breath and embrace the stillness. Slipping my mala bracelet onto my wrist, I climb out of bed, ready to begin my day with intention. 

 Sometimes it’s the small acts that lead to the greatest change. This is definitely true when it comes to reciting mantras.

What is a mantra?

A mantra is a sound or word or statement that is repeated in order to bring about focus and induce a meditative state.

In the yogic tradition, one chooses a mantra that resonates with them, then recites it 108 times over the course of 40 days.

This meditative repetition, 108 times, for 40 days allows the mantra to become imprinted into your subconscious. After 40 days, a new way of thinking evolves and the wisdom of the mantra becomes habit.

What are mala beads?

Mala beads are used to keep track of these recitations. Mala beads come in many forms- necklaces, bracelets, precious and semi-precious gemstones, to sacred wood, and even synthetic materials. 

If you’re into crystals and gems, you can choose a mala bead made of certain stones that carry a similar energy  and or complementary energy to your mantra. 

You can also pick mala beads based on color and chakra relationship or simply on how they make you feel. 

Using mala beads is easy and they give shape to the practice of meditation, mindfulness and intention. 

Hold your mala beads in your right hand. You’ll begin at the guru bead (the largest bead which is not counted, merely a place holder) and with your thumb slide over a new bead and recite your mantra of choice. Pull the mala towards you as you go, eventually making your way back towards the guru bead. 

If you’re using a mala necklace, you’ll have 108 beads and you need only make one full rotation. If you’re using mala bracelets, you’ll have 27 beads and will need to make three full rotations to complete your cycle of 108. 

FullSizeRender.jpg

Where did I get my beads?

I’d like to thank Japa Mala Beads for the stunning mala bracelets.

Japa Mala Beads are made of pure gemstones and high quality wood. Each mala is purified, blessed and energized before making its way to you. I highly recommend Japa Mala Beads!

Thinking about starting a mantra routine with a set of mala beads?

Japa Mala has put together this useful introductory mantra list!

top-buddhist-mala-mantras.jpg

What mantra am I working with right now?

My mantra of the moment is- Lokah Samastah Sukino Bhavantu (May all beings everywhere live in happiness and peace and may my thoughts and actions lead to their happiness and peace as well as my own.)

This is one of my favorite sanskrit mantras. I revisit it often and reference it constantly when I’m teaching my yoga classes.

Do you have a mala bead meditation practice? What are your favorite mantras?

I’d love to hear your thoughts.


3 Ways to Use Essential Oils to Get Rid of Moths

You’ve found the perfect sweater. Its color and fit are flawless. Each time you wear it, it’s like being wrapped in a warm, grounding hug.  

You take care when you wash your sweater, making certain not to shrink or warp the fabric.  

Then one autumn, after a long, hot summer, you slip into your sweater to be met by a series of holes compliments of a nesting moth.

And just like that, your sweater is ruined.  

Unless....

IMG_5692.JPG

3 Ways to Use Essential Oils to Get Rid of Moths

Clothes moths are so tiny that you may not ever see them. They can be such pests. They nest in your nicest clothes, usually the wools, silks and cashmere pieces because they contain keratin that provides nutrients to the larvae (yum). So when the larvae hatch from their soft little cashmere nest, the first thing they do is set off to munch away. And they have a voracious appetite. 

Moth balls are an obvious solution, they offer protection but there is a high cost for this protection. Moth balls smell terrible. Think back to grandmas attic. The smell is horrible and off-putting because moth balls emit toxic vapors to get rid of the moths. Vapors that can be extremely harmful to humans and pets (have you ever read the back of one of those packages- it's scary!). 

Luckily there are essential oils that can help us get rid of moths in a fragrant and natural manner. 

When it comes to repellent moths, there are many essential oils that will achieve this end goal, but my favorites to use are lavender and lemon. 

Lavender and lemon essential oils compliment each other beautifully and they get the job done when it comes to effectively repelling months. Moths are highly sensitive and can’t tolerate the aroma of  lavender or lemon.

FullSizeRender.jpg

 ***Important note, lavender and lemon essential oil won’t kill moths and moth larvae, it will only repel them. You’ll want to make sure that you don’t have any preexisting "friends" hiding in your clothes. If you find them cedar essential oil will kill the larvae and moths. 

3 Ways to Use Essential Oils to Get Rid of Moths:

1) Make a spray! Mix lavender and lemon essential oil in a spray bottle (50% water and 50% lavender and lemon essential oils in equal portions).  Lightly mist your clothes. This doesn’t work well in humid closets! Only use in dry aerated closet or drawer environments. 

2) Drop lavender and lemon essential oil in the corners of your closet once a week. 10 drops of both lavender and lemon in each corner should do the trick. Replenish weekly. 

3) Douse an old scarf, tie or sock with lavender and lemon essential oil. Apply about 20 drops of each. Tie the scarf, sock or tie to the closet rod. Replenish each week. 

 You always have the option of using lavender and lemon rind sachets as well. You can replenish them by dropping lavender and lemon essential oil on them to boost the aroma. 

* Note, all of the above methods can work in a drawer too. Make sure that drawers are fully dry before you close them.  

For other tips on using essential oils to get rid of pest, visit my post 3 NATURAL AND ORGANIC WAYS TO KEEP SPIDERS AND CENTIPEDES OUT OF YOUR HOME!

For more DIY ideas, check out my latest book Natural Beauty from the Outside In, where you’ll find 70 Ayurveda inspired hair and skin care recipes.

DIY Natural Ear Wax Removal

Ears are complex. Delicate and finicky, they are so tricky!

Having been a child with chronic inner ear infections and regular bouts of swimmers ear, I speak from experience. 

Now, as an adult, though my ear infection days are behind me, I do suffer from ear congestion due to wax build up. 

It’s so frustrating.

It always happens in the spring, when my seasonal allergies start to kick in. My ears begin to feel heavy and clogged. It’s hard to hear. I’m constantly searching for a yawn to pop my ears for a moment of clarity.  

It's awful!

So... what is a girl to do?

I've had my ears flushed, I've used over the counter solutions such as Debrox, but at the end of the day, my favorite form of relief is one that I can make myself.

DIY natural ear wax removal is always an option!

 When my ears start to rebel, I arm myself with this simple and effective DIY ear wax removal solution. 

IMG_5695.JPG

Here’s what you’ll need: 

Apple Cider Vinegar  

Purified water

Tea-tree essential oil

2 ounce amber jar with a dropper top

Here’s What to Do: 

1) Fill your jar half way with the purified water

2) Add ten drops of tea tree essential oil

3) Fill the remainder of your bottle with apple cider vinegar  

4) Cap and shake  

To use: 

1)  Lay on one side and using the dropper top, fill your ear (2 dropper fulls approx) with the solution.

2) Lay on your side for 5 minutes to let the solution get into the ear canal to soften the wax. 

3) After 5 minutes, return to an upright position, holding a clean washcloth to your ear, tilt your head to the side to collect drainage.  

Repeat up to three times a day if needed.  

FullSizeRender.jpg

Easy as one. two. three!

Disclaimer: I am NOT a doctor or medical professional. It is always recommended to consult a physicians advice before attempting a home remedy. 

Clear Your Aura with Selenite

The first time I ever had an aura photograph taken and interpreted I was blown away. 

It began like any ordinary picture. I stood against a screen and smiled as the photographer snapped a picture.

Moments later I was presented with what looked like an ordinary Polaroid. In the picture, I stood against a black background, grinning, a series of violet orbs hovering over my head while the entirety of my body was cocooned in white light. 

It was the first time I was able to see what I had vaguely heard referred to as an aura. It was eye opening. I mean, that's what it looked like? That was the me that preceded the physical me in everything I did!?!

This was before I discovered Reiki, Ayurveda and felt called to teach yoga. This was before I began collecting crystals and smudge wands. 

Back then, I was a skeptical aspiring actress taking a weird aura photo at a yoga retreat because my friend did and she that dear friend said that I should too. 

History.

The photographer and interpreter later revealed things to me that caused me to vibrate with curiosity and wonder. 

I listened.

Fifteen years later I am engaged in my soul's work as a healer and spend my days connecting with and intuiting  the  ethereal body.

We have a physical body (obviously), but we also have an ethereal or subtle body.  

 Our ethereal body interacts directly with our physical body and connects our physical body to the realms of spirit. There are several layers of this subtle body that come together to form our aura. 

You can think of the aura as a cocoon of (usually) invisible energy that surrounds and impacts us at all times.  

Those feelings that you get, the moods and anxieties that stick to us often inexplicably- that can be your aura in need of a clearing after having come into contact with unwanted energies.

Sometimes negative energy is stuck in certain spaces that we encounter. Other times we are negatively impacted by the energy fields of those around us. 

Our energy fields come in contact with so much during the day, much of this energy sticks with us (need I remind you of Newton’s First Law: Energy cannot be created or destroyed only transferred).  

That’s where the practice of aura cleansing comes in handy and one of my favorite ways to do this is with a selenite wand, hence this post- Clear Your Aura With Selenite.

IMG_4764.JPG

Now let's get down to business. Selenite is a crystal that absorbs negative energy. Working with selenite is  like taking a bath in pure white light. It’s the crystal equivalent to white sage. Using selenite, in my opinion, is also one of the easiest ways to clean and clear your aura. 

Selenite is extremely powerful. Not only does it remove negative energy but it promotes a cooling, calm and peaceful energy reminiscent of the qualities of the moon.

Associated with the crown chakra, selenite has the power to open, balance and align all of the chakras (the seven energy centers in the body, part of the subtle body). Selenite is even self cleaning. It takes our negative energy and turns it into pure brilliance. 

So how is it done? How do you use selenite to clean your aura? 

I made a little video for you below.  

Clear your aura with selenite! It's so easy to use and it makes such a big difference. 

If you haven't given selenite a try, you should! It's relatively inexpensive to buy and is low maintenance (yay- self-cleaning!) as far as crystals are concerned. 

Is selenite a part of your self-care routine? 

Using Crystals to Heal and Balance Your Chakras

Your are either a crystal person, or you aren't. This is not a post to try to make crystal converts out of you. Instead, I hope this post is practical and applicable for those of you who are... shall we say, "crystal curious," or active crystal practitioners. This is for those of you interested in learning to use crystals to heal and balance your chakras. 

IMG_4901.JPG

I'm going to try to be clear and to the point with this post. The chakra system, energy, the etherial body, vibrations can feel really esoteric and can leave even a seasoned yogi or energy worker cross eyed. The more I learn, the more I realize I have so much to learn, because there are so many doors that open the more you dig. 

Using Crystals to Heal and Balance Your Chakras

IMG_4308.JPG

Crystals are powerful and healing in so many ways. Due to their particular vibrational grids, they have the ability to elevate energy and increase the vibratory frequency of specific chakra focal points. In this way, crystals are an excellent addition to chakra balancing work. 

Crystals enhance healing by raising the vibration in a particular energy center (chakra) to bring about a desired effect. 

Crystals are all unique and contain their own energies and vibrations. Our chakra points also contain energies and vibrations. When two energetic/vibrating objects are placed in proximity, they rise to the frequency of the highest vibration. This is the Law of Vibration. Everything is energy, everything vibrates.

So, let's say, your root chakra is blocked and needs energy and an increased vibration in order for it to find balance. Placing a crystal that corresponds with the energy of the root chakra on or around your root chakra will help raise your root chakras vibration and create balance. 

Additionally, choosing certain crystals for their color can help to open and balance a particular chakra since our chakras correspond with a particular colors and color energies that are present in crystals. 

There are many ways to use crystals in chakra healing:

IMG_4639.JPG

1) You can lay on your back and line crystals along your chakras and go into meditation 

2) You can place your desired crystals on an alter and meditate nearby

3) You can hold your chosen crystals in your hands as you meditate

4) You can strategically keep certain crystals on your person ex) in pockets, in buns, in bras, in amulet pouches

What crystals correspond with the different chakras? 

IMG_3629.JPG

There are so many different options when it comes to crystals that work with the various chakras. I'm going to highlight a few. This is in no way a definitive list. The best way to decide which crystals to work with is to feel the energy of the crystal. Let your crystal choose you!

Root Chakra (red) - Red or black tourmaline, red jasper, garnet

Sacral Chakra (orange) - Carnelian, smokey quartz

Solar Plexus Chakra (yellow) - Citrine, tiger eye

Heart Chakra (green) - Adventurine, ammonite, rose quartz

Throat Chakra (turquoise) - Sodalite, avngelite, blue calcite

Third Eye Chakra (indigo) - Amethyst, lapis lazuli

Crown Chakra (violet) - Clear quartz, rock quartz

Here's a quick diagram of how the chakras line up in the body

FullSizeRender.jpg

Should I quit my day job and become an artist? - lol

What are your favorite crystals to use to heal and balance your chakras? 


An Easy Anti-Aging Serum You Can Make At Home

Time catches up with us all at one point or another. It's the prize we get for living full and fruitful lives. Remember, laugh lines mean you've had the privilege of much laughter and joy. 

Sometimes time makes an appearance in the form of an ache or a pain and at others with a gray hair or a reflection that you may not at first recognize.

Luckily, nature has provided us with some amazing tools to counteract the signs of aging. 

In this post, I'm sharing with you an easy anti-aging serum you can make at home.

This recipe is SIMPLE! You can't mess it up.

The two key ingredients are powerful in an of themselves and combined, form an unstoppable force to counteract the signs of aging the natural way.

IMG_4711.JPG

I'll start with the ingredients for this easy anti-aging serum you can make at home!

FullSizeRender.jpg

Here's What you'll need:

2 oz Tamanu Oil 

10 drops Frankincense Essential Oil (diluted in Jojoba is fine, just up the drops to 15)

5 drops Lavender Essential Oil


A few notes about the key ingredients-

Tamanu Oil is pure magic! You can learn more about it by clicking HERE.

Frankincense Essential Oil has been heralded for thousands of years for it's anti-aging properties. The Ancient Egyptians used Frankincense in their beauty preparations. They even used it as a preservative in mummification. Frankincense is antibacterial, anti-inflammatory, encourages cellular regeneration, has been said to slow the production of tumors, is immune enhancing, elevates the mood and reduces the signs of wrinkles, dark spots and scars. 

TAMANU + FRANKINCENSE = POWER!

here's what you need to do:

  1. Measure out your Tamanu Oil

  2. Add your essential oils

  3. Swirl the liquid to mix

  4. Use a funnel to pour your mixture into your bottle of choice

      * Makes about an ounce at a time

FullSizeRender.jpg
IMG_4706.JPG
FullSizeRender.jpg
FullSizeRender.jpg
FullSizeRender.jpg

There you have it, an easy anti-aging serum you can make at home!

A little bit goes a long way! Seriously!!!!!

All you need is a pea sized amount. Rub the serum into your skin. It will absorb quickly without leaving a greasy sheen. 

As always, avoid your eyes and mouth. Tamanu oil has a bitter taste, so you'll want to keep it from around your lips. I've definitely made that mistake before (yuck!)

Use in the morning and before bed after washing your face or applying a toner. You can put moisturizer or a sunblock over it. 

So...have you tried it? What do you think???

For more DIY natural skin care ideas, check out my latest book Natural Beauty from the Outside In, where you’ll find 70 Ayurveda inspired hair and skin care recipes.

Gentle Moisturizing Body Wash You Can Make Yourself!

I love making body care products by hand. This is no secret. But my drive to make my own products was born out of necessity. 

My sons both have severe eczema. Their conditions have been kept under control through diet and my handmade skin care products. 

IMG_4612.JPG

Today, I'm going to share what I use on their skin in the bath with this gentle moisturizing body wash you can make yourself!

This body wash is not exclusive to eczema relief, but it helps to soothe eczema skin with it's calming and moisturizing properties. This gentle moisturizing body wash is all natural, you can use 100% organic ingredients if you choose and a little bit goes a long way.

I like to think of this body wash as a skin softener. It leaves your skin so dewey and refreshed. 

FullSizeRender.jpg

Here's what you need:

½ cup castile soap

4 tablespoons vegetable glycerin

½ teaspoon vitamin E oil

4 tablespoons olive oil 

*essential oil is optional (I don't use any essential oils for eczema skin, but for my blend, I add 10 drops of lavender and 5 drops of peppermint) 

IMG_4603.JPG

Here's what to do:

In a measuring cup, measure out your castile soap. Add your vegetable glycerin and whisk or stir. Then add your oils (vitamin E and olive) and whisk or stir once again. Finally, add any essential oils. 

FullSizeRender.jpg

Give your mixture a final stir and now you're ready to transfer your body wash into a container of your choice (I'm the queen of recycled glass bottles). 

IMG_4606.JPG

Remember a little bit goes a long way! Which is great news, because this gentle moisturizing body wash is extremely cost effective, not to mention easy to prepare. 

I hope you enjoy this simple blend. Reach out to me in the comments below with questions :)

And there we have it, a gentle moisturizing body wash you can make yourself!

For more DIY natural skin care ideas, check out my latest book Natural Beauty from the Outside In, where you’ll find 70 Ayurveda inspired hair and skin care recipes.

5 Reasons to Start a Meditation Practice NOW!

Let’s talk meditation for a moment. 

Does the very idea of a meditation conversation make you nervous? feel calm? feel heard? or maybe agitated?

Just notice...

Do you have a meditation practice?

It's okay if you don't. 

It's great if you do.

It's perfectly fine to be somewhere in between.

I've written this post for all of you!

5 Reasons to Start a Meditation Practice NOW!

Psychology and neurological research shows that around 20 minutes of meditation daily can drastically improve multiple aspects of our well-being.

20 minutes is an approximation, everybody is different, everyone’s ability to settle into a meditation practice is different and every meditation is different. I like to look at meditation as a muscle, the more you practice, the more flexible you become and the easier it is to dive deep into a meditative state. 

My current meditation routine is segmented to suit my busy lifestyle. I practice a silent/still meditation for ten minutes in the morning. I practice a five-minute intention based (usually with mantra or affirmations) meditation in the afternoon and then I practice a ten-minute reiki meditation at night. This is simply what works for me, right now.

When my kids were younger, my meditation used to literally happen in the shower. It was the only time I had to myself. I would stand beneath the warm water, feel it’s rhythm, invite my breath to grow slow and deep, and there beneath the waves…I mean, shower head, I would find the peace and grounding that gave structure and form to the rest of my day. 

Not into sitting still for several minutes at a time? There are so many different types of meditation. Perhaps you’re drawn towards prayer or gratitude journaling. Maybe a walking or active meditation is more your speed and a nature walk or time at the beach or fishing by a lake is what you need to reset, reboot, and find balance. Into guided meditations? Check out my homepage, I’ve got a few you can practice with!

Don’t have time for meditation? Download your favorite mantra, affirmation, nature sound on whatever music streaming service you use and listen to it, eyes closed, for a few minutes on your morning Subway, Metro or car commute. It all counts! 

However you feel called, during this National Meditation Month, I urge you to experiment, to open yourselves up to the power and beauty of a meditation practice. If not for 20 minutes a day, then 10; if not for 10 minutes a day then 5, or 2 or 1. Any start is the right start! 

IMG_0103.JPG

5 REASONS TO START A MEDITATION PRACTICE:

  1. Meditating Reduces Stress- When you meditate, you stimulate your parasympathetic nervous system which helps the body rest, digest, and experience calm. In this state, cortisol (your stress hormone) production ceases and melatonin (your relaxation hormone) is produced. 

  2. Meditating Promotes Mental Clarity and Focus-  Meditation is both relaxing and rejuvenating for the brain which helps to fine tune our cognitive functioning. A calm and steady mind, is also better at endurance and focus. 

  3. Meditating Helps to Relieve Anxiety and Depression- Cortisol feeds anxiety and depression. Meditating is known to subdue cortisol production and increase the production of melatonin, resulting and feelings of calm, peace and contentment. 

  4. Meditating Can Help to Lower Blood Pressure- Meditation calmed the central nervous system, relieves the body of stress and anxiety, all factors that lead to high blood pressure. Through meditation the parasympathetic nerve response is initiated which encourages a reduction in blood pressure rates. 

  5. Meditation Can Help to Relieve Insomnia- Due to the calming effect of meditation (increase in melatonin, the sleep inducing hormone) the body reacts by entering into a state of rest. This restful state helps to encourage a deep and undisturbed sleep. 

So there you have it.

5 Reasons to Start a Meditation Practice NOW!

Baby steps, dear friends. 

Slow and steady wins the race. 


IMG_4353.JPG

HUMP DAY STRESS BUSTER YOGA POSE- SUPPORTED SPINAL TWIST

Supported Spinal Twist (Jathara Parivartanasana)

IMG_4172.JPG


Why You Need to Do It:

Have you ever had one of those days when you just need to be held up and supported so you can drift off into your happy place? Well, my friend, this pose is for that sort of day.

Supported Spinal Twist frees the tension and stress from the day from your spine, shoulders and hips. This pose helps to calm the mind and open up the lungs. Supported Spinal Twist is detoxifying and gently energizing as it encourages blood to flow to the organs.

Your thoughts will dissipate into the ether....

 “When there is no mind, you are in yoga; when there is mind you are not in yoga. So you may do all the postures, but if the mind goes on functioning, if you go on thinking, you are not in yoga. Yoga is the state of no-mind. If you can be without the mind without doing any posture, you have become a perfect yogi. It has happened to many without doing any postures, and it has not happened to many who have been doing postures for many lives."-Osho 
 

How to get in to it:

For ultimate benefits, you’ll want to pull some props aside. If you don’t have yoga bolsters, large pillows will do. Bolsters are best though. A bolster, two blocks and two blankets.

I’ll walk you through set-up.

1)       Two blocks on high and medium setting

IMG_4166.JPG

2)         Lay your bolster over the blocks creating an incline

3)         Fold a blanket or pillow at top of bolster

IMG_4167.JPG

4)         Bring your hips to the base of the bolster and place a blanket between your legs to soften the space between bony ankles and knees

IMG_4171.JPG


6)         Set an eye pillow on your shoulders or cover your eyes

FullSizeRender.jpg

How Long to Hold?

5-7 minutes per side will do. Set your phone alarm to something soothing.

This is a great pose for try after a long and stressful day at work.

So...what do you think?


4 Ayurvedic Practices to Enliven your Morning Routine

Sometimes, the secret to balance lies with consistency and routines.

Generally speaking, you either like routines or your don't (we can count on Ayurveda to help explain these personal proclivities). 

Whether you find mornings to be rough, or enjoy rising before the sun, whether you love a good routine tweak or have a hard time following them, here are 4 Ayurvedic practices to enliven your morning routine and set you up for a balanced day. 

IMG_4115.JPG

1)         Sip herbal tea, warm water with lemon, or apple cider vinegar upon waking

Sipping a warm beverage blend first thing in the morning stimulates digestion and encourages elimanation. Herbal tea, lemon water and apples cider vinegar are alkaline and detoxifying. The brew flushes the body and provides much needed hydration after a night’s sleep and or before a morning coffee.

2)         Try Oil Pulling (Gandusha)

Tell your mouth wash to move over! Oil pulling is all you need for oral detoxification. Here's how it works, measure a tablespoon of oil and swish it around the mouth for 10-20 minutes. You can  use coconut oil or sesame for best results. Oil puling removes harmful bacterial in the mouth reducing gingivitis, plaque, inflammation and bad breath. Add a drop of tea tree essential oil if you want that minty fresh tingle. 

3)         Use a Tongue Scraper (Jihwa Prakshalana)

According to Ayurveda, the body detoxifies at night while we sleep. Some of these toxins are released onto the surface of the tongue. Using the scraper first thing in the morning helps to remove the toxins so they don’t get reabsorbed into the body.

FullSizeRender.jpg

4)         Perform an Oil Massage Before Bathing (Abhyanga)

About 30 minutes before your shower, rub yourself down with sesame oil, slip into your bathrobe, enjoy a cup of tea and breakfast, then shower. A little bit goes a long way. The sesame oil massage helps to relieve stress, improves mcirculation, detoxifies the body, reduces wrinkles and blemishes of the skin, and reduces the signs of aging.

There you have it! A few tips to jumpstart an Ayurvedic routine. These are general recommendations that typically work well for all. Keep in mind that the science of Ayurveda is extremely specific and tailored to each individual person. 

FullSizeRender.jpg

Interested in learning more about Ayurveda, leave a comment below or contact me through this site!


Amethyst: The Incredible Healing and Calming Gem

If I had to choose one and only one crystal to have and to hold and be my companion, I would, without a moment of hesitation go with AMETHYST... the Incredible Healing and Calming Gem!

IMG_3737.JPG


A rough, deep purple amethyst to be specific.


Ever since childhood when I mistakenly identified my birthstone as amethyst, (alas, June is actually Alexandrite…) I’ve been attracted to the radiant purple gem.


It’s not a natural choice since purple is not a color I usually vibrate towards. Some people are unabashedly attracted to the color purple,  I’m not one of those people. Green and turquoise have always been my spirit colors. Color preference aside, amethyst is still my soul gem.


Maybe it was my natural attraction to healing work, my connection with the moon, the pitta portion of my Ayurvedic constitution in constant need being tamed, but whatever the case, amethyst, it turns out is the perfect gem for yoga instructor, reiki healer, writer, and lover of quiet, me.


IMG_3742.JPG


Amethyst: The Incredible Healing and Calming Gem

·             Amethyst calms, protects and cleanses the spirit

·             Amethyst is grounding and balancing

·             Amethyst aids in meditation as it correlates directly with and stimulates the crown chakra and is known to heighten spiritual and psychic awareness

·             Amethyst eases anxiety, emotional imbalance and agitation

·             Amethyst helps to bring about clarity of thought

·             Amethyst is known to emit energy to help strengthen the adrenal glands, the reproductive organs and the respiratory system

·             Amethyst boosts the immune system

·             Amethyst helps with grief and loss

·             Amethyst is known to energize and foster creativity

·             Amethyst has been used to attract abundance and prosperity

·             Amethyst is a heart opener

·             Amethyst helps to free anger and repressed emotions

IMG_4069.JPG


I use amethyst jewelry when I’m engaged in healing work, I sleep with an amethyst next to my bed, there’s an amethyst at my yoga altar, I place amethyst around my plants and there’s an amethyst stone at my writing desk.


I adore my soul stone and choose amethyst, when it comes down to it, above all others.

What's your favorite stone and why?

Cooling Spring/Summer Green Clay Mask

DIY Cooling Spring/Summer Green Clay Mask

IMG_4015.JPG

It's spring! The days are getting longer, the weather is warming and the sun is shinning. This is all great news, but the change in season can wreak havoc  on your skin.

In the spring when the sun shines a bit longer and a bit brighter, the skin can get warm, very warm, it can even feel uncomfortably hot. If you have an understanding of Ayurveda, and you're Pitta in constitution, you're probably saying amen right about now. 

No matter what the proclivities of your skin or your Ayurvedic constitution, you're most likely in need of something cooling and calming.

This cooling spring/summer green clay mask, with it's power to refresh and rejuvenate may just the answer. This is an excellent mask to apply mid-day to cool and clean a hot and sweaty face. Gentle and deeply moisturizing, even the most sensitive skin responds well.  

Cooling Spring/Summer Green Clay Mask Ingredients:

1 tablespoon French Green Clay Powder

1 tablespoon Rosewater

1 tablespoon coconut oil (softened to room temperature) 

1 tablespoon Greek Yogurt (full fat, plain) 

5 drops Rose Essential Oil

1 teaspoon Vegetable Glycerin  

Here's What to Do:

IMG_4006.JPG

In a small bowl or dish, measure out your green clay powder and yogurt. Mix with a spoon until smooth then add the softened coconut oil. Mix until smooth then add the rose water, vegetable glycerin and essential oil.

Mix until a uniform paste like consistency is achieved. 

Cool and store in the refrigerator. 

Benefits: 

IMG_4012.JPG

cools skin

reduces inflammation  

detoxifies skin and removes impurities  

moisturizing

softening

calms sun burn

tightens pores

reduces and calms Pitta

Directions for use:

Keep cool in refrigerator and apply cold to skin. Smooth over your face in gentle circles using your fingertips. Avoid direct contact with your eyes, nostrils, and mouth.

It's ideal to leave the mask on for ten minutes before rinsing and wiping away with a warm washcloth.  

Even your little ones can enjoy this natural, non-toxic, cooling mask after coming inside after a long day of play. 

IMG_4013.JPG

Enjoy the sunshine. Enjoy the glorious warmth and light!

How does your skin regimen change in the warmer months?

For more DIY natural skin care ideas, check out my latest book Natural Beauty from the Outside In, where you’ll find 70 Ayurveda inspired hair and skin care recipes.

How to Sprout and Plant Sweet Potato Vines: Experiments As A Kitchen Counter Sweet Potato Farmer

It's funny, I left a tiny two bedroom apartment in Brooklyn to live in a farm house in the country set on four acres of land and I still do the majority of my gardening on my countertops and window sills, just as I did in Brooklyn. Then, if I wanted to use my outdoor space, I'd lift the kitchen screen and set a pot on my rickety fire escape. Home to my many green treasures and mason jar experiments.

Old habits die hard. One day I'll plant row upon row of bountiful veggies and fruits. One day, I'll put in the work to weed and harvest en masse. But for now, I'm content to be a kitchen counter farmer and my latest joy has been creating and replanting sweet potato slips.

I am a huge sweet potato fan. Loaded with vitamins A, C, B1, B2, B6, manganese, copper, potassium, fiber, niacin and phosphorus, they are a healthy, clean eating staple.

You can never have enough sweet potatoes! Every inch can be used. The leaves make delicious salads and steamed greens and the potatoes, where do I begin....pies, breads, cakes, cookies, custards, loaded baked, mashed, fries, hash browns, bisque, and on and on and on.....

Since there are so many uses for sweet potatoes, I like to keep them on hand and one of the easiest ways to ensure sweet potato abundance is to sprout and plant the vines yourself. 

It is so easy! All you need to do is follow these simple steps and you too, can call yourself a kitchen counter sweet potato farmer!

IMG_1293.JPG

1)  Submerge half of your sweet potato in water and wait for it to bud and sprout. This is so easy and may take a few weeks, so be patient. It's best to use organic sweet potatoes here because they're not treated with preservatives and chemicals, which make it difficult to illicit new growth. 

FullSizeRender.jpg
IMG_1287.JPG

2) Keep your water levels stable. Once you see sprouts and then notice the slips growing, wait until they're about five inches tall before gently removing them from the sweet potato.

IMG_1288.JPG

3) Submerge the base of your slips into water and wait for roots to sprout. Some of the slips that you pull from your sweet potato will have roots attached, well done, those can go directly into soil. 

IMG_1291.JPG

4) Plant your slips and wait for your vines to flourish. Keep in mind, that sweet potatoes are vines and the vines grow quickly. To help control things, I like to prop some of my vines against stakes. 

5) Set your vines in a sunny window and watch them flourish. Harvest your leaves often and add to salads, soups, pestos or sauté like you would spinach. 

IMG_1289.JPG

6) In due time, your sweet potato will grow at the bottom of your pot. If you plant directly in the earth, you'll get larger potatoes. 


DIY Daily Conditioner

For years now I've been making my own moisturizing shampoo yet for some reason, when it came to conditioner, I've been quick to go to the store. 

My hair is thick with a combination of spiral curls, coils and waves. It takes a lot and I mean a lot of moisture to keep me from looking like I'm sporting a scraggly lion's mane. Conditioner is not something to be taken lightly. 

About three months back, an Ayurvedic client of mine with a similar hair type requested a DIY daily conditioner.  I had a ton of recipes for a variety of hair types but nothing that I could stand behind to address the unique needs of thick, curly hair. 

So I went into mad scientist experiment mode. I tested formulas on my kids and on myself, I added this and I added that, and I came up with a DIY daily conditioner blend I can stand behind.

IMG_3371.JPG

First, can we talk about the smell? Your hair will smell divine. The lavander is so fragrantly floral and blends perfectly with the earthy sweetness of myrrh.

Second, did I mention all day moisture of not only your hair root to end, but of your scalp as well. Castor, coconut, and olive oils combined with the essential oil myrrh, pack a powerful moisturizing punch. If you have curls, they will spring into shape. The castor seals your coils like a serum.

IMG_3372.JPG
IMG_3373.JPG
IMG_3374.JPG

Finally, you can whip up a batch in minutes. I prep mine the day before and store in a 2 oz glass jar.

IMG_3357.JPG

You can make single batches or double up. If you're going to double up, I recommend adding a few drops of Vitamin E oil as a preservative. 

Here's what you'll need:

3 tablespoons unrefined coconut oil

1 tablespoon olive oil

1 tablespoon castor oil

10 drops essential oil of myrrh

5 drops essential oil of lavender 

Here's what to do:

I combine my ingredients directly in my storage container. If your coconut oil is hard, soften it by running the jar under warm water so that your items blend easily and evenly. 

IMG_3356.JPG

I mix with a small whisk and ta-da!

It's so easy!

A few things to consider:

 One batch is usually enough for my hair (shoulder length thick and wavy) and  both of my son's hair (in pictures). This means that I whip up a quick batch daily before each use. You can make a big batch if that suits your lifestyle better, but if you're planning to keep the conditioner longer than a week, I'd add a few drops of vitamin E oil to serve as a preservative. 

FullSizeRender.jpg

Also, this recipe is for daily conditioning. Even though it's moisturizing, it's relatively light. Once a week, I do a deep conditioner using the same foundational recipe only adding 1/2 cup of melted shea butter. For deep conditioning, I leave in my hair for 15 minutes before rinsing, for regular daily conditioning, I leave the basic recipe (without shea butter) in for 2-5 minutes.

Questions? Don't hesitate to reach out! You may also like my DIY Shampoo recipe. 

For more DIY natural skin care ideas, check out my latest book Natural Beauty from the Outside In, where you’ll find 70 Ayurveda inspired hair and skin care recipes.

Hump Day Stress Buster Yoga Pose- Legs Up the Wall

Legs Up the Wall (Viparita Karani)

IMG_3347.JPG

Why You Need to Do It:

Because we live in stressful times my friend!

Legs up the wall, is one of the most calming restorative yoga poses out there. Are you ready for these benefits? Legs up the wall balances the nervous system, increases circulation, increases blood flow, cleanses the lymph nodes, aids in digestion, reduces stress, lowers the blood pressure, quiets the mind, relieves water retention, refreshes the internal organs and helps to calm anxiety. Long story short, this heart and hip opening yoga pose is AMAZING!

How to get in to it:

This pose can be practiced with no, minimal, or (for a super duper luxurious treat) many props. 

You might want to have the following items (props) on hand:

eye pillow

sand bag hand weights

bolster

strap

blankets

IMG_3348.JPG

If you're using props, your setup might look something like this. Props are optional, so you can use one or all of these. Place a bolster towards the base of your yoga mat, about an inch from the wall. Over your bolster, place a folded blanket. Fold another blanket and set it on your mat perpendicular to the bolster. Your setup should make the shape of the letter T. Place a yoga strap around the middle of your thighs.

Now to get into the pose....

Sit at the edge of your bolster bringing your shoulder and hip against the wall. Lower down to your elbows and fan your legs upwards. Your spine will run the length of the blanket. You may have to shimmy forwards a bit until you can feel the wall against your sits bones and the backs of your legs and heels. 

Allow your head to soften into the mat beneath you. Hold your arms out to the side, letting your hands grow heavy as you release your shoulder blades. 

To add finishing touches with the props, bend your legs and place a folded blanket on top of your feet to ground your hips. Use weighted sand bags in each hand for grounding and then set an eye pillow over your eyes to cancel out light. 

Let your blissful journey begin!

How Long to Hold?: 

If you are new to this pose, five minutes is a good place to start. The more you practice Legs Up the Wall, the more comfortable it will become. For those used to the pose 10-15 minutes is ideal. 

This is an excellent before bed pose. You also might try this after getting home from work before you settle into your life at home. 

IMG_3126.JPG

10 minutes of Legs Up the Wall a day will help keep the doctor away...

Is Legs Up the Wall pose a part of your yoga routine? Let me know how you feel about it in the comments below. 

For more on Restorative Yoga, check out Reclining Bound Angle Pose and 5 Restorative Yoga Poses for Relaxation!


Hump Day Stress Buster Yoga Pose - Reclining Bound Angle Pose

Hump Day, Stress Buster, Yoga Pose... is a new series I'm starting on the blog. It's a call to calm the mind and harness peace at the apex of the weekday madness. 

Every Wednesday, I'll feature, and discuss a restorative yoga pose. These are all poses that can be done safely and simply from the comfort of your home. 

Please don't hesitate to reach out with questions.                                   

Today's Featured Pose: Reclining Bound Angle Pose (Supta Buddha Konasana)

IMG_2078.JPG

Why You Need to Do It:

Reclining bound angle pose is deeply grounding. This pose opens tight hips, a place where we tend to store a lot of emotions and tension. This pose is also heart opening and relaxes the shoulders. Reclining bound angle pose eases stress and anxiety as well and is an excellent before bedtime pose. 

How to get in to it:

Bring the soles of your feet together as your knees release towards the floor or mat. Your legs will make a diamond shape. If you have a bolster, (or you can use a pillow as well) place it behind you so the base of the bolster is brushing against your sacrum. You may want to place blocks beneath your knees, or books if you don’t have blocks.

How Long to Hold? :

Recline for 5-10 minutes for maximum benefits. Close your eyes, quiet your mind and take deep soothing breaths. 

Are you a visual learner? Check out the video above! Happy reclining :)